
Kolmanskop Photography Guide with Fujifilm GFX
/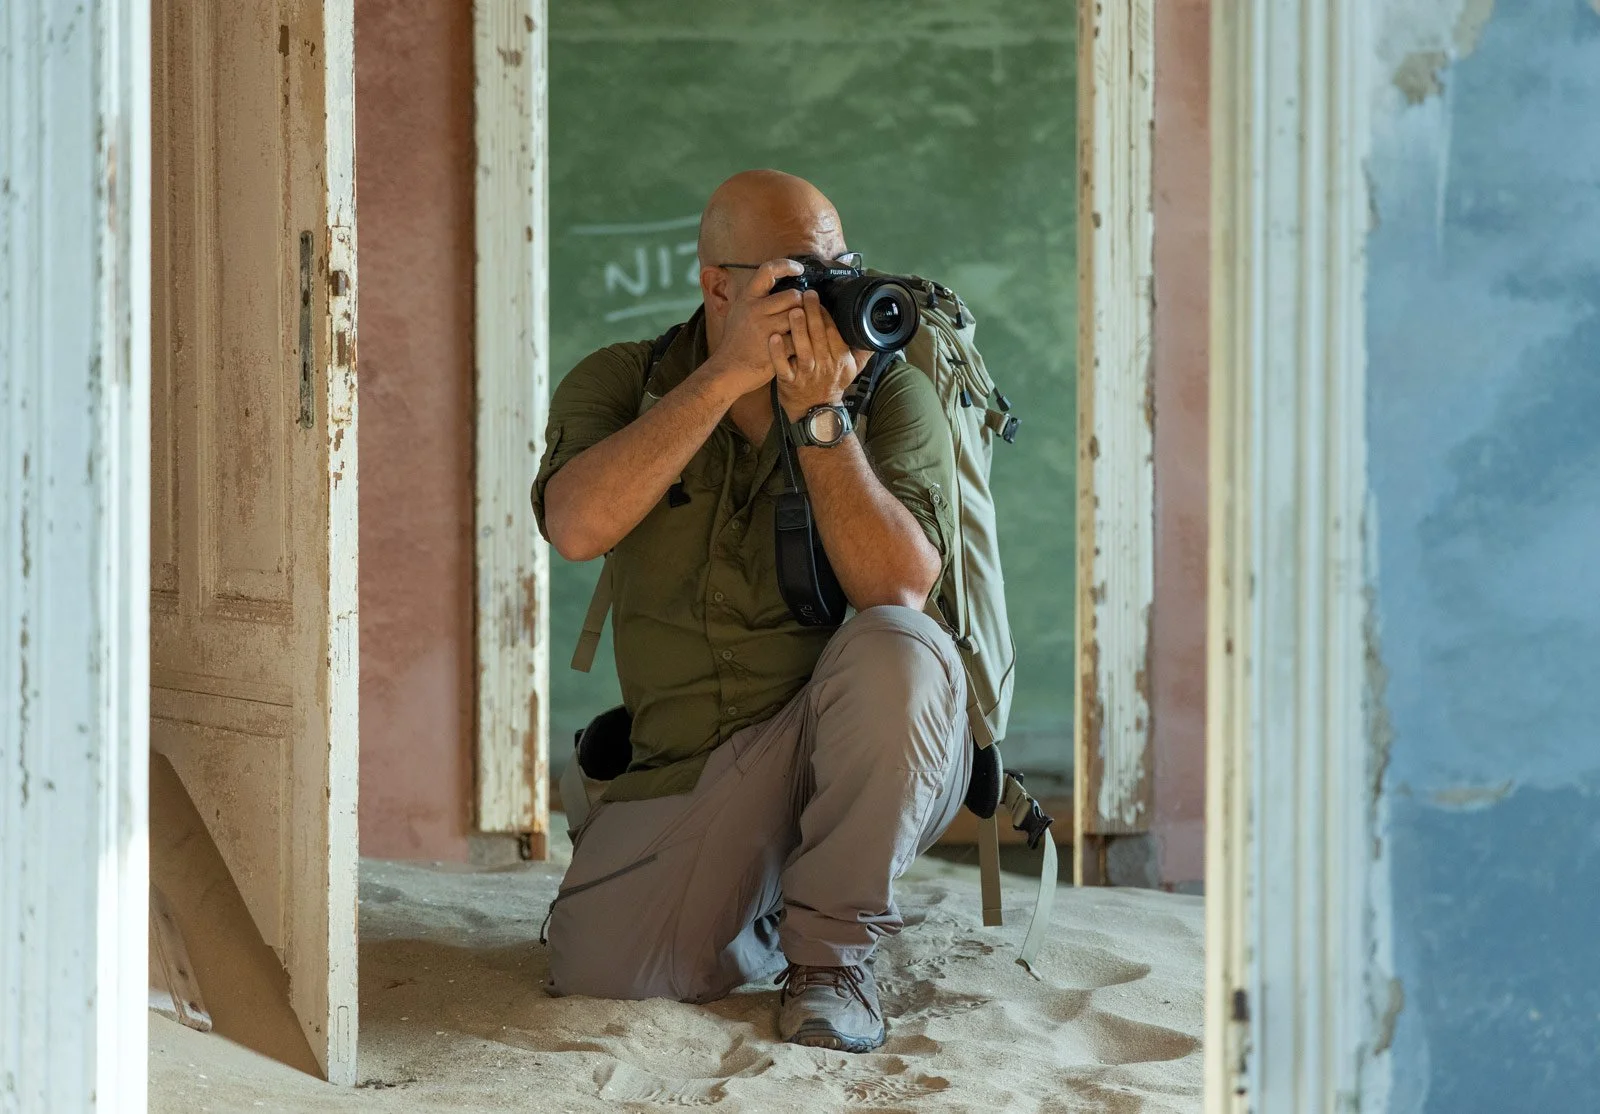
Composing Handheld Before the Shoot
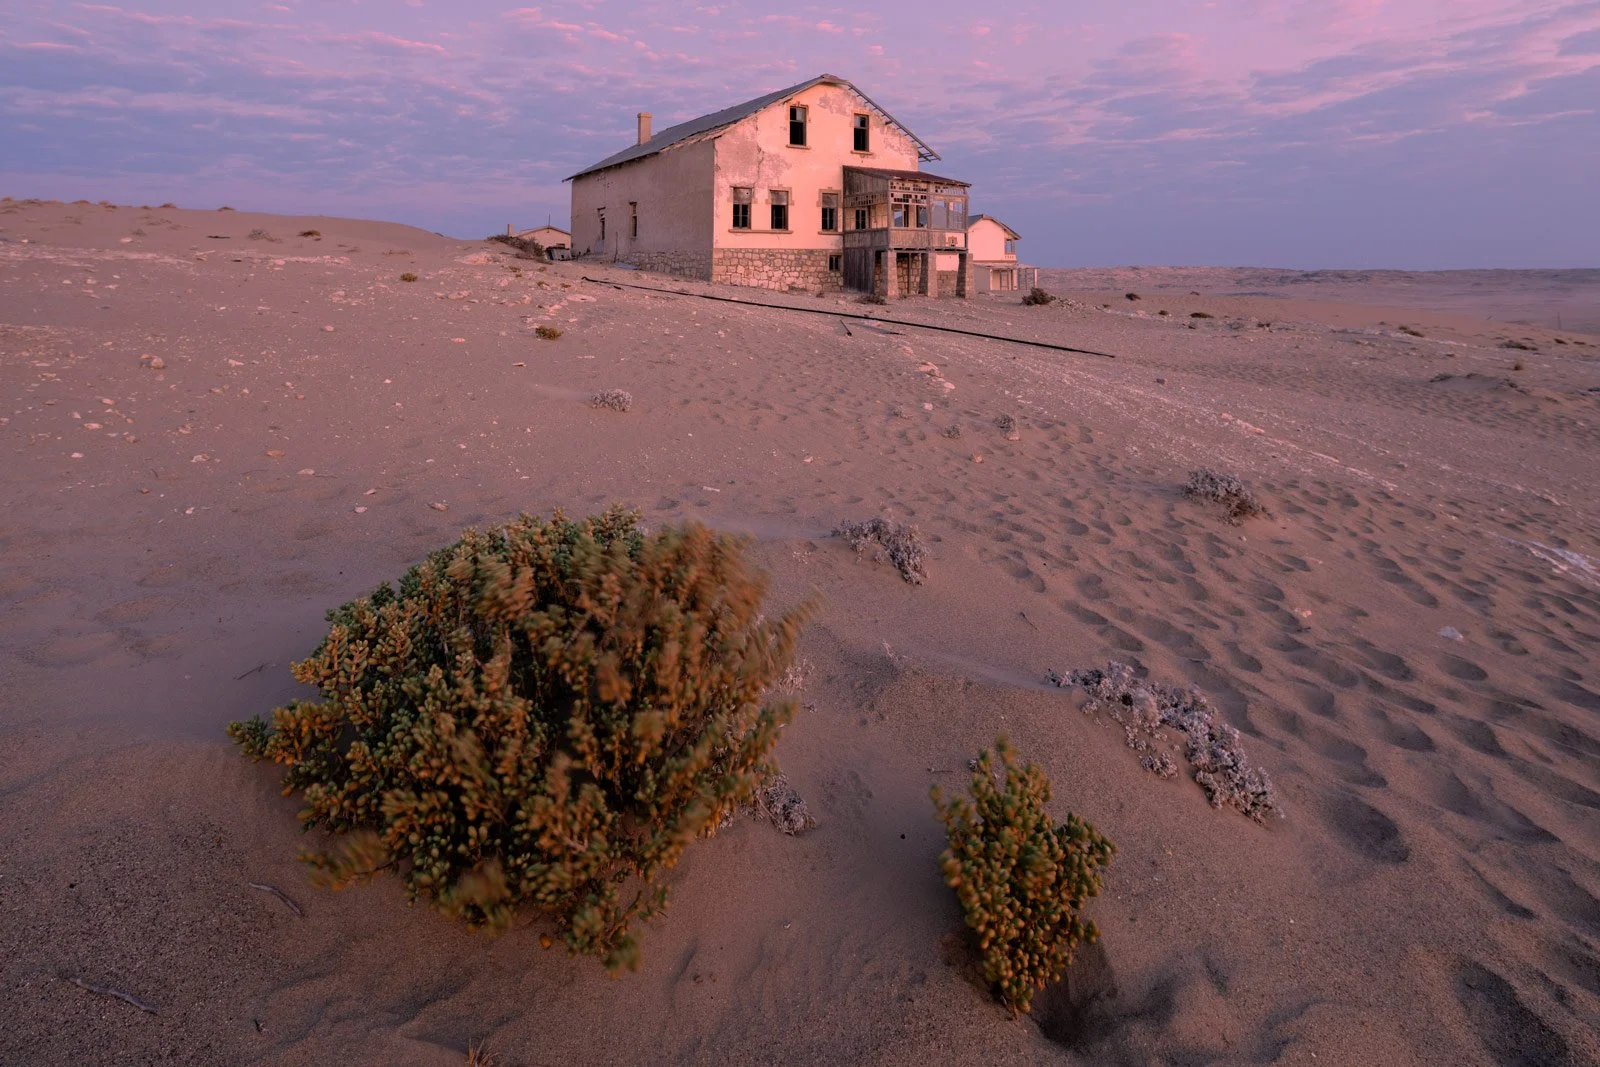
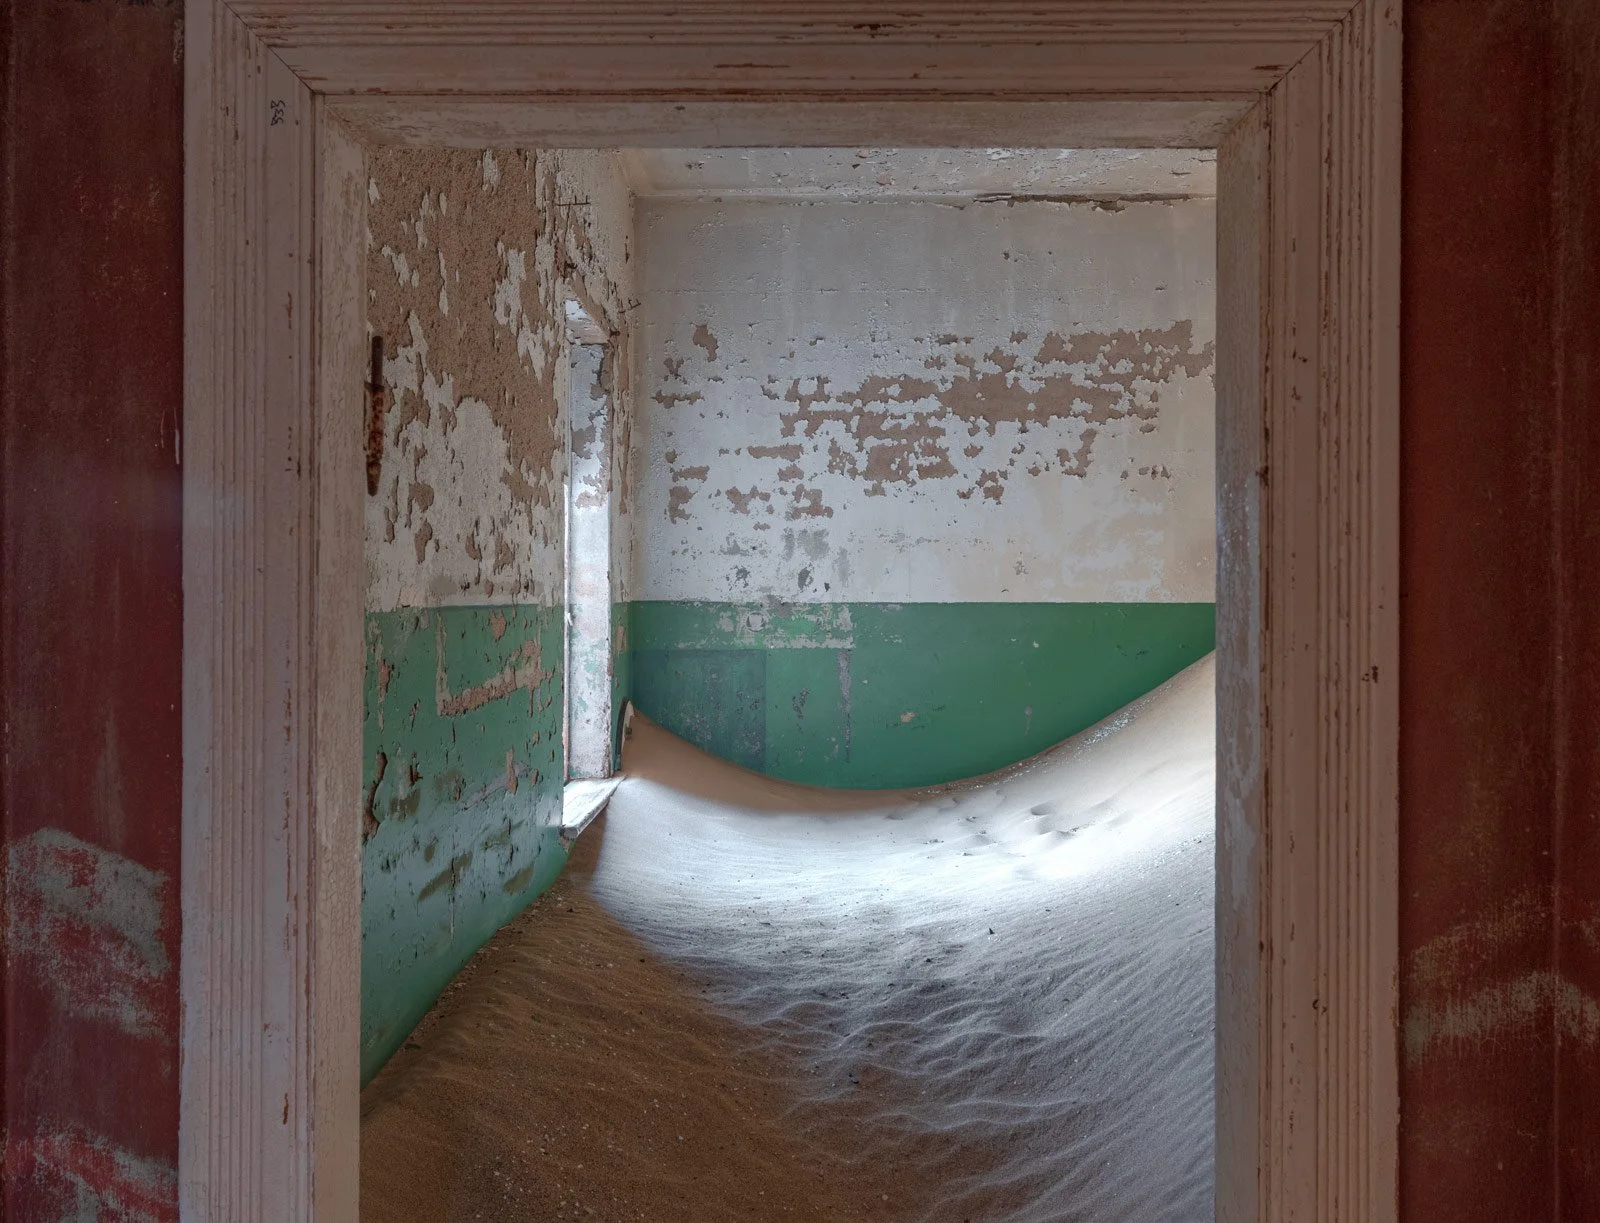
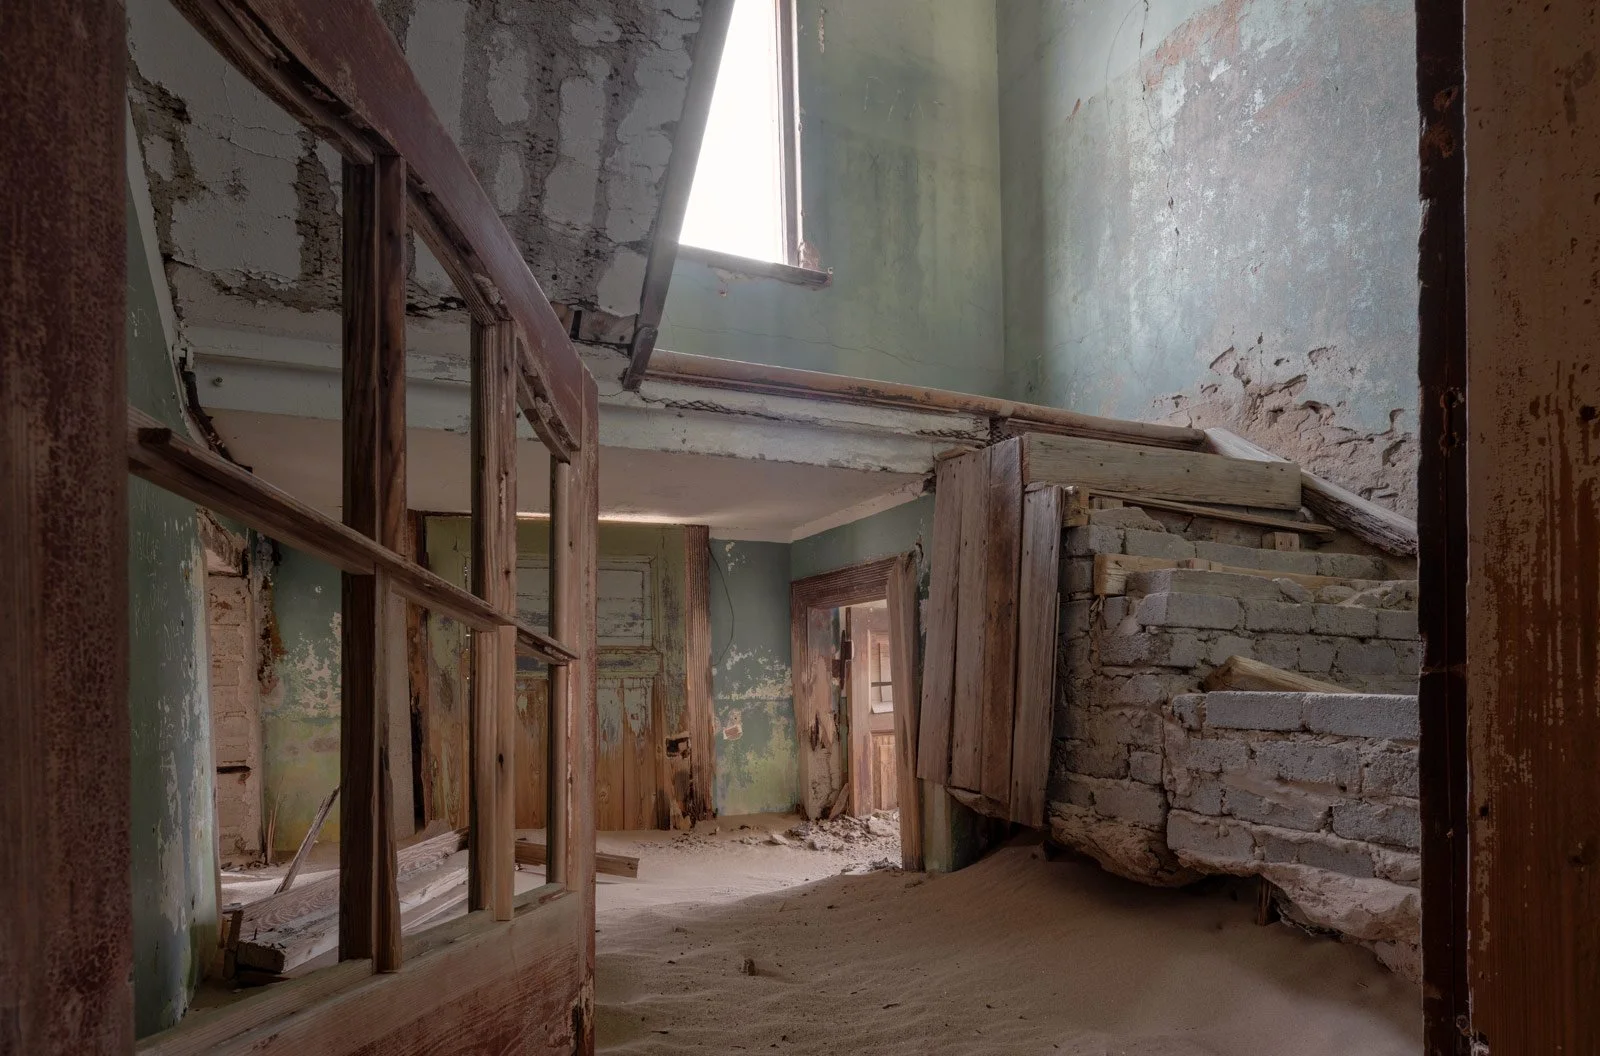
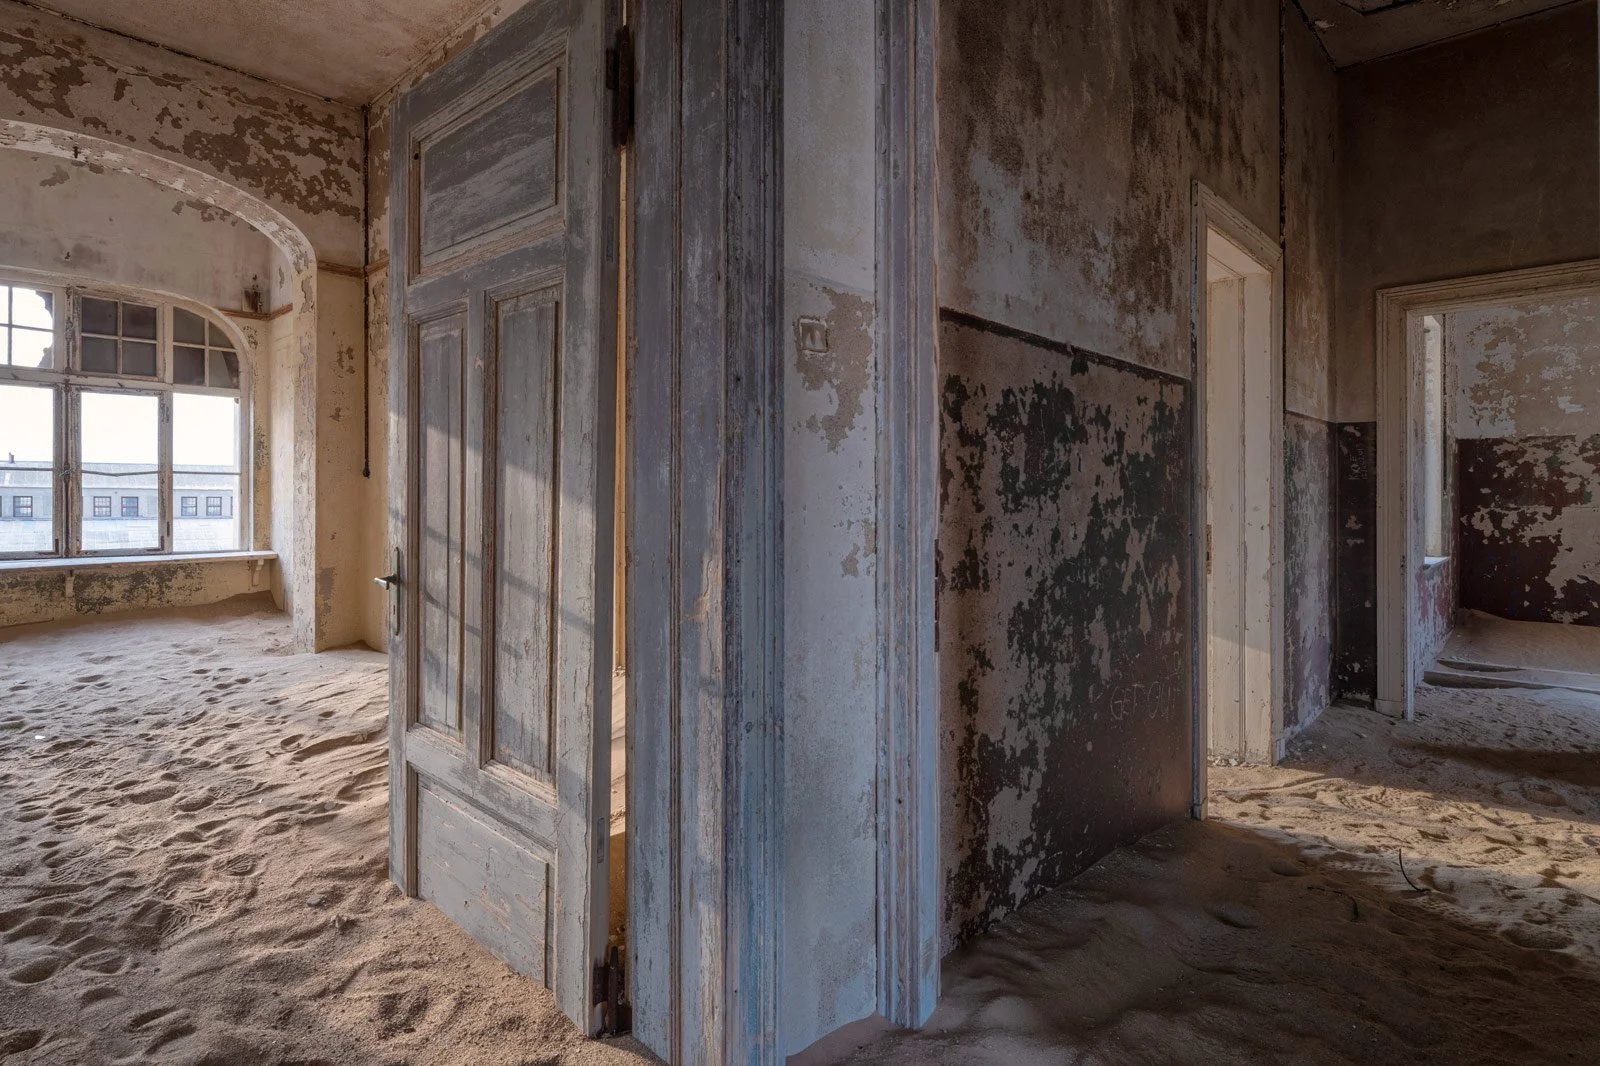
Stepping through a doorway in Kolmanskop, you enter a place where the desert has become part of the architecture. Sand spills through windows and gathers across floorboards in rooms that once held the routines of everyday life. Light moves across faded walls, revealing textures and shapes that make each space feel different. As an architectural photographer, I found as much to photograph in the traces of the buildings as in the desert slowly filling them.
In this article, I share my experience of Kolmanskop, the practicalities of visiting, and my approach to photographing its sand-filled interiors with a medium-format camera and tilt-shift lens, including the techniques and lessons I took away from the shoot.
Where it is
Kolmanskop sits in southern Namibia, about 10 km inland from the harbour town of Lüderitz on the Atlantic coast. It lies within the Sperrgebiet (“forbidden territory”), the restricted diamond zone along the coast, which is why entry is controlled. From Windhoek it is a long drive of roughly 800+ km. Many photographers fly into Lüderitz or combine it with Sossusvlei and the Fish River Canyon on a southern Namibia road trip. I normally drive in from the south, after visiting the Quiver Tree Forest, a natural stop on the way to Lüderitz.
A short history
The story starts in 1908, when railway worker Zacharias Lewala found a diamond while shovelling sand from the line. His supervisor, August Stauch, recognised it, and the rush that followed turned empty dunes into a settlement almost overnight. The German community built something remarkably grand for a place with no fresh water: a hospital, ballroom, theatre, bowling alley, school and ice factory, with a few hundred residents at its peak in the 1920s.
The decline was as fast as the boom. Richer diamond fields were found near Oranjemund, and the last residents left in 1954. The wind has been reclaiming the town ever since, and today it is a museum and tourist site, with many rooms still filling with sand.
What makes Kolmanskop so compelling to photograph
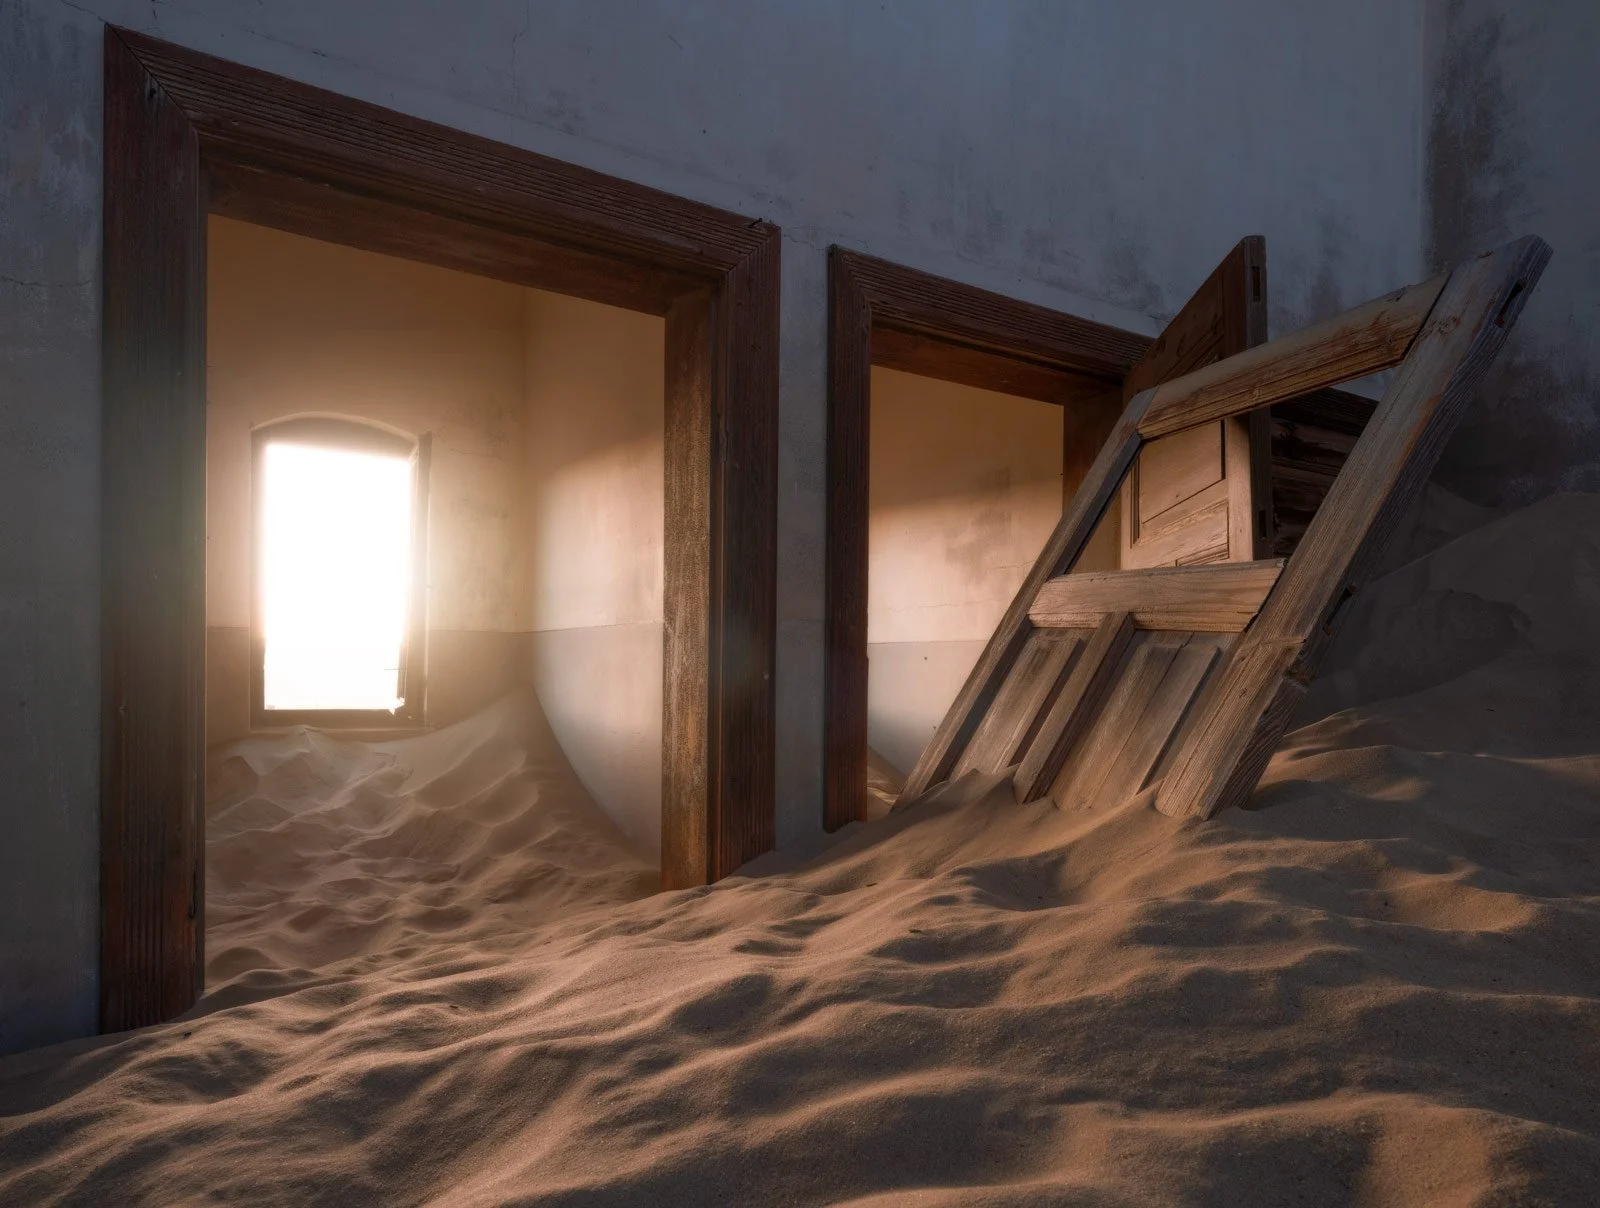
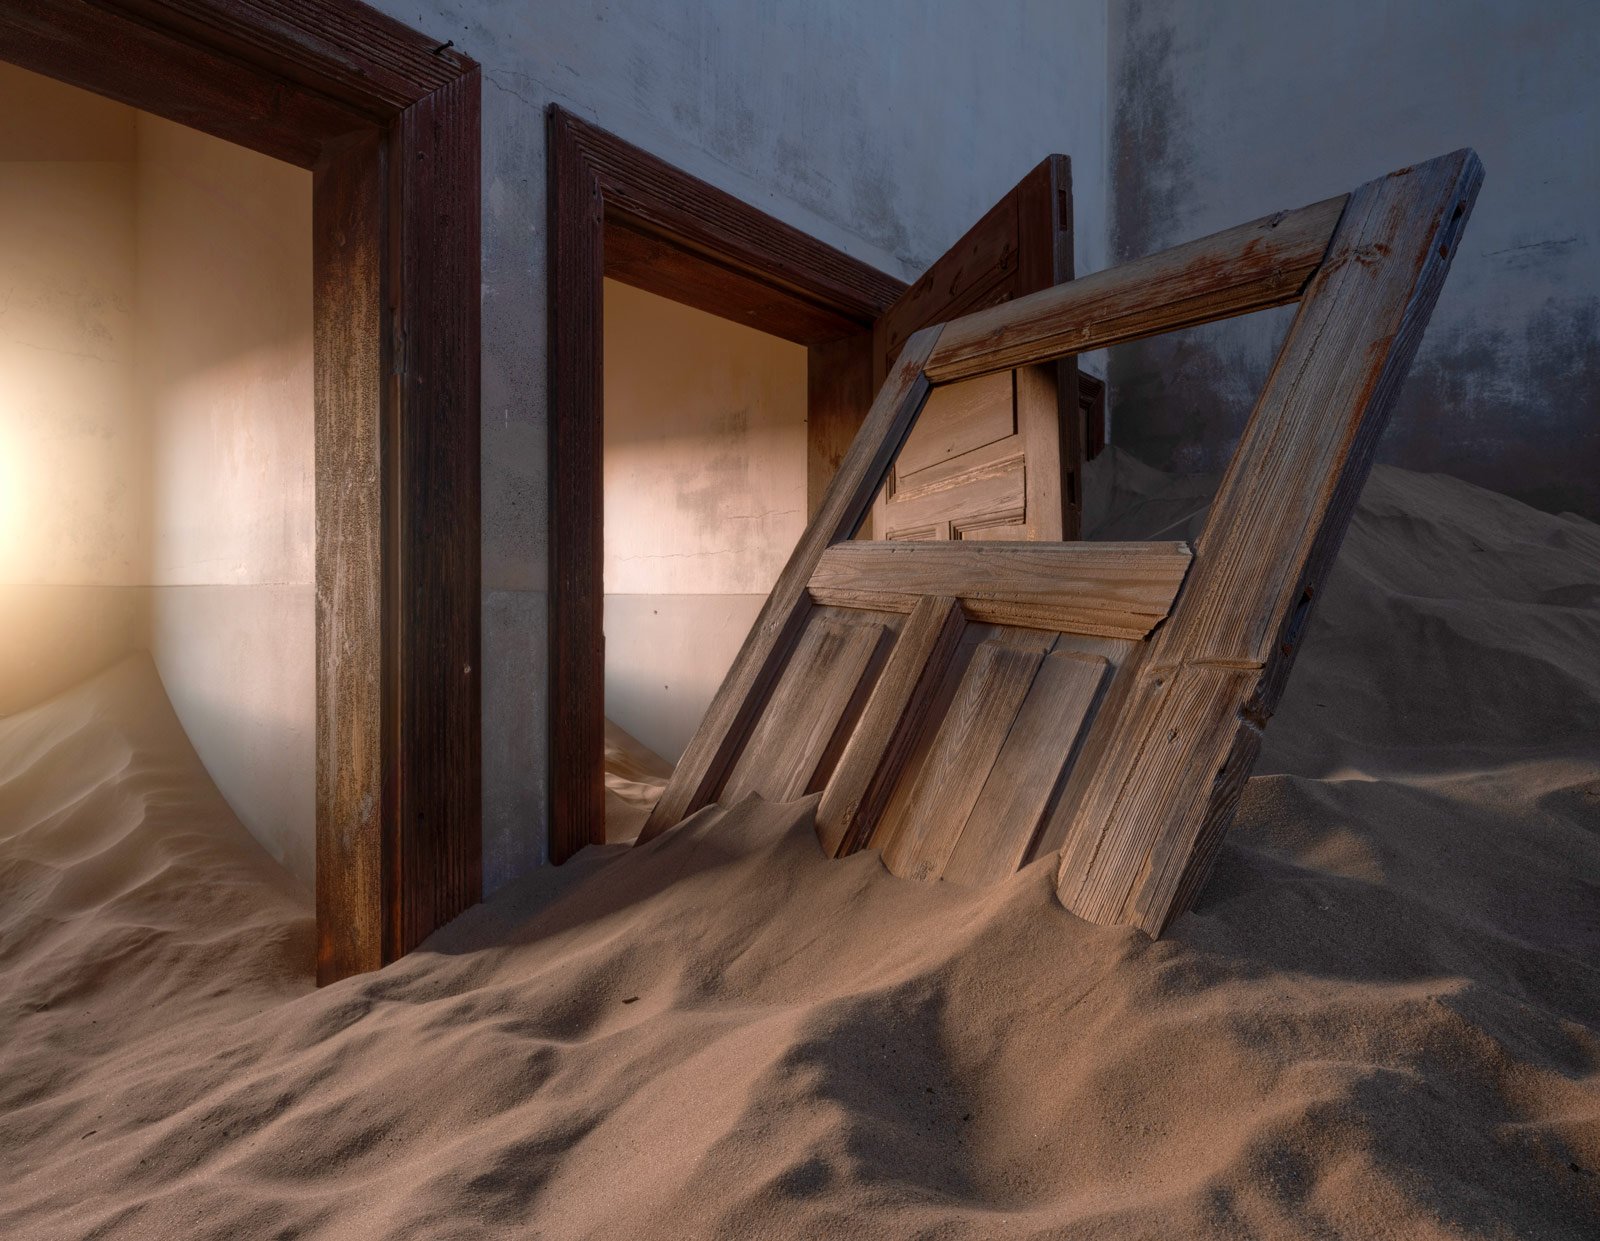
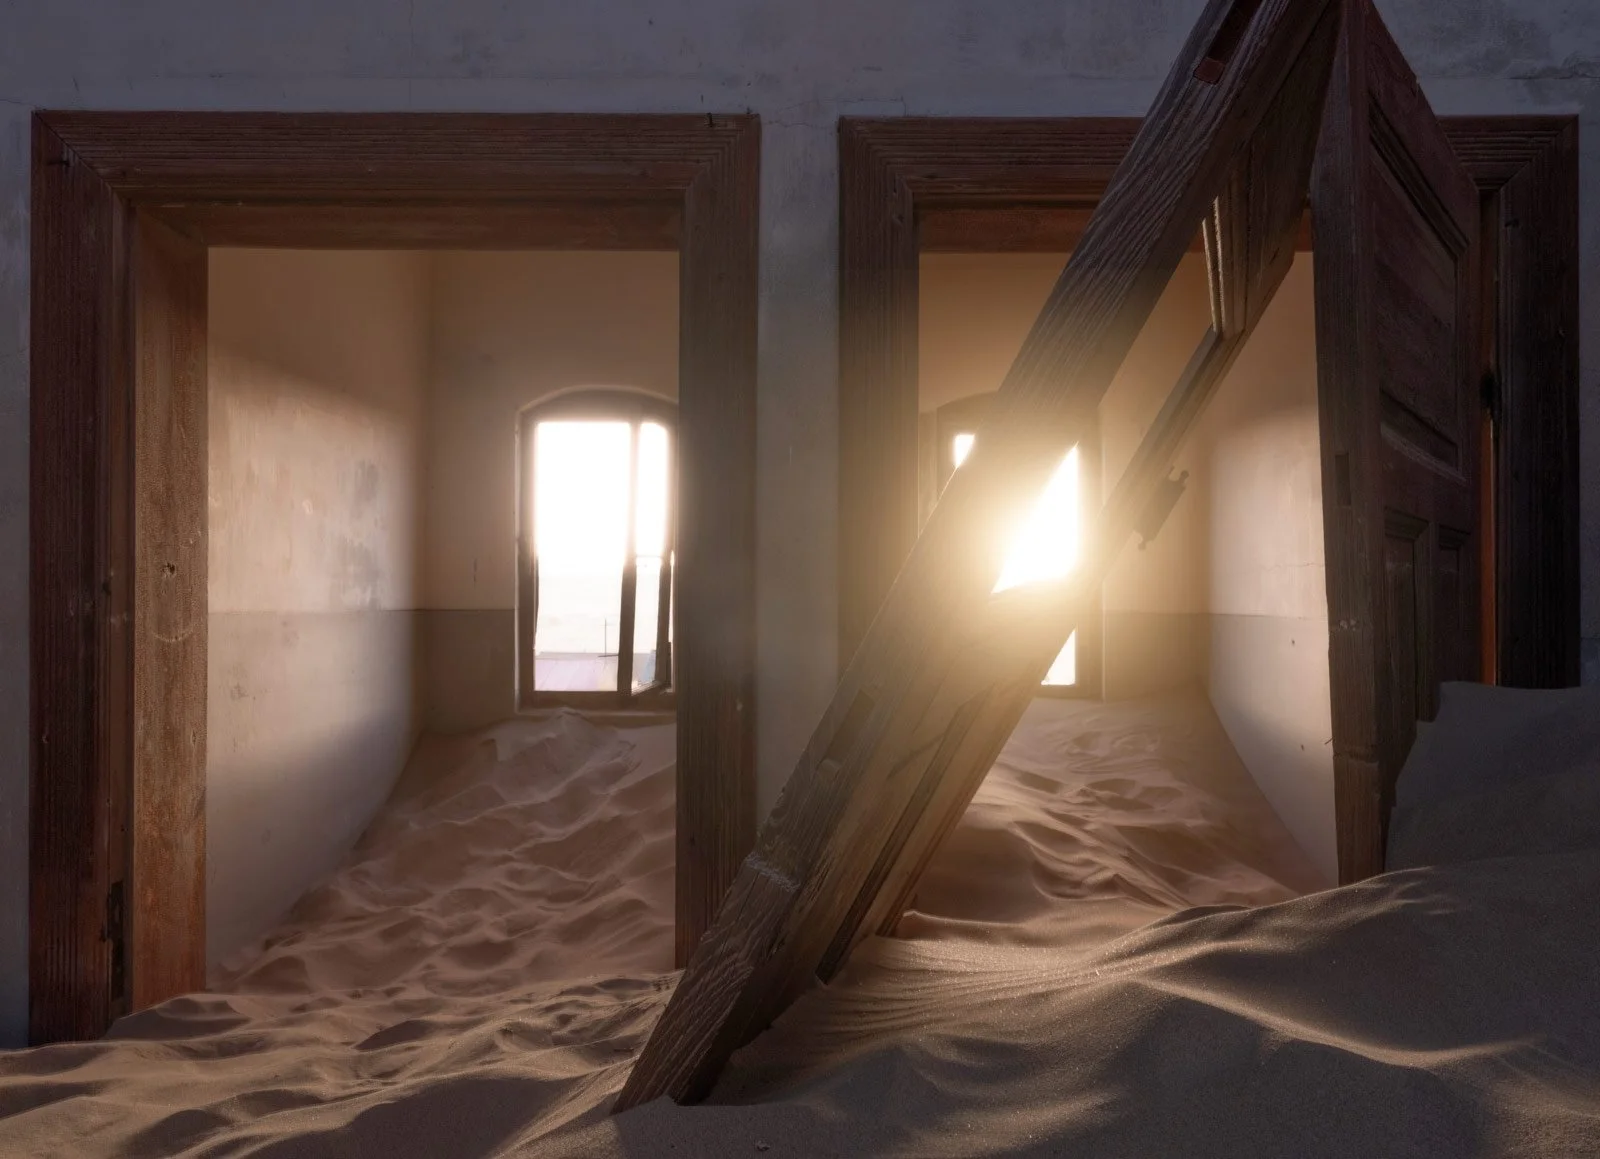
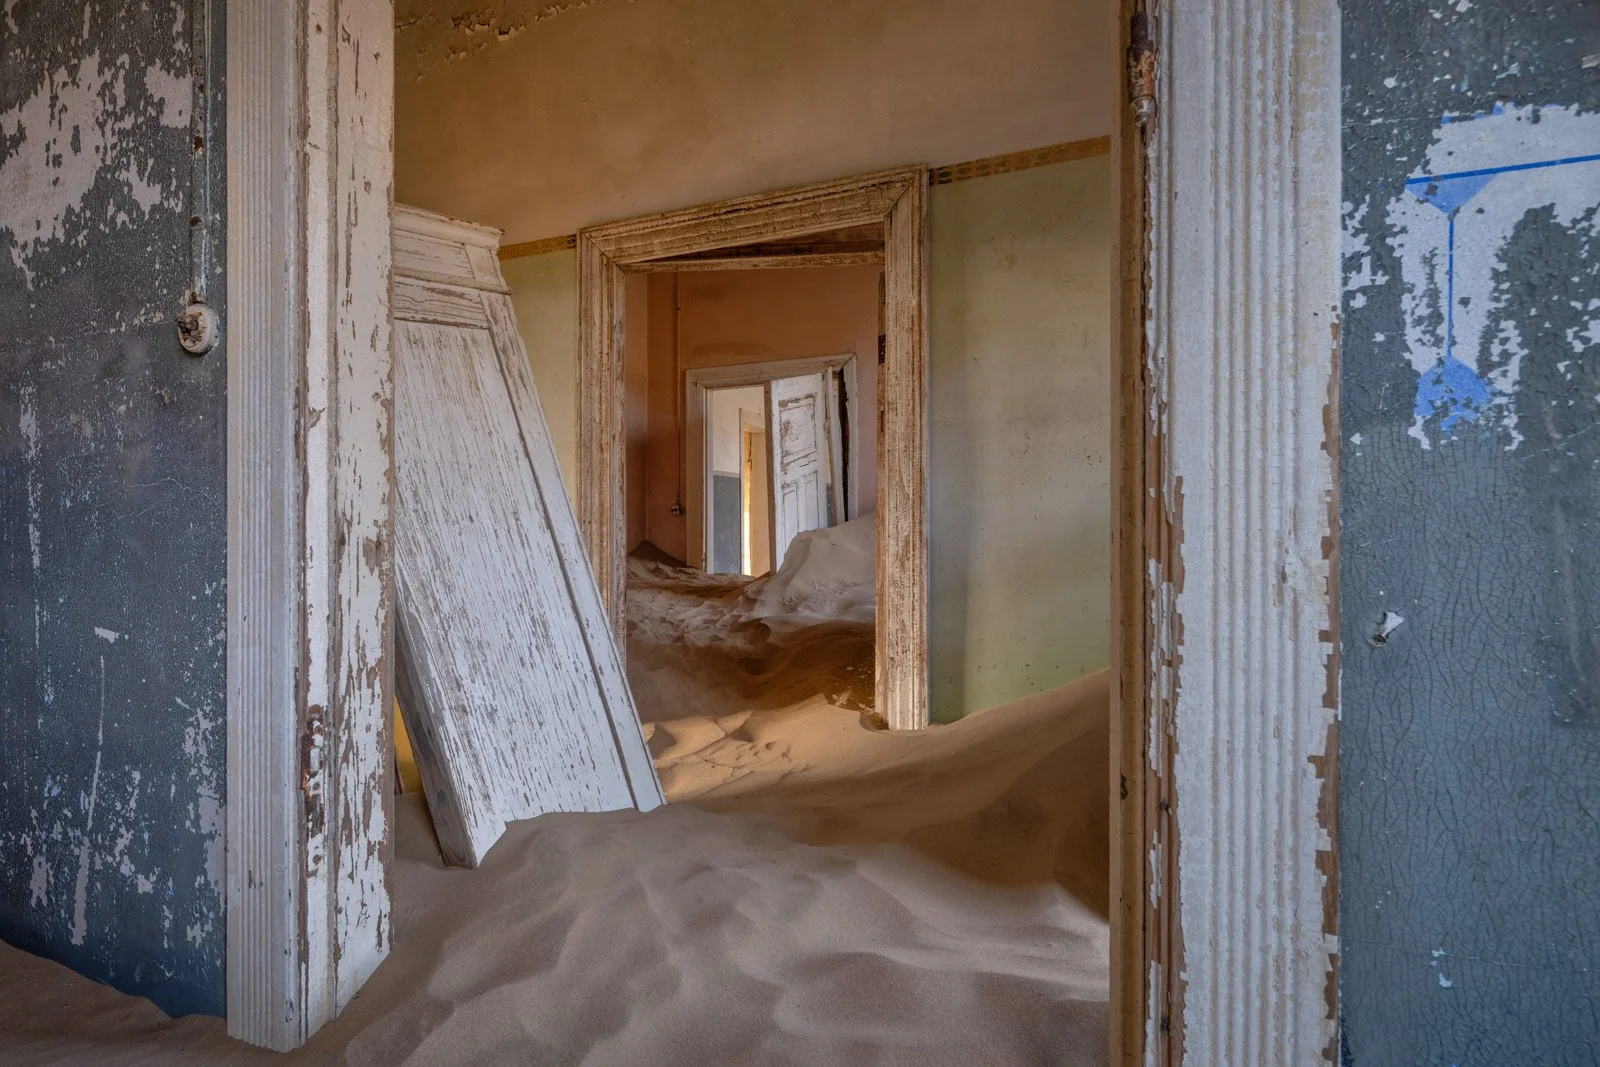
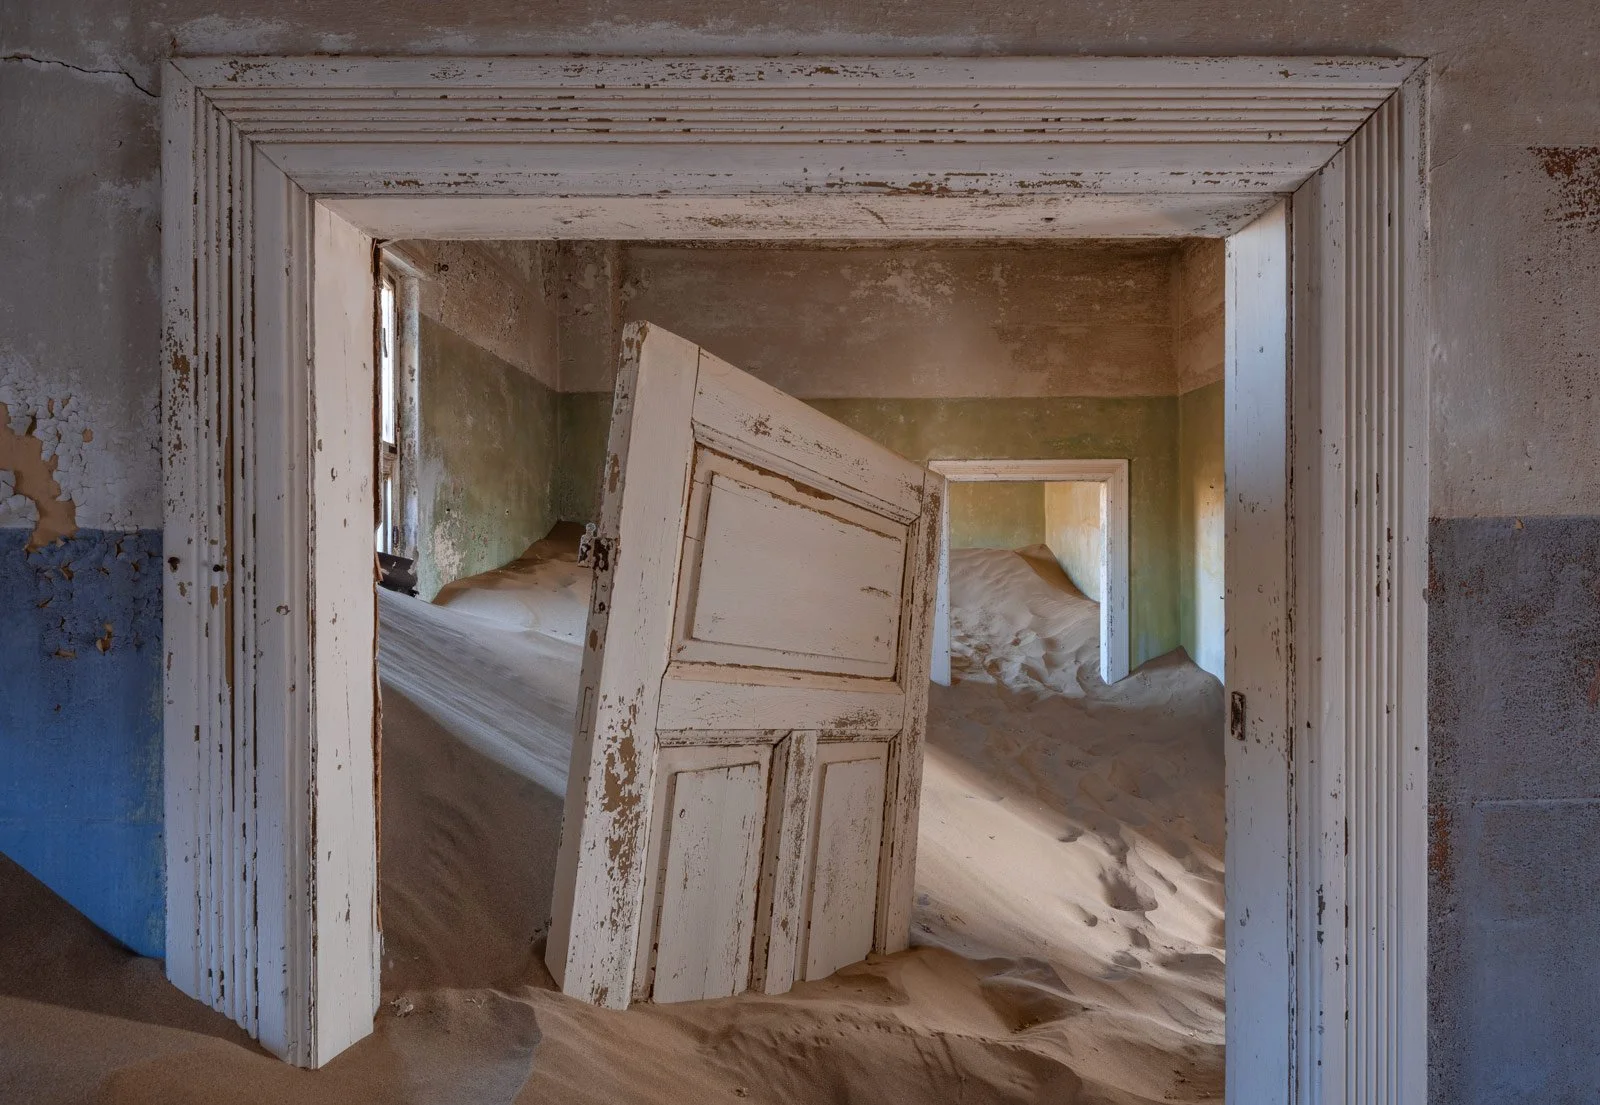
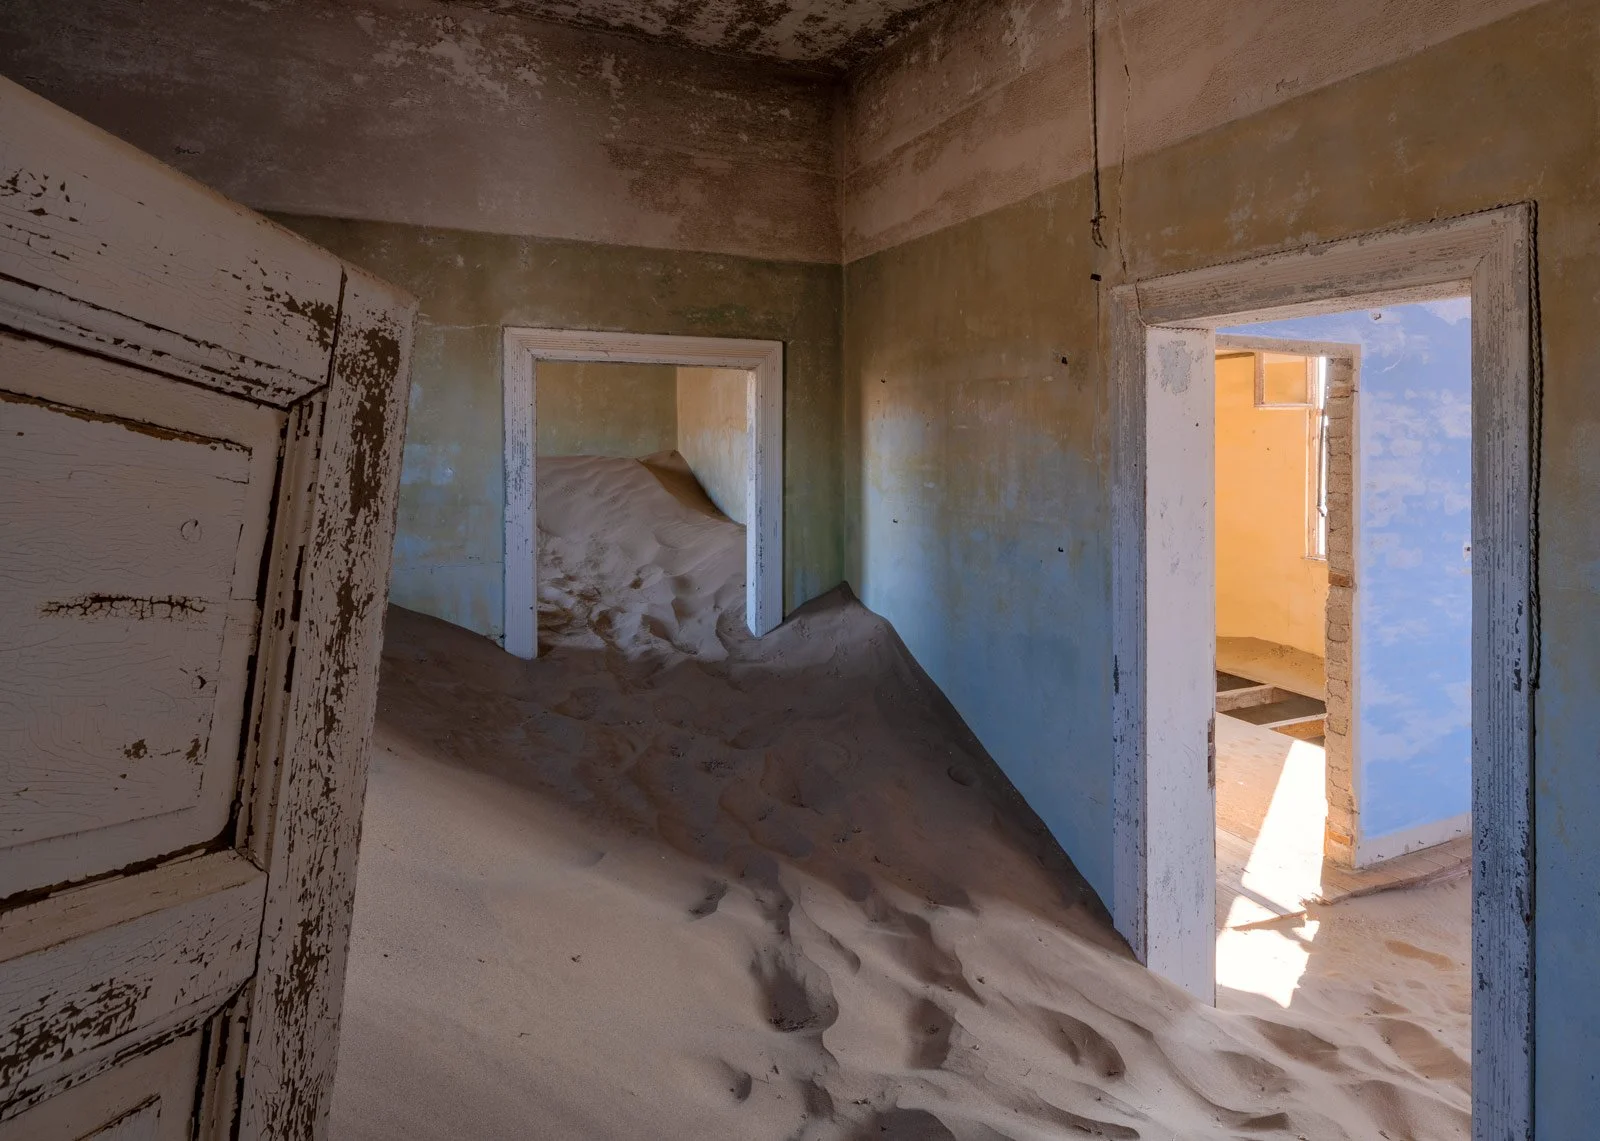
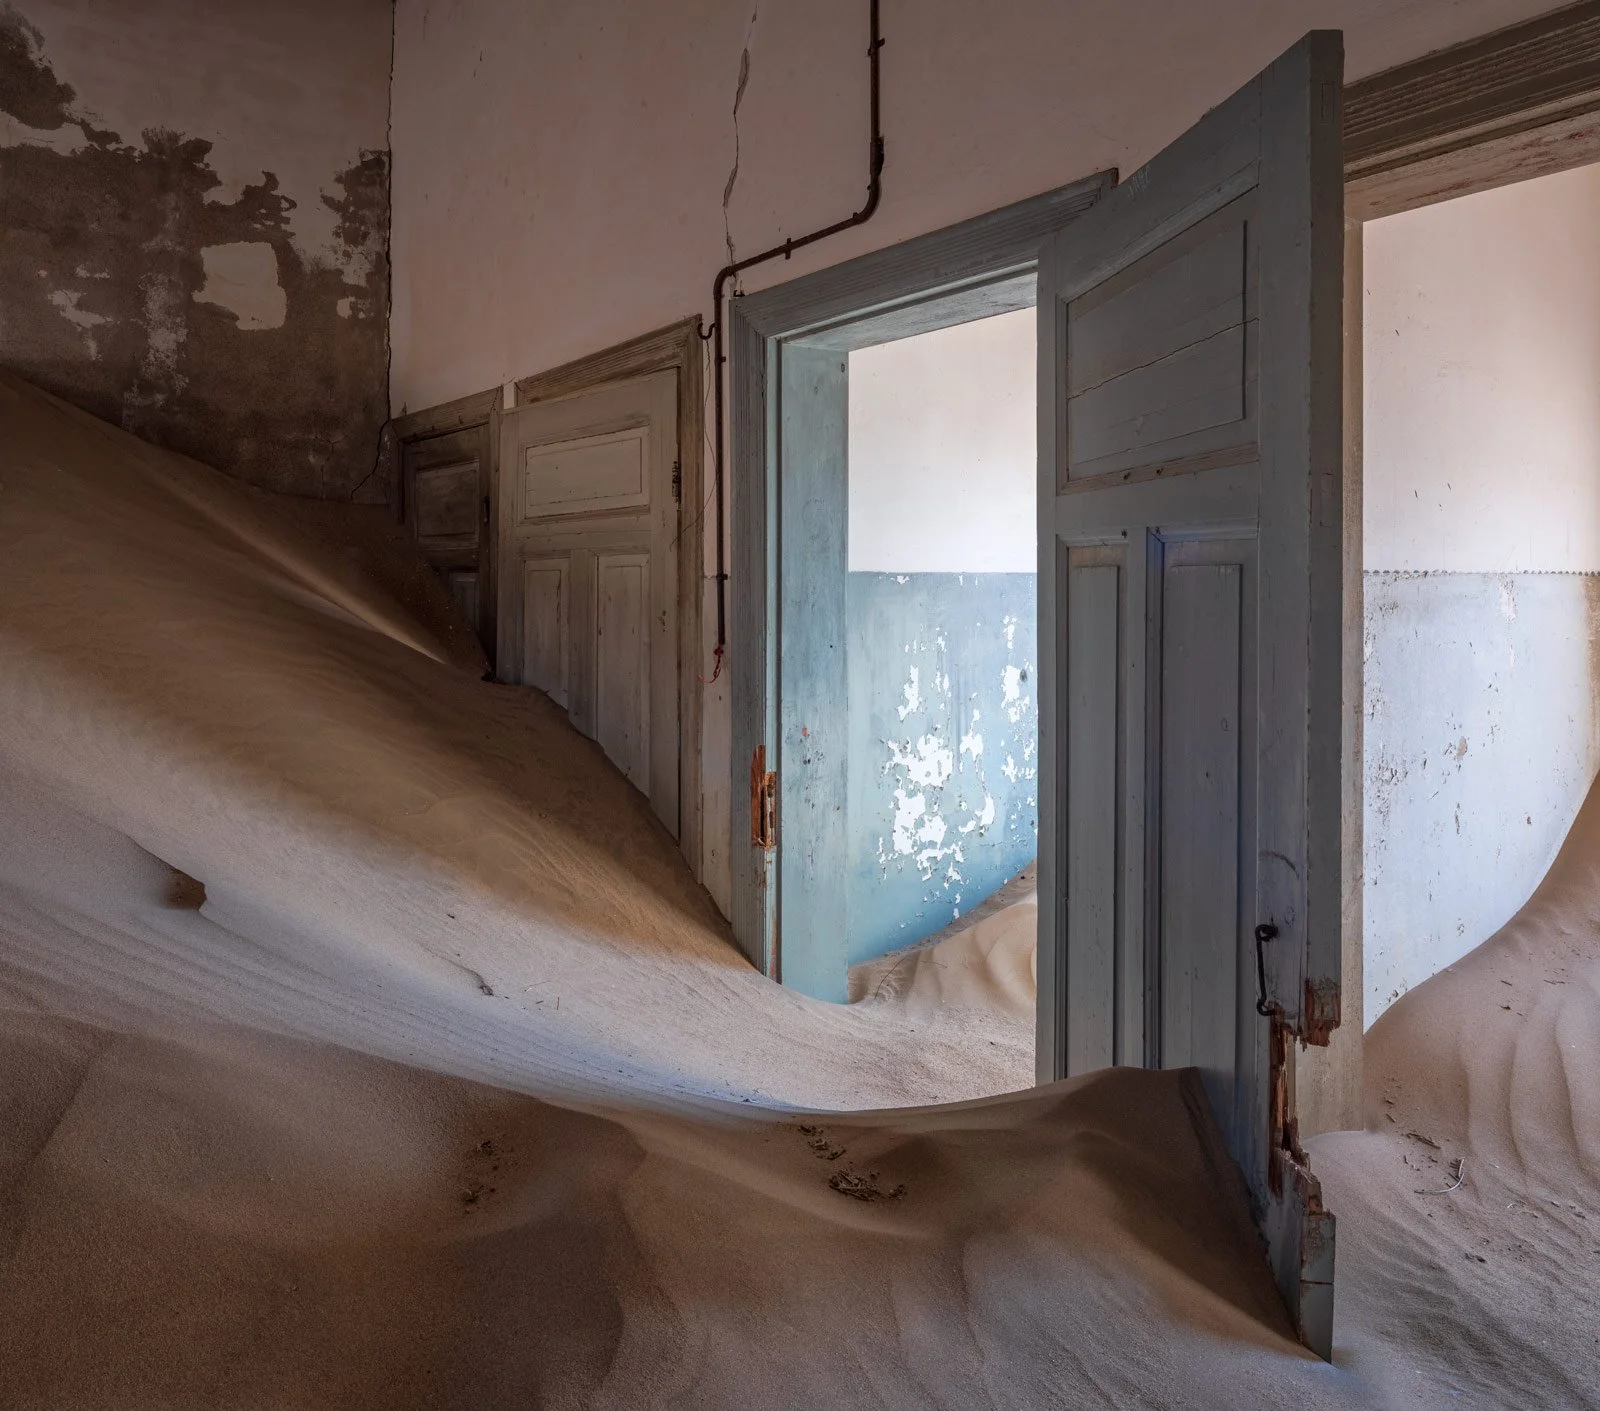
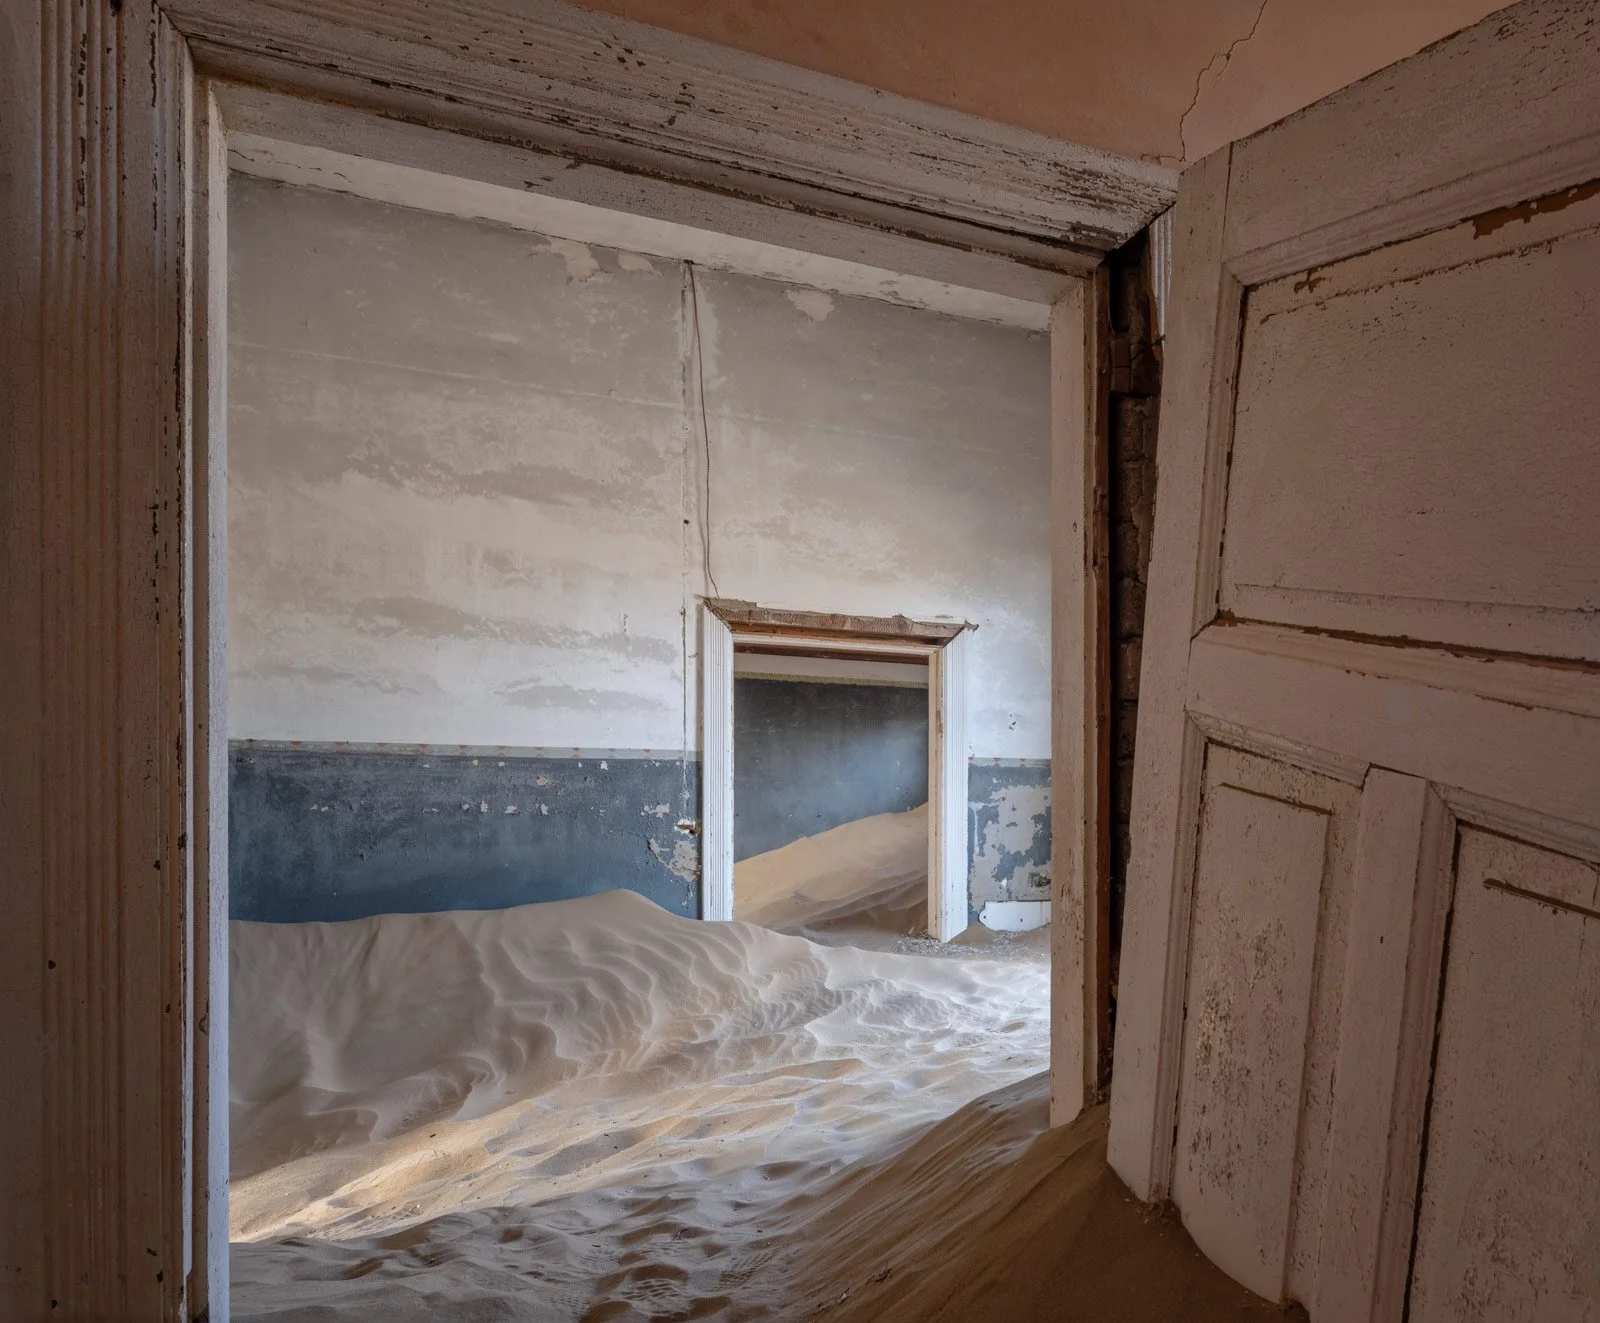
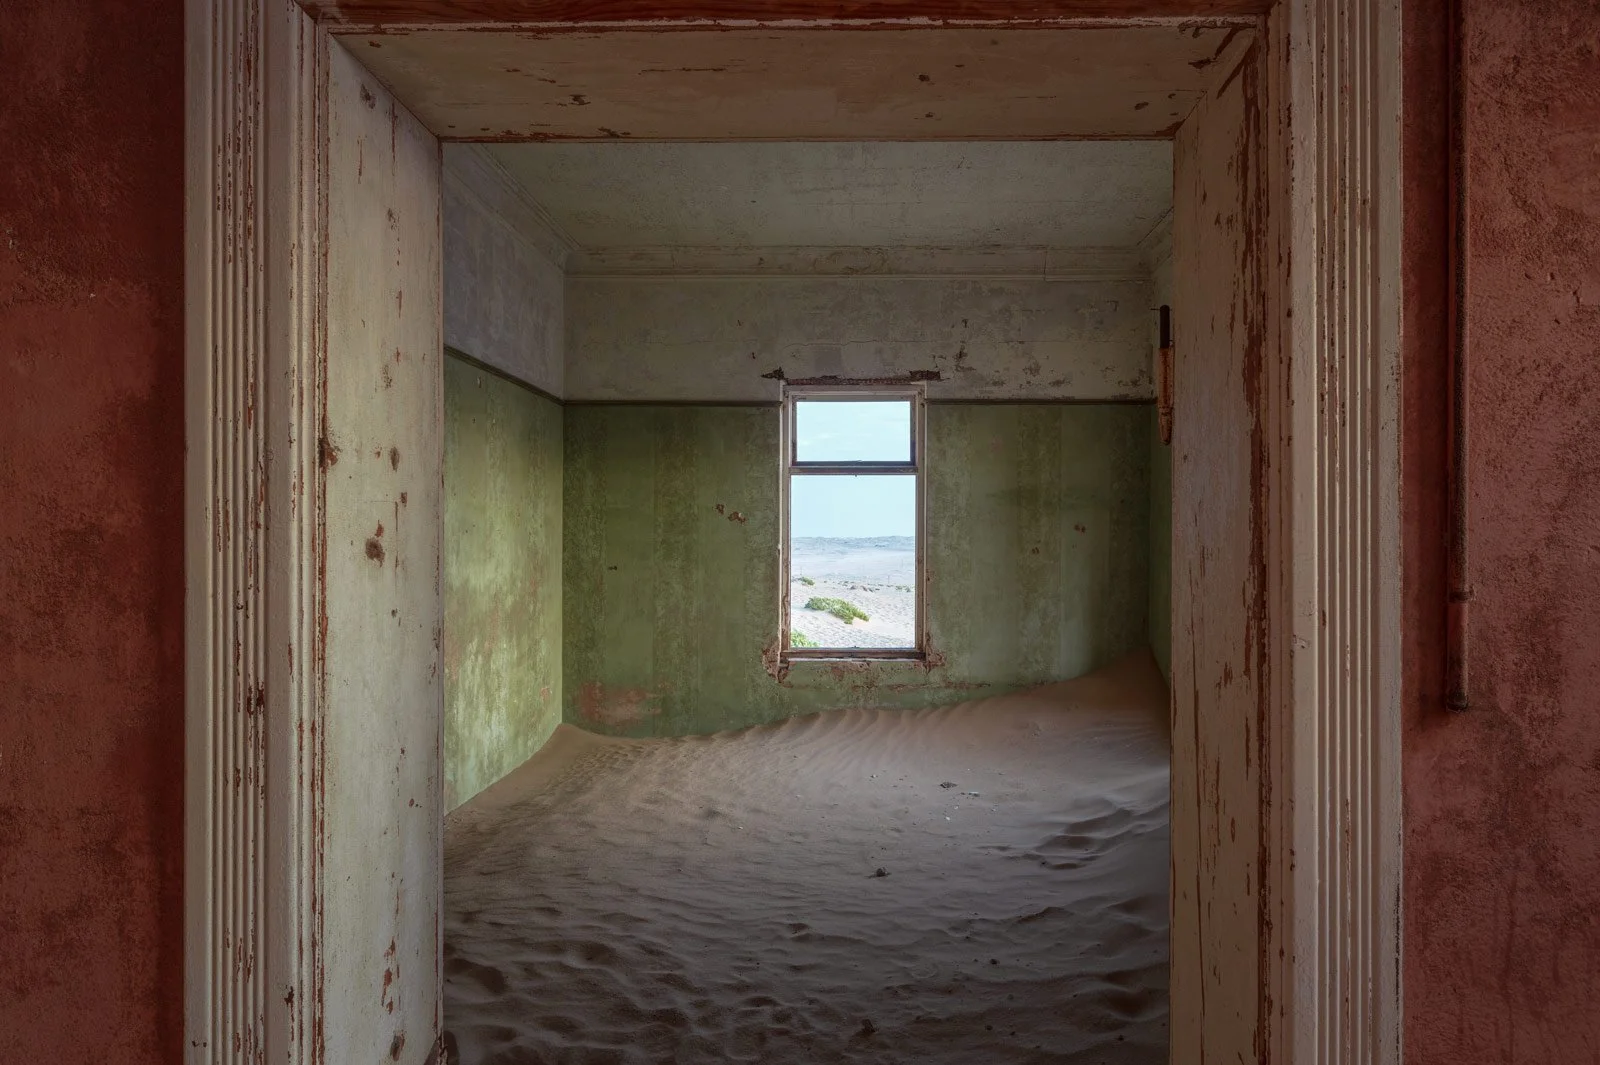
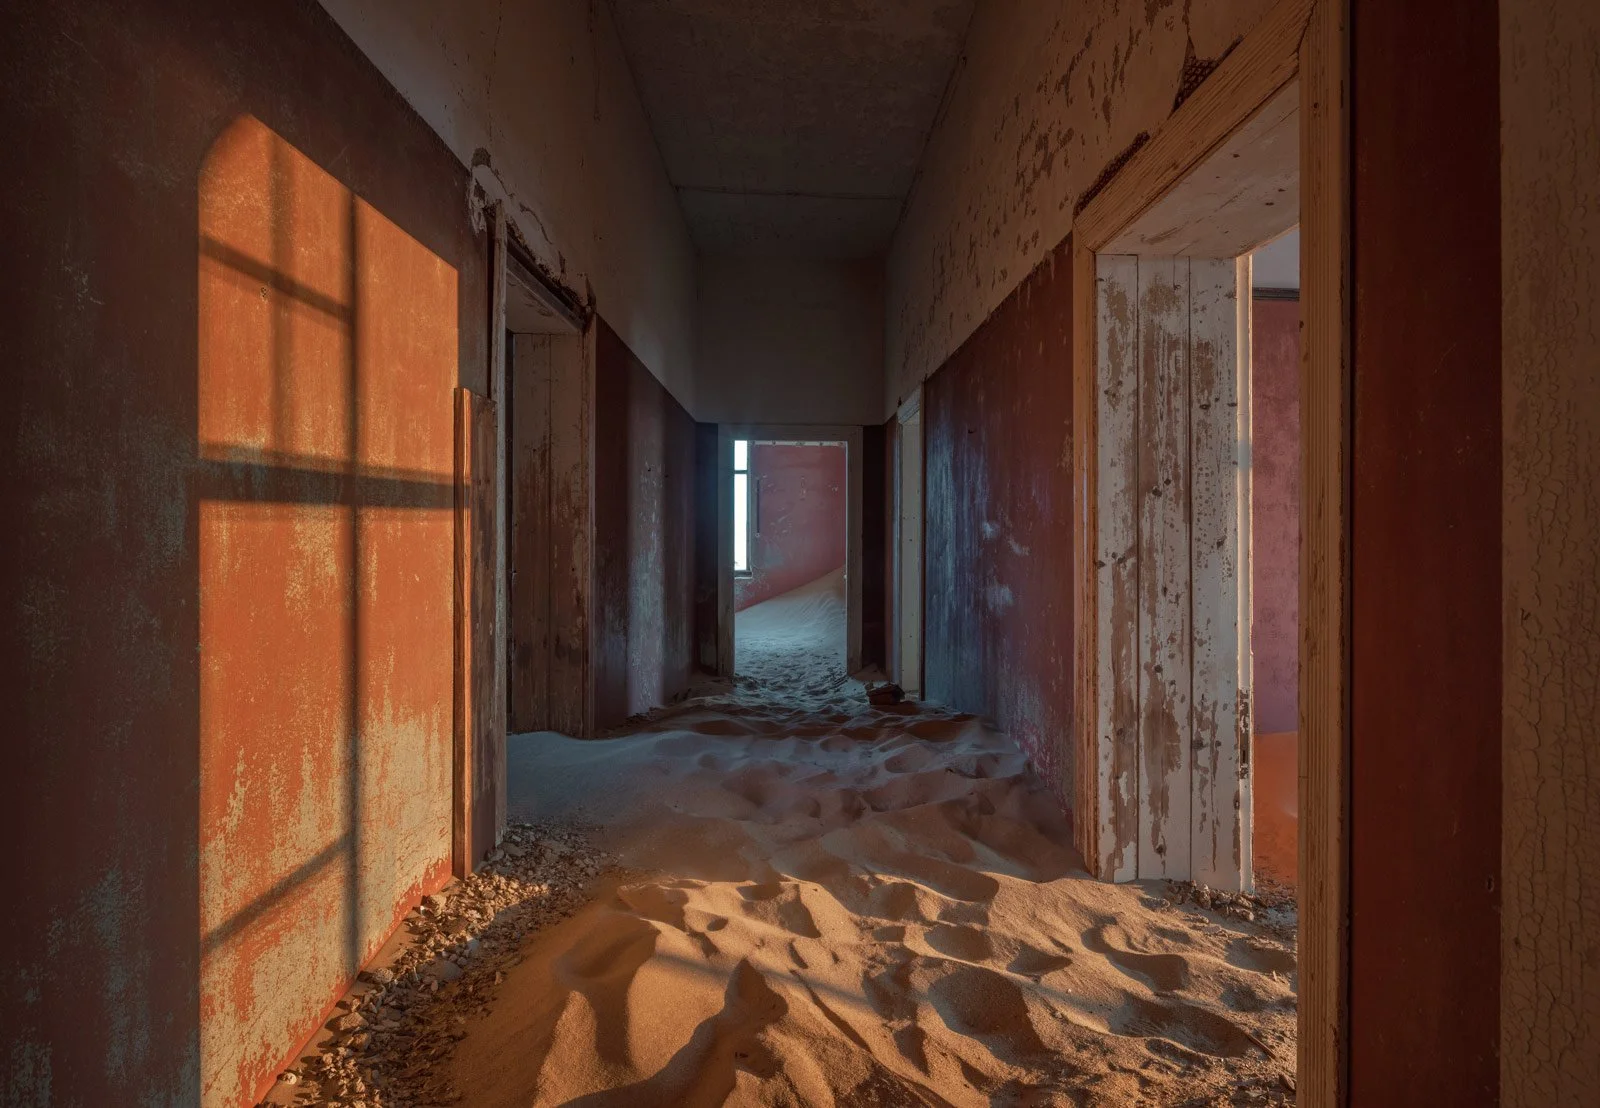
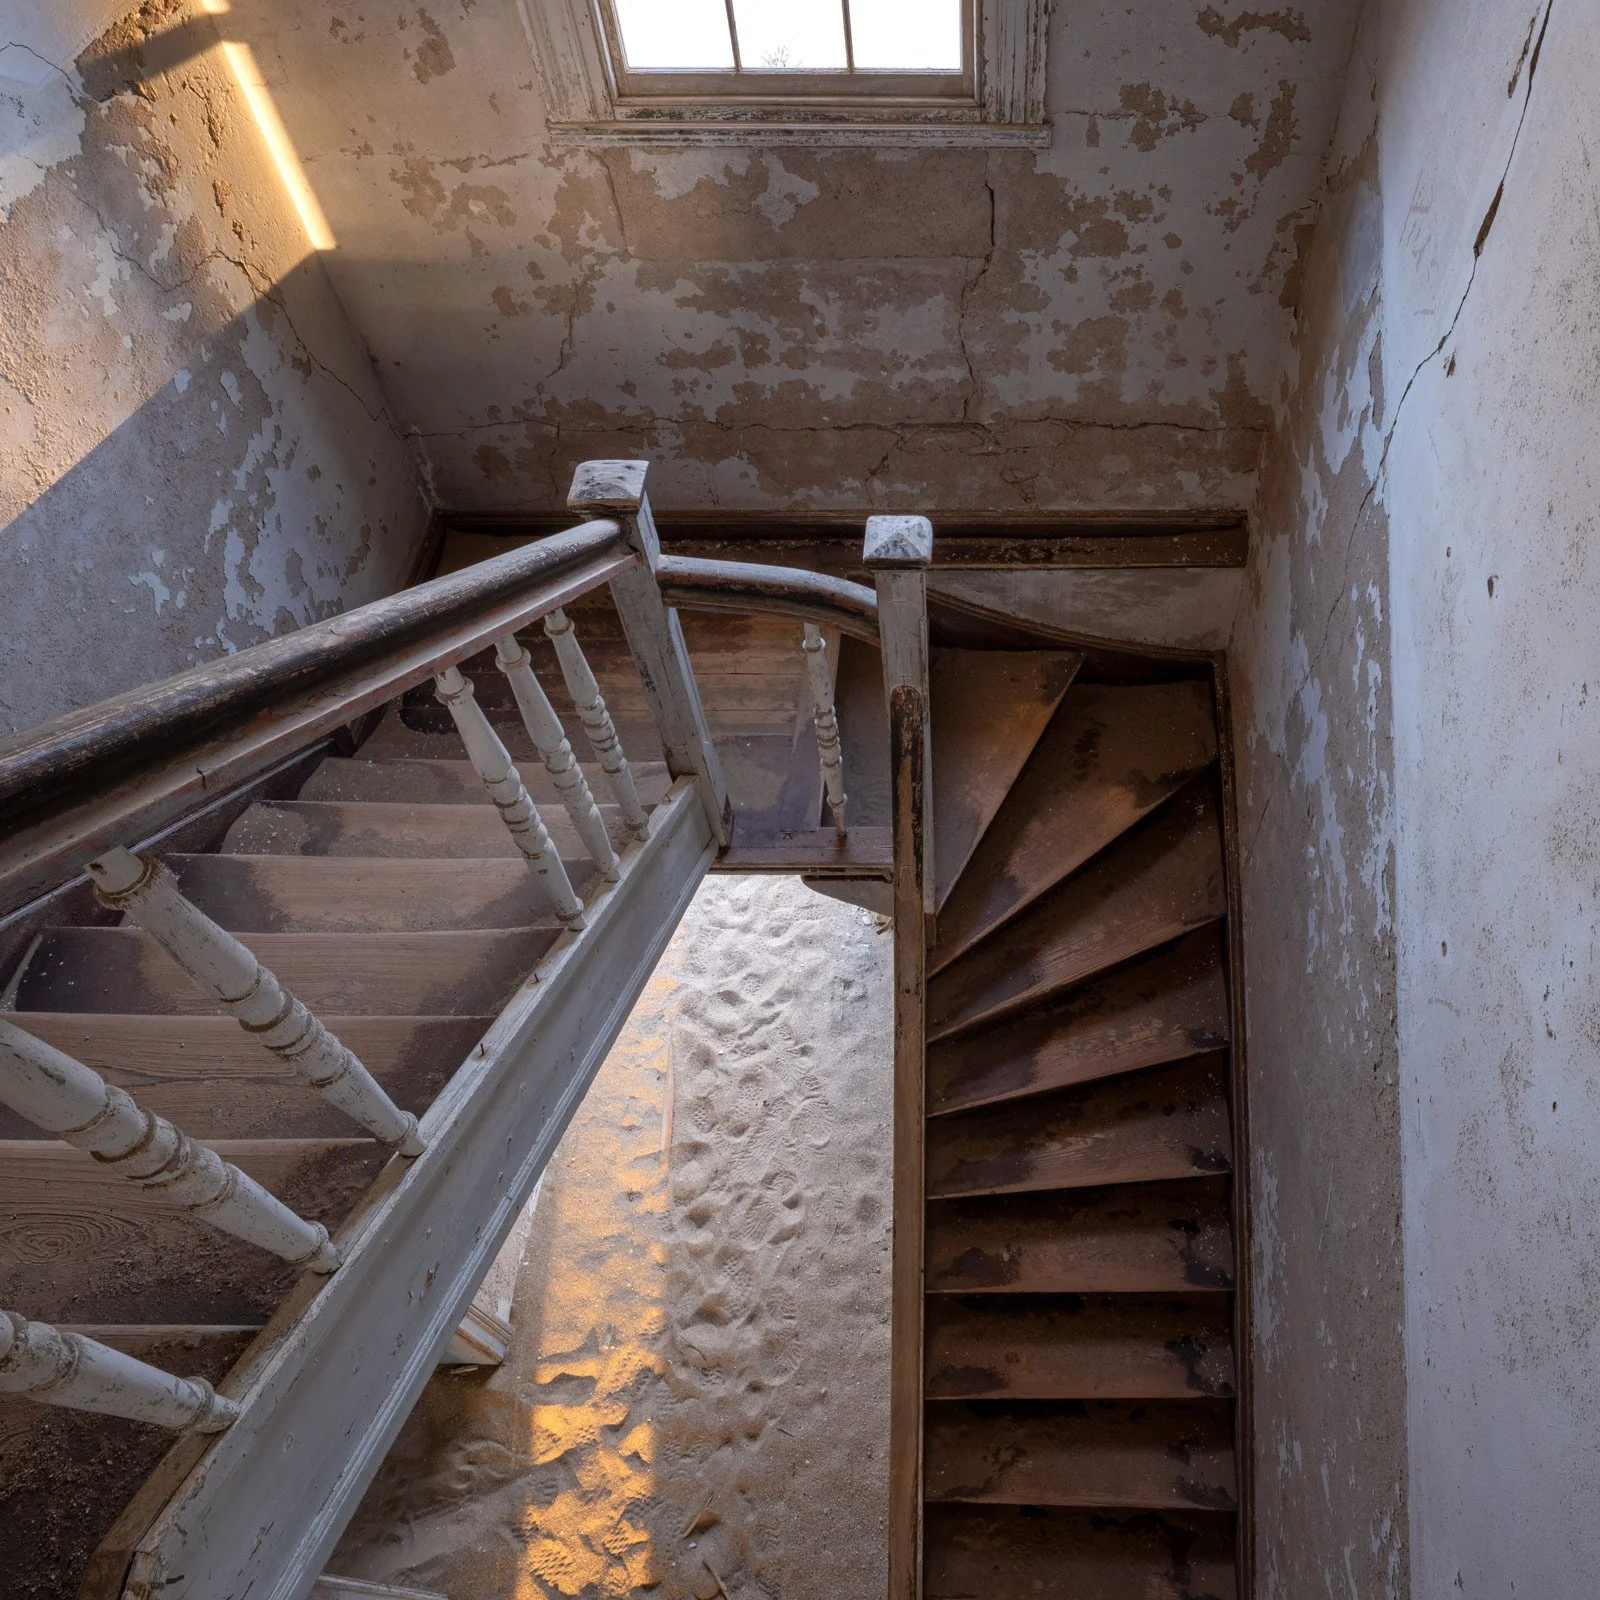
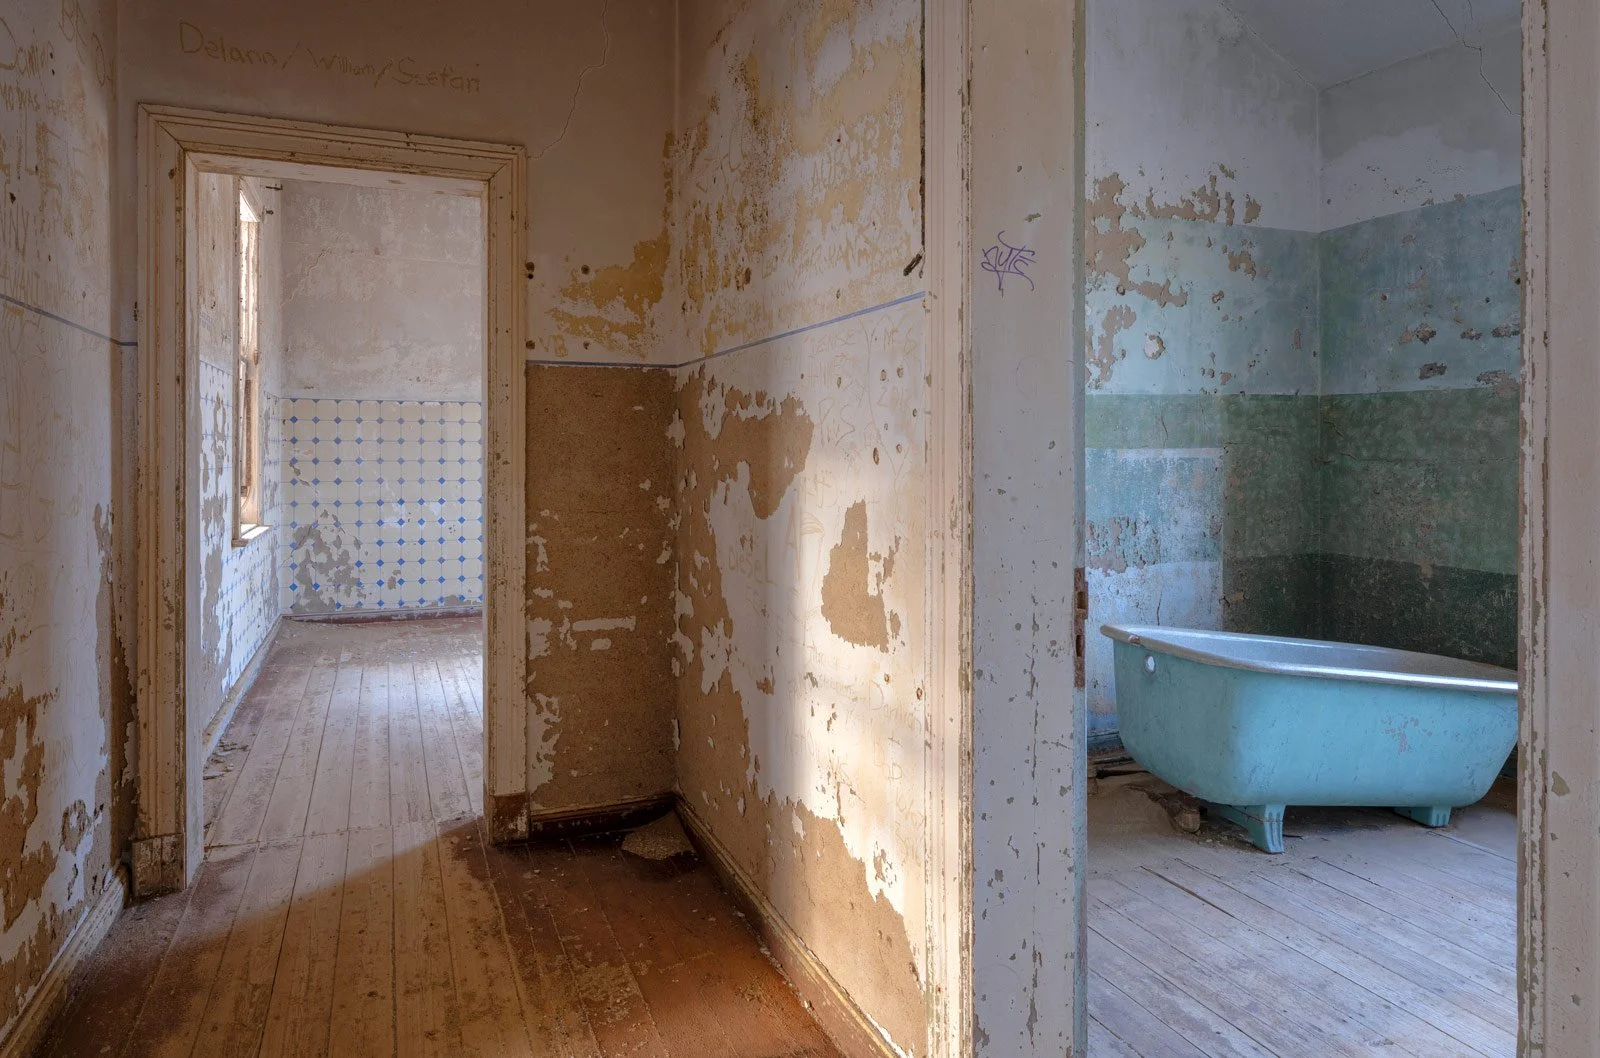
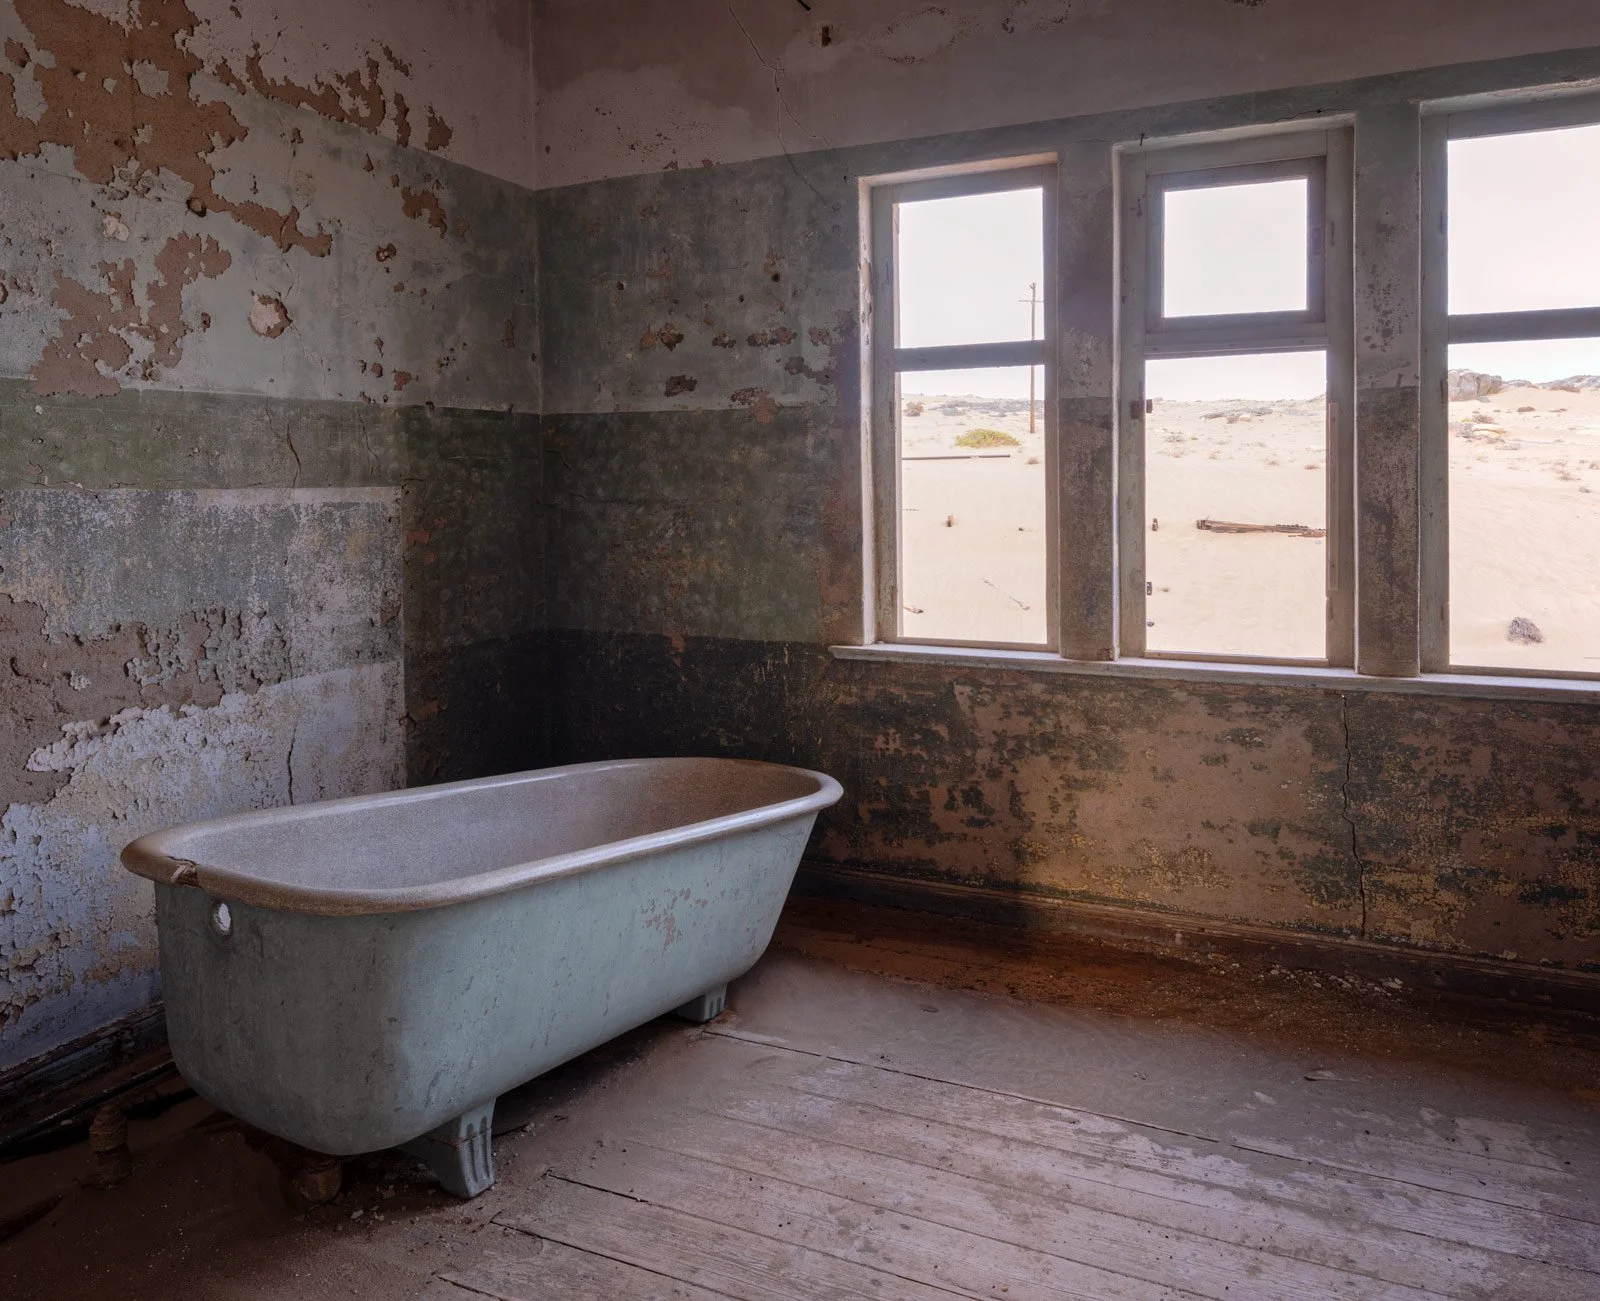
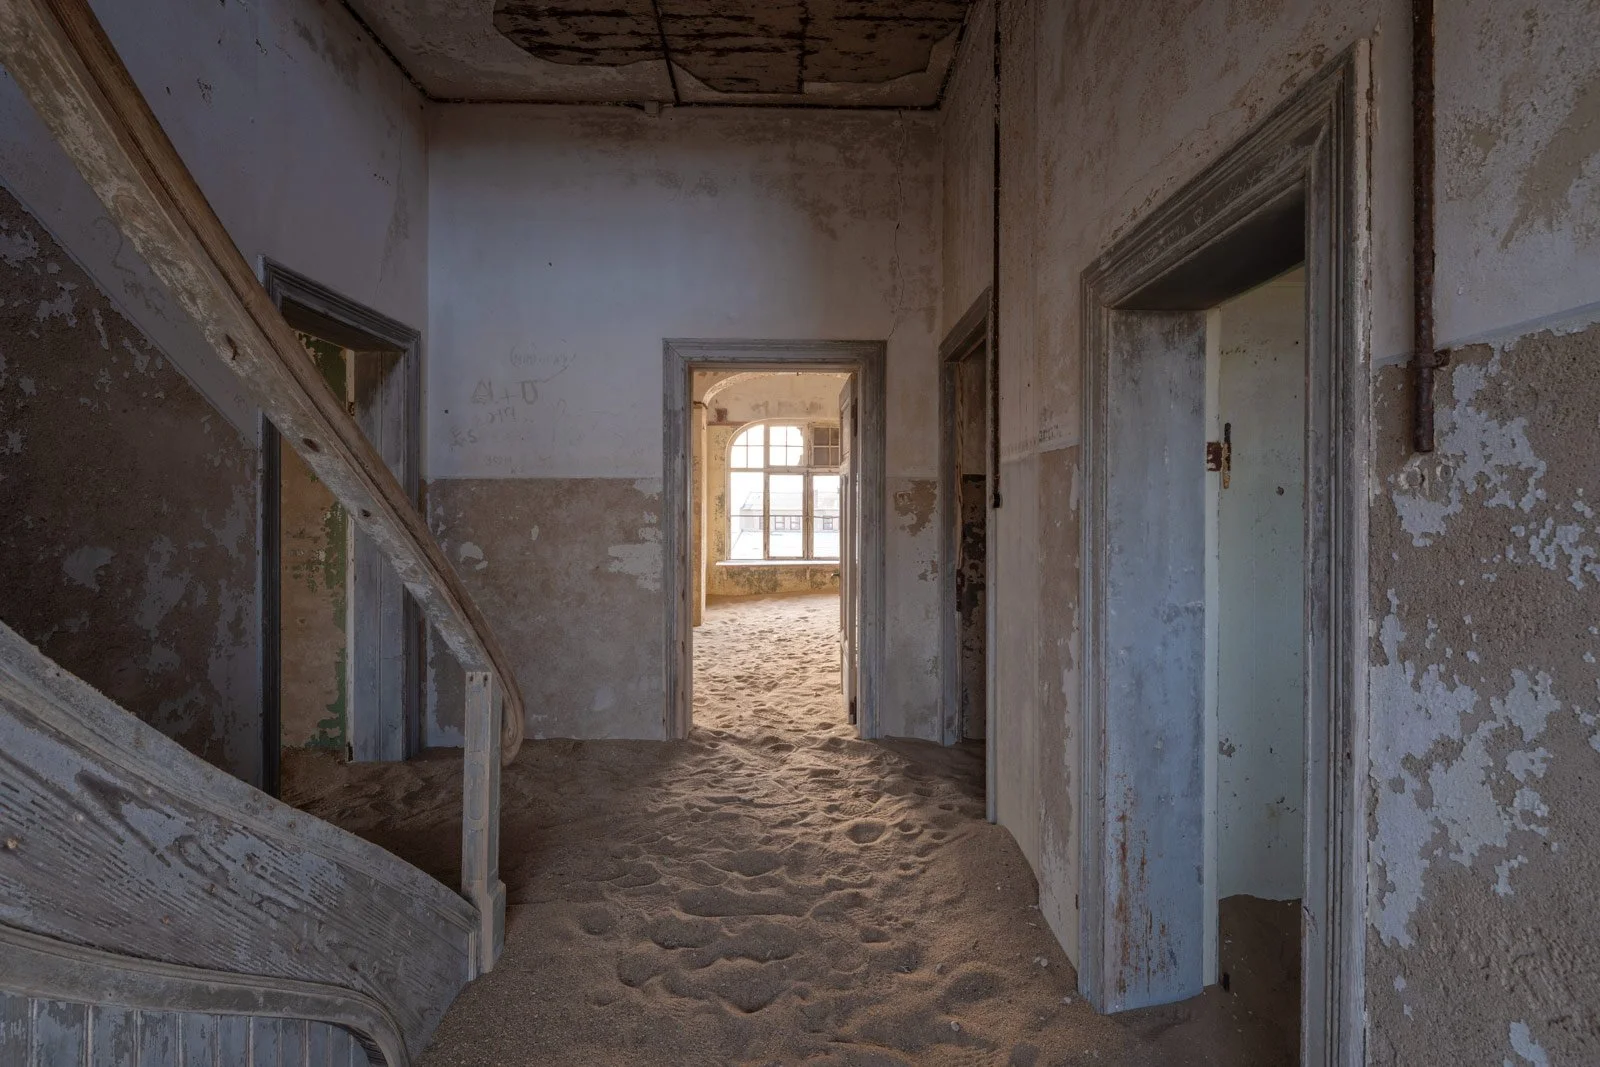
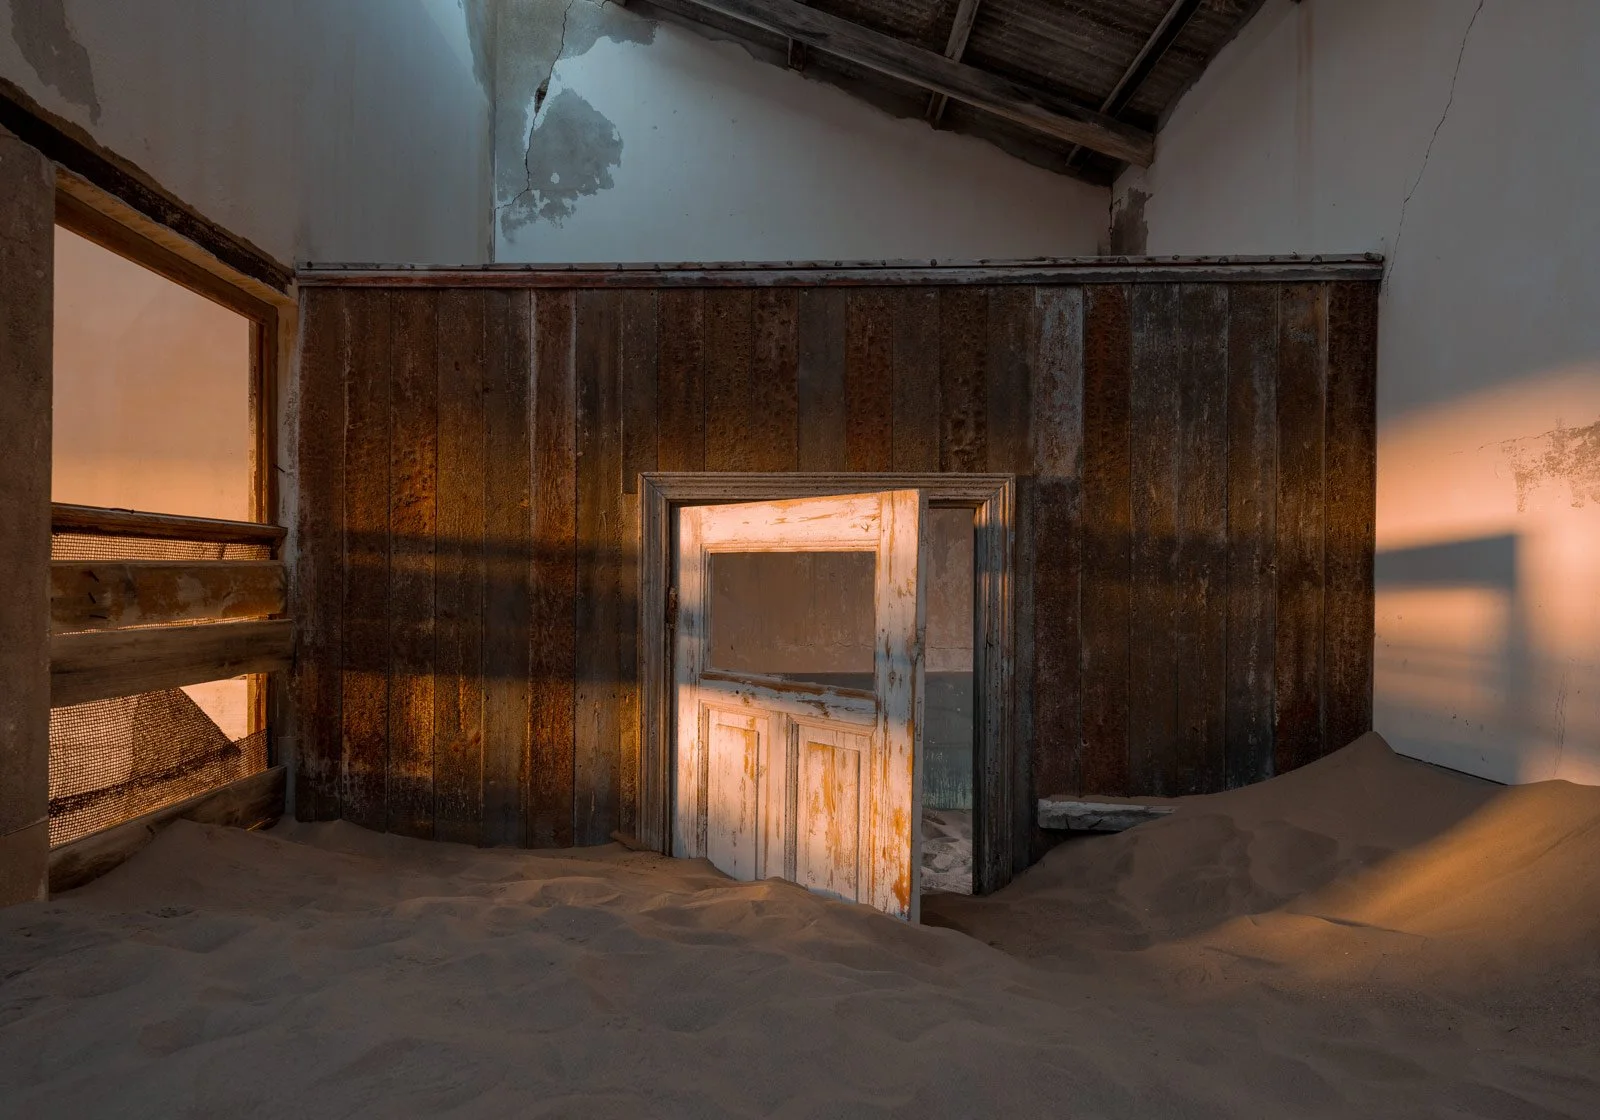
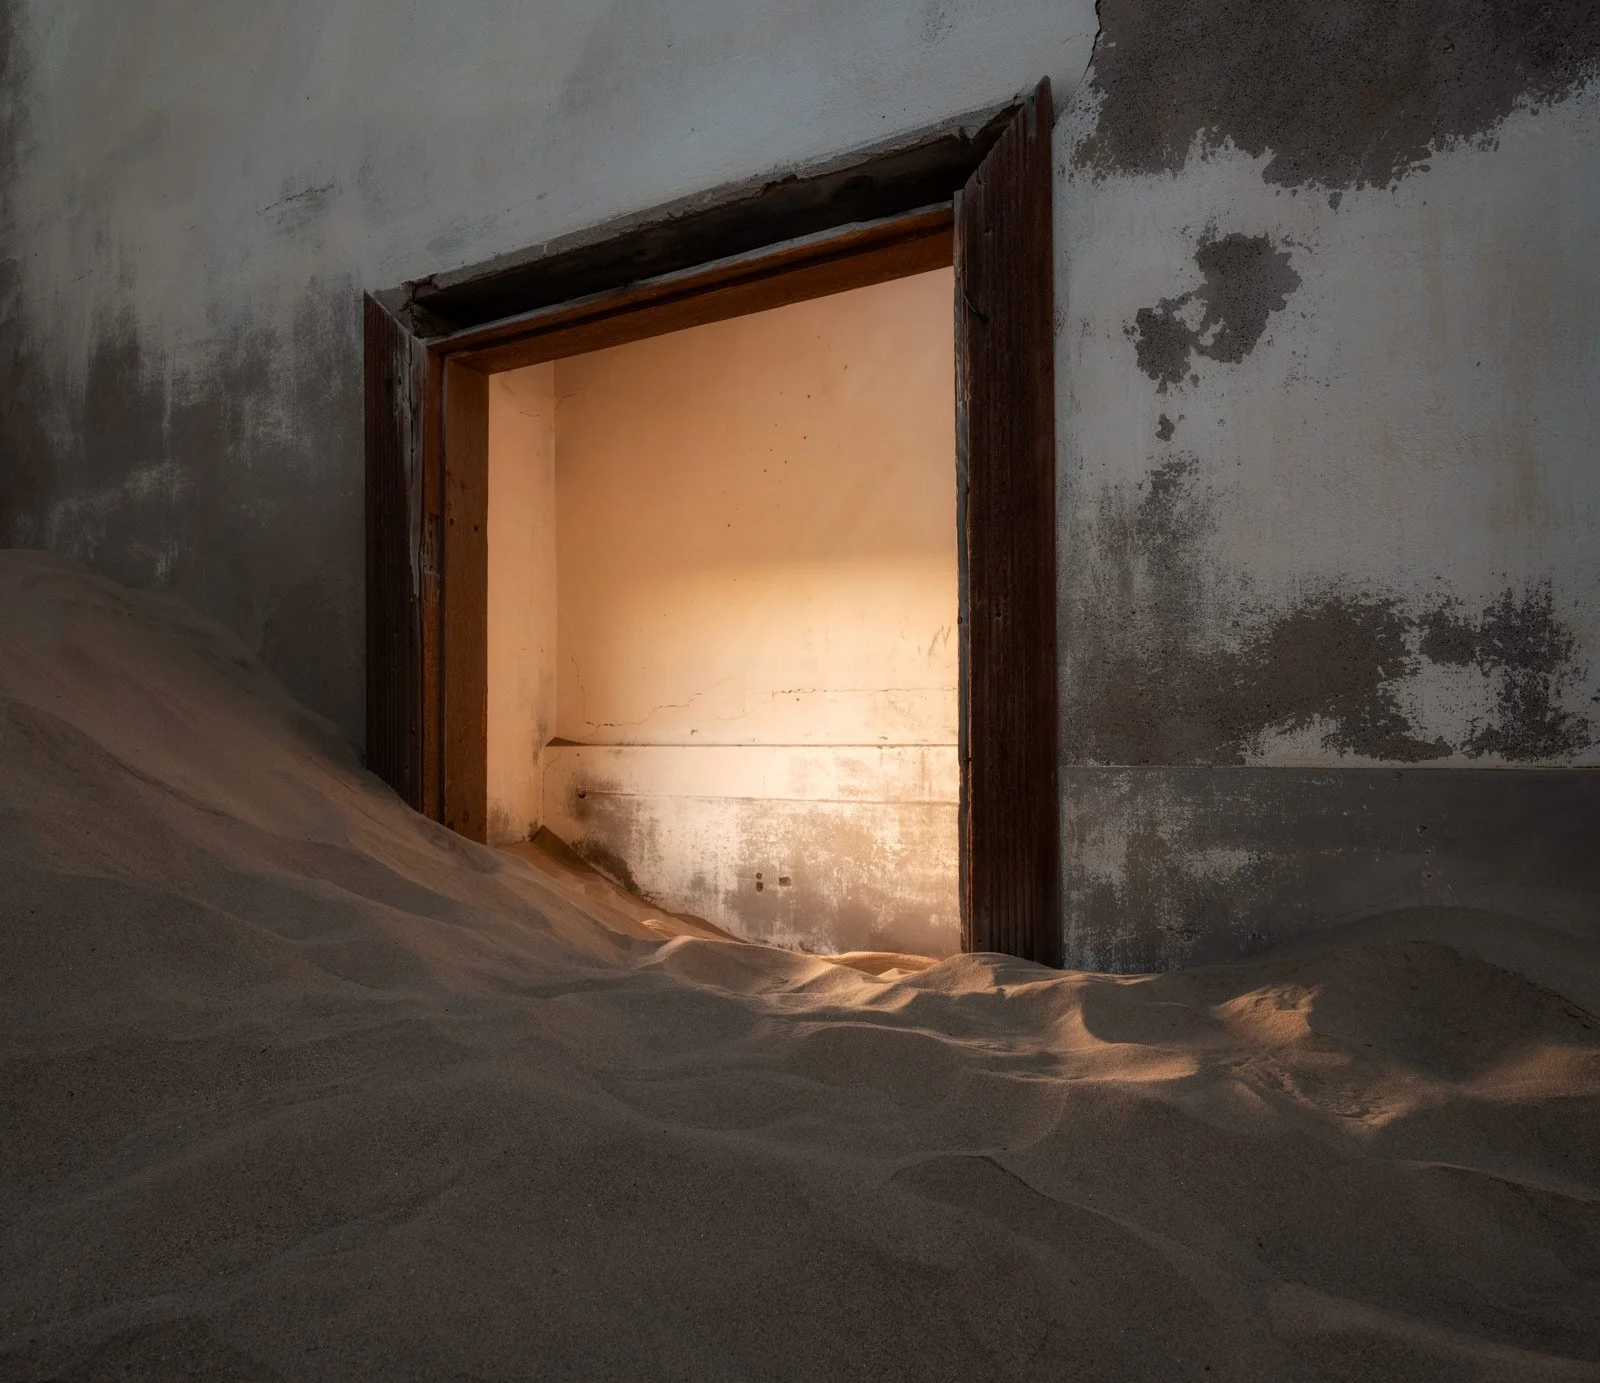
A remarkable setting. Kolmanskop brings abandoned architecture and desert dunes together in a striking way. Sand rises against faded walls and spills between rooms, its flowing curves contrasting with the straight lines of doorways and windows. This meeting of architecture, sand and light gives each interior its own photographic possibilities.
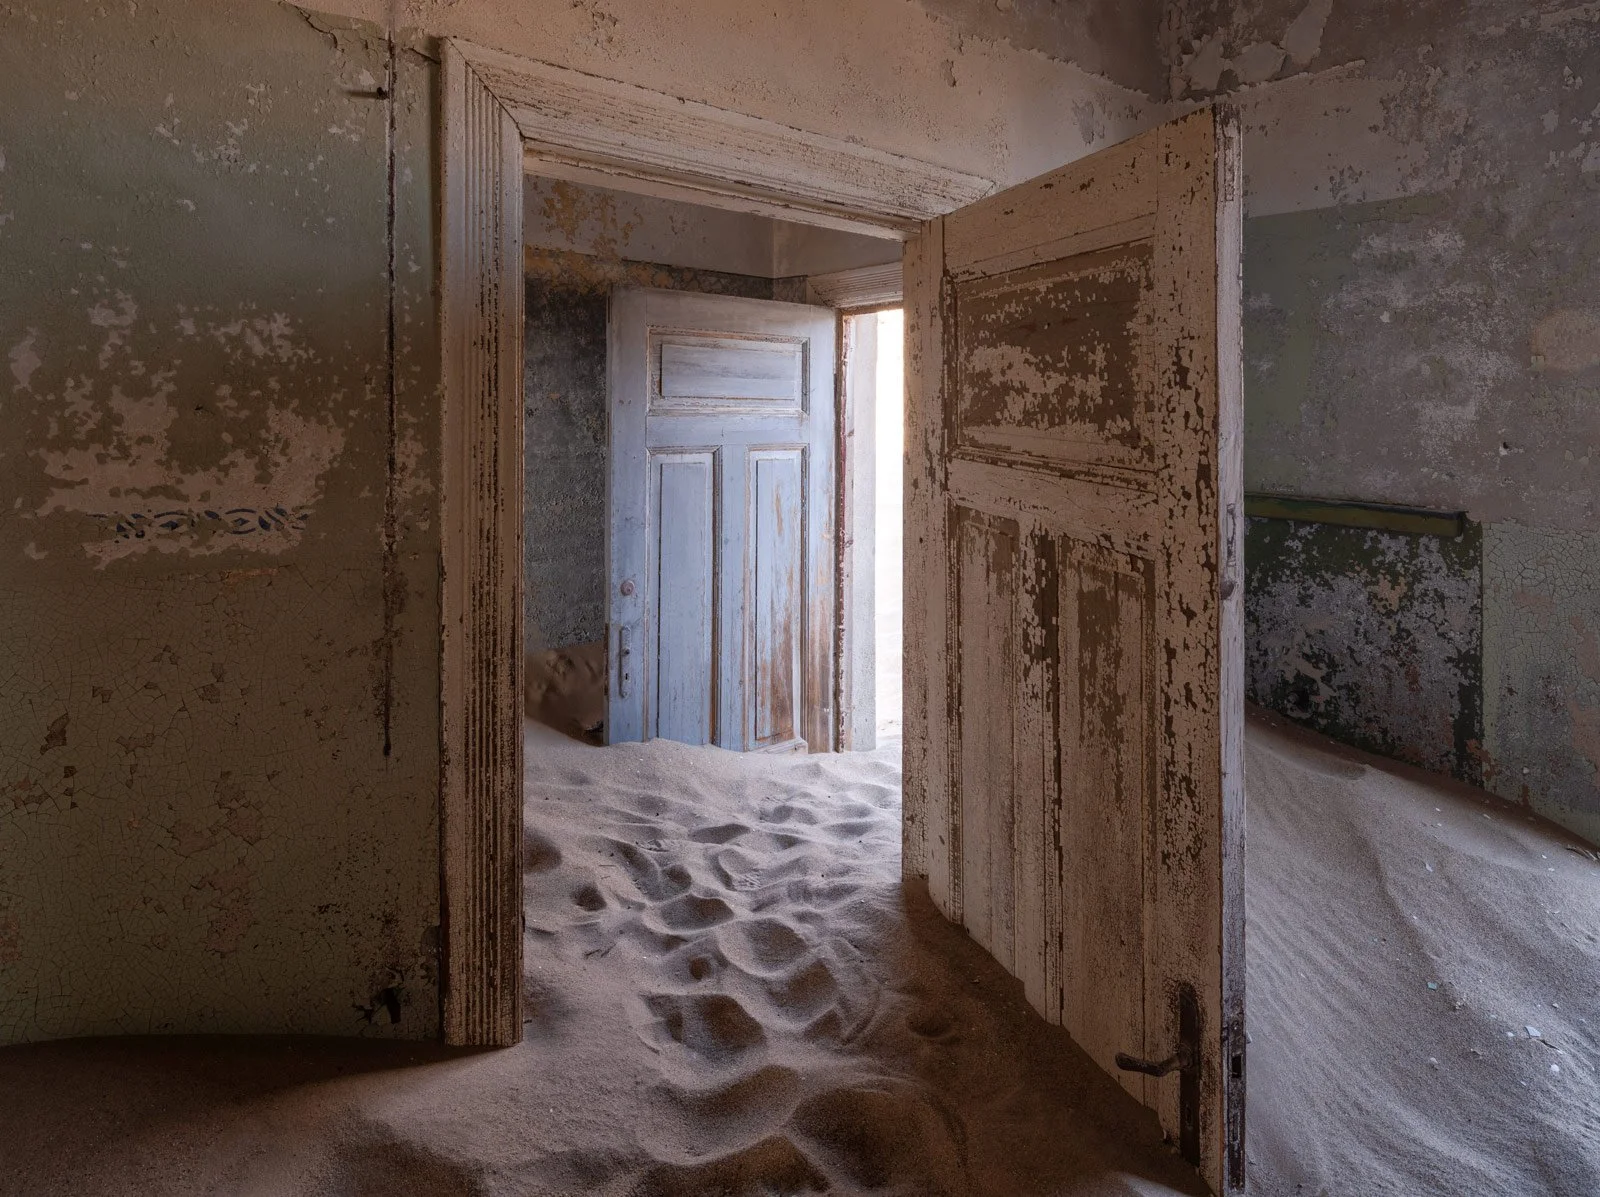
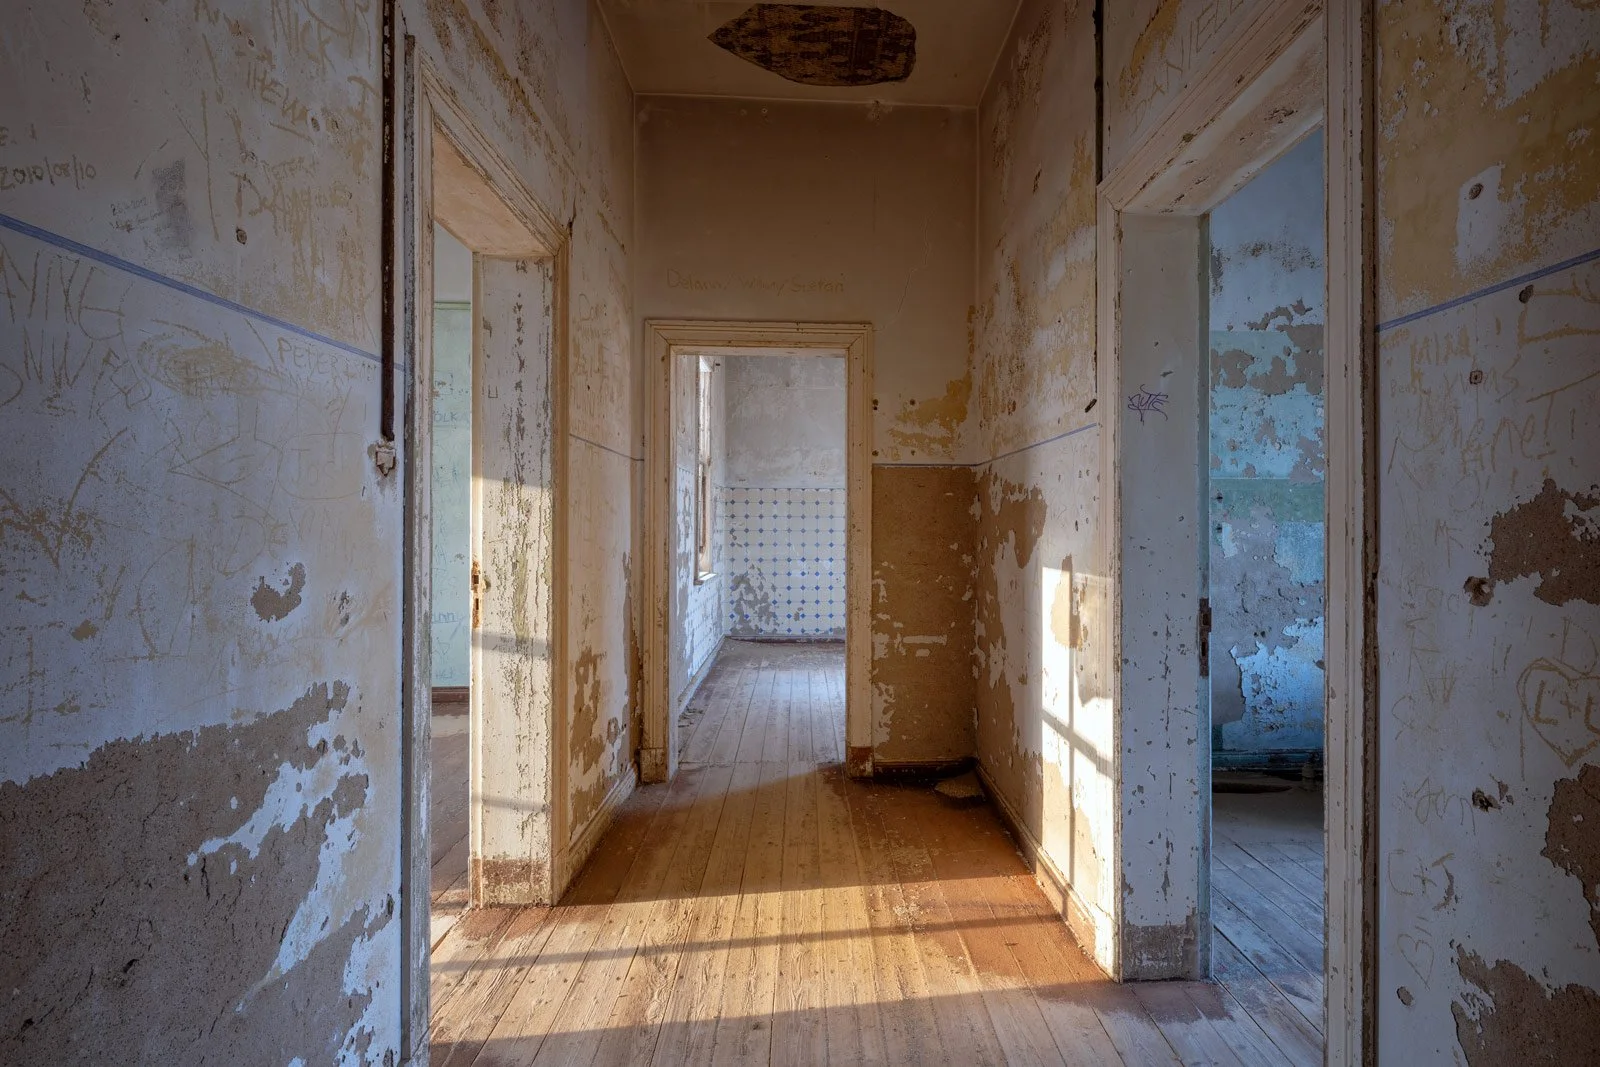
Directional light. Low-angle sunlight enters through windows and doorways, casting defined beams across sand and soft gradients along faded walls.
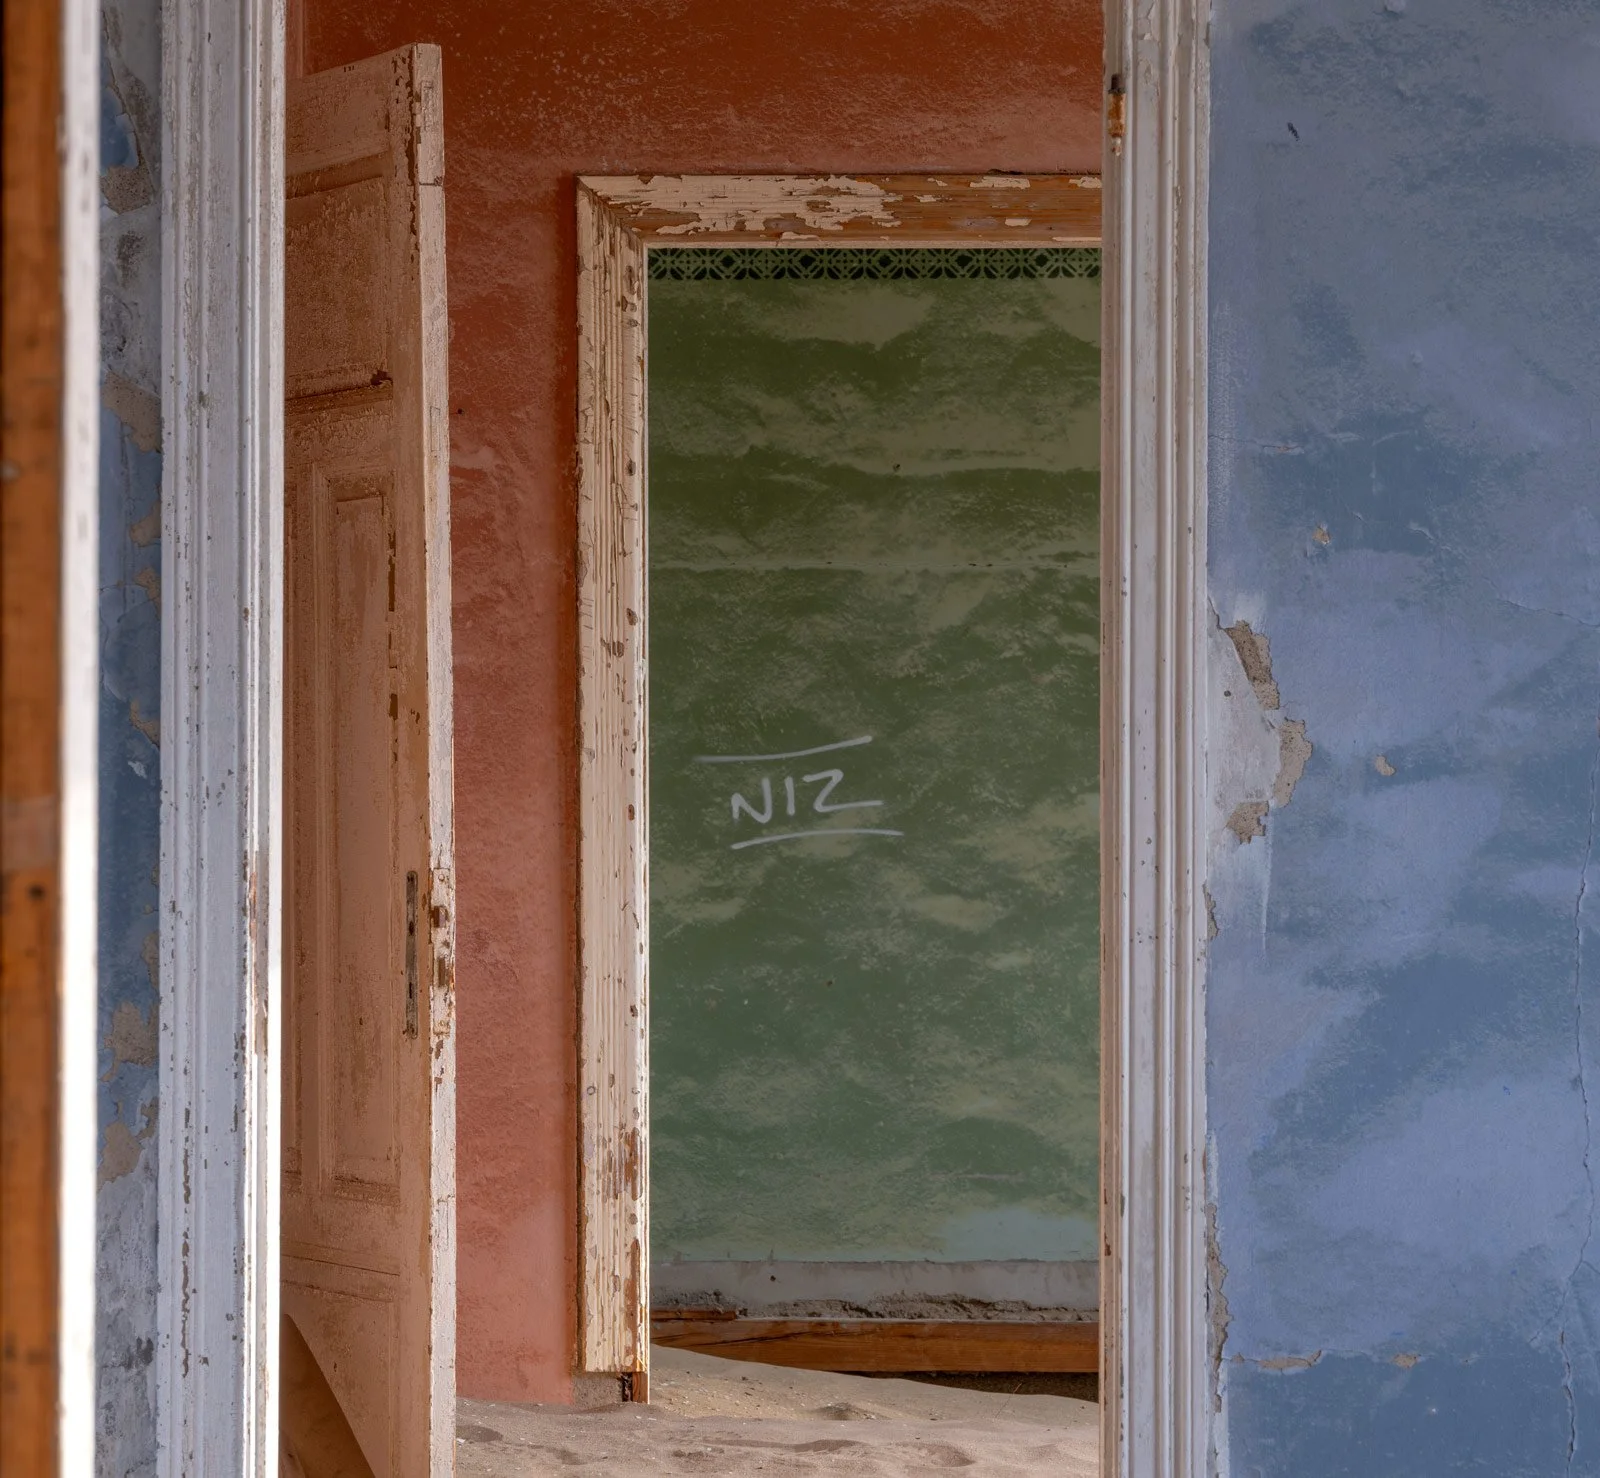
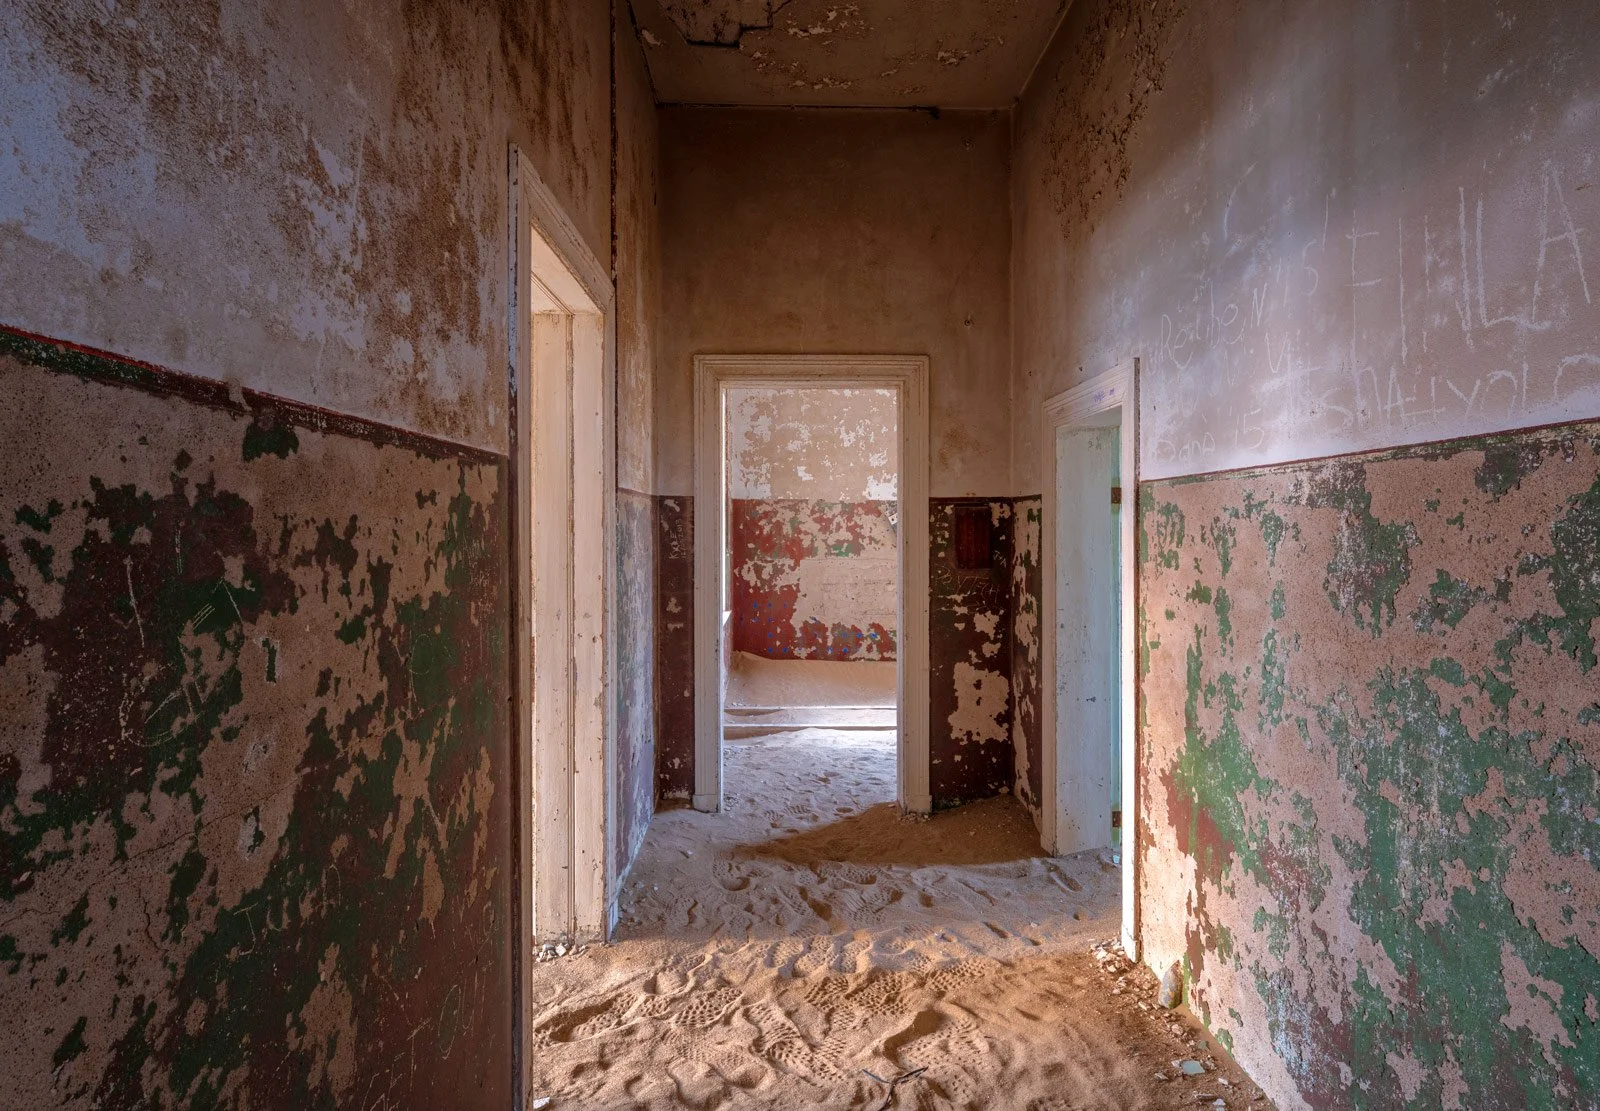
Colour. Muted greens, turquoise, ochre and pink plaster contrast with the warm tones of the sand.
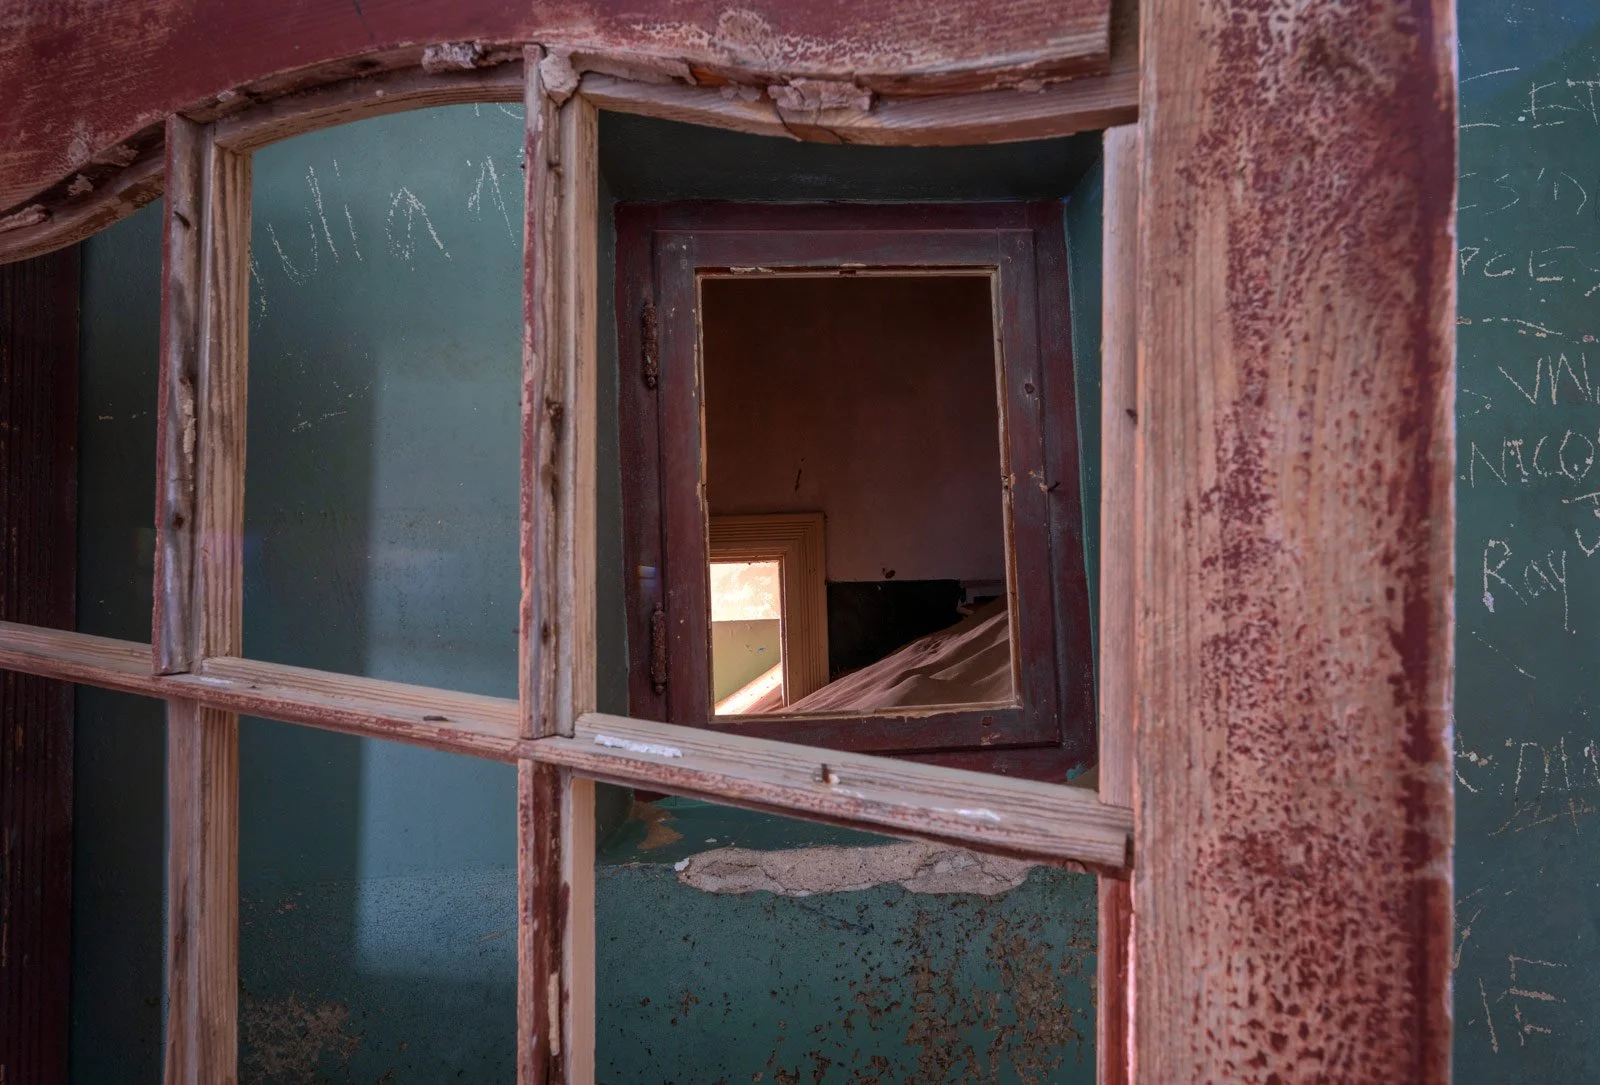
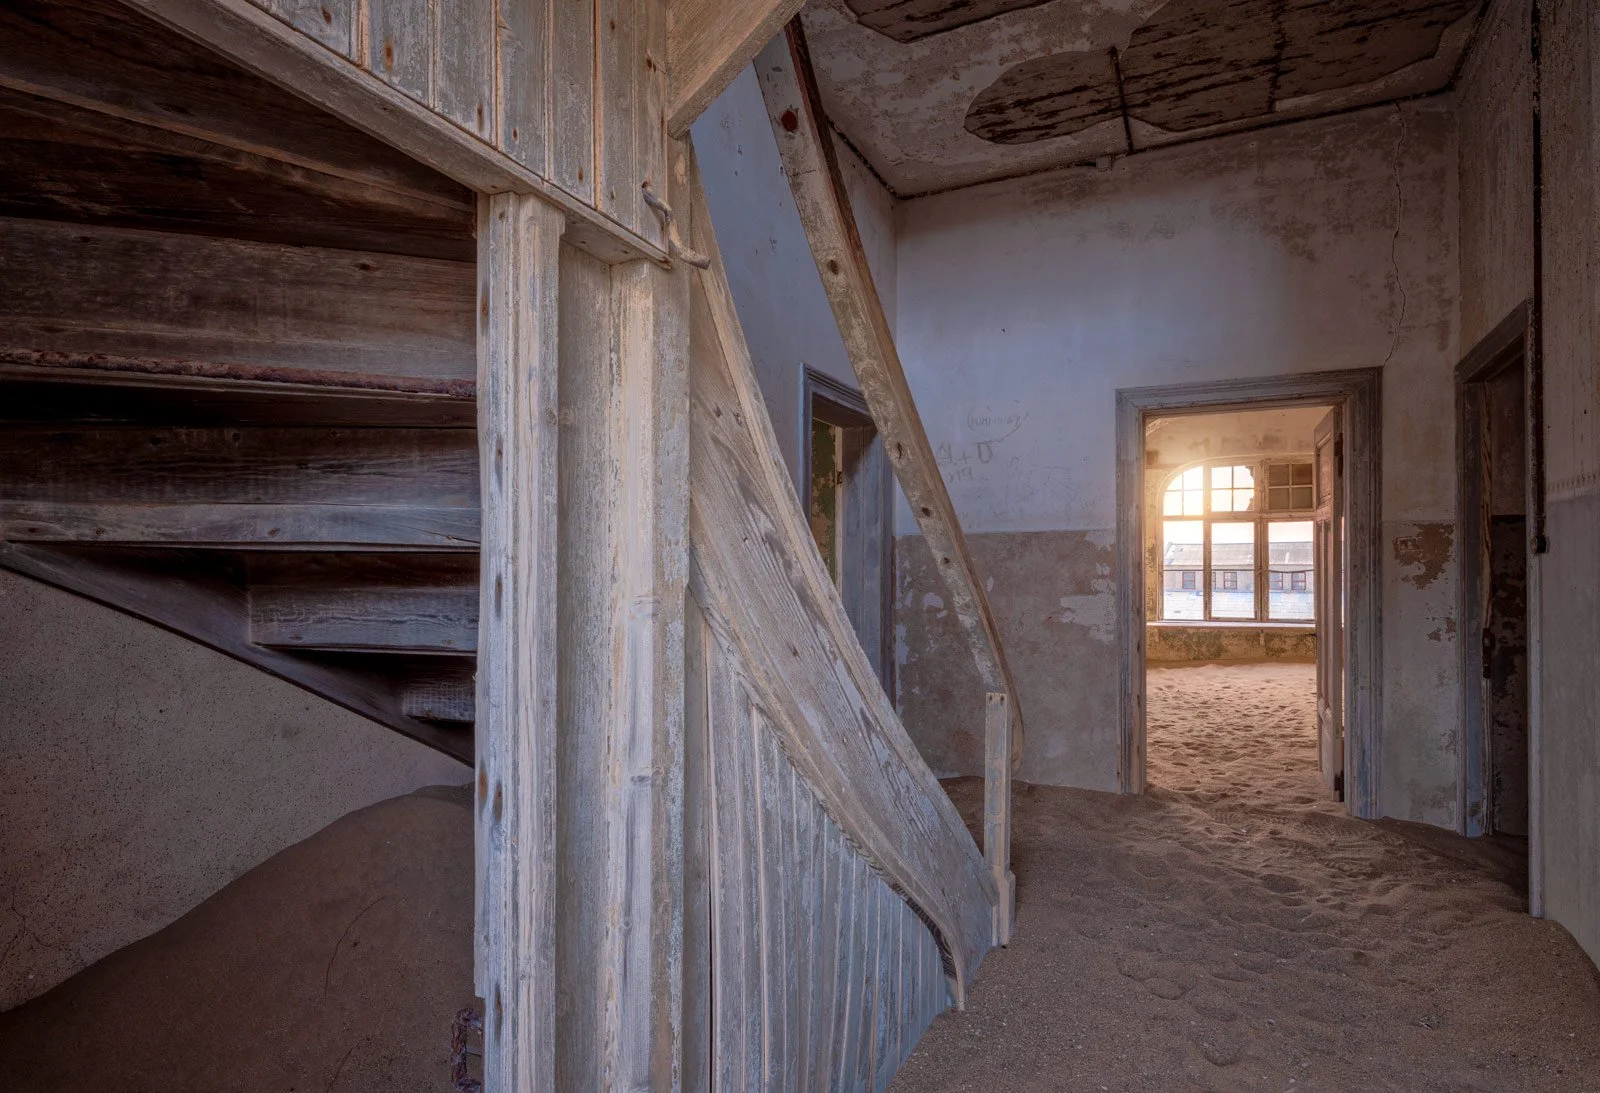
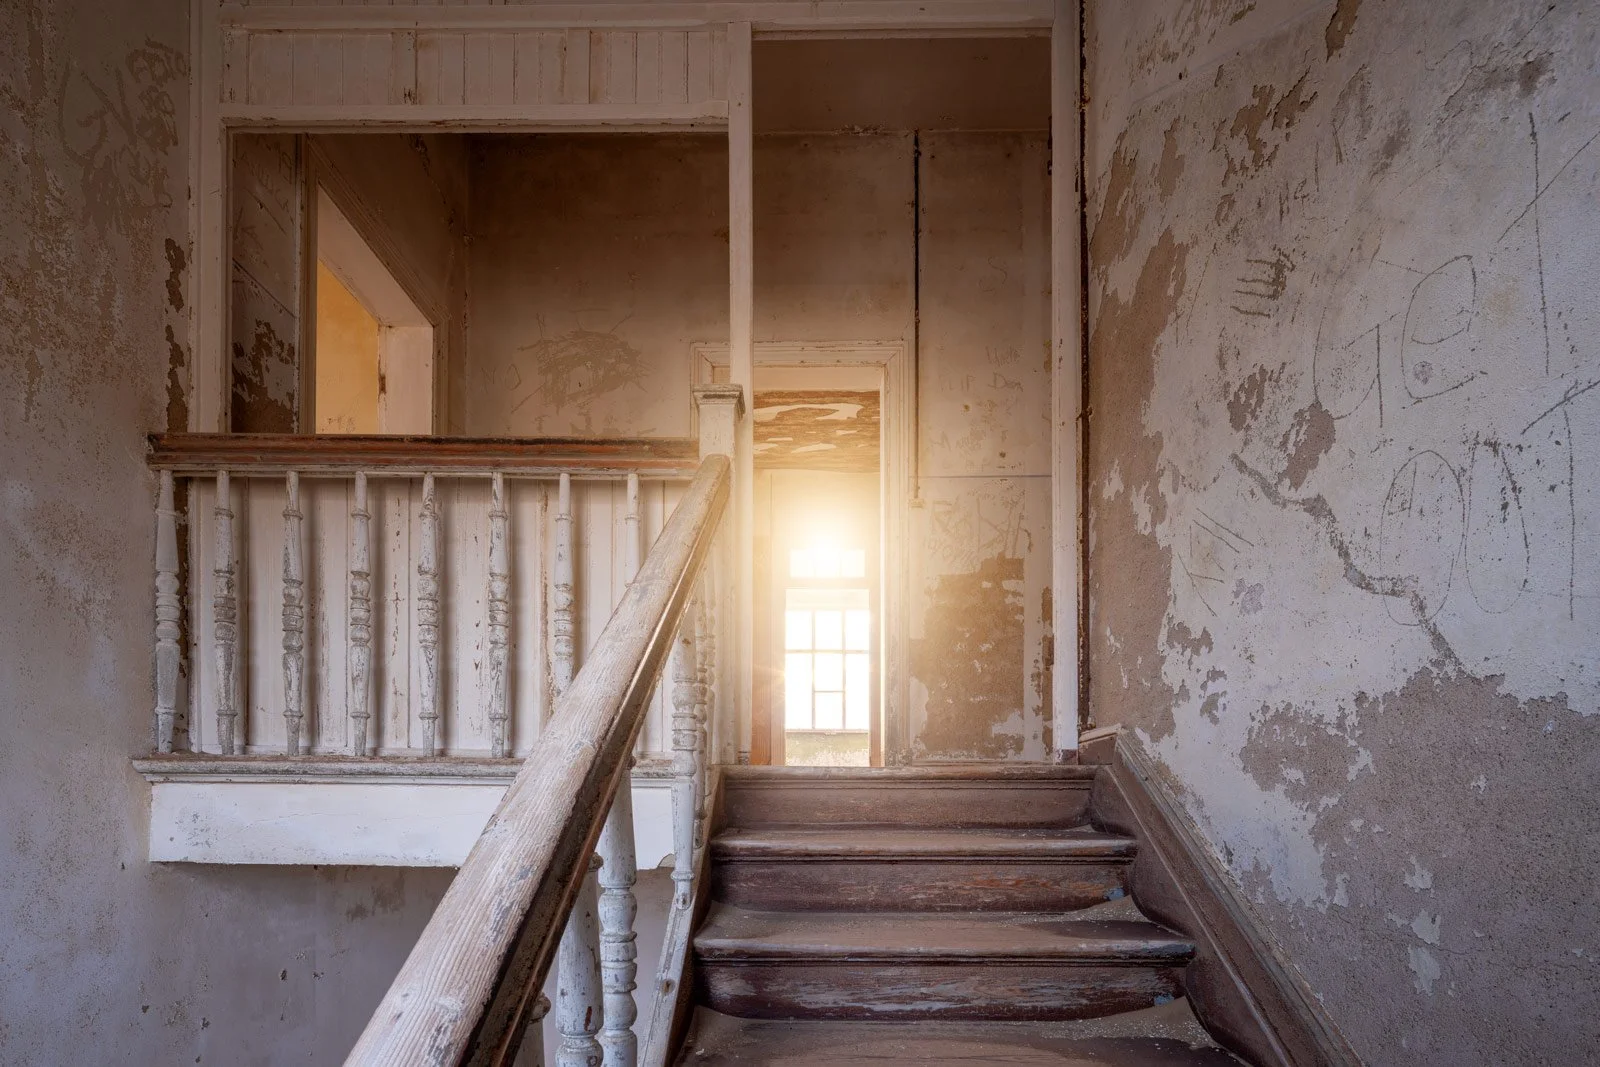
Texture. Peeling wallpaper, warped floorboards, rusted fixtures and wind-sculpted sand reveal the effects of time throughout the buildings.
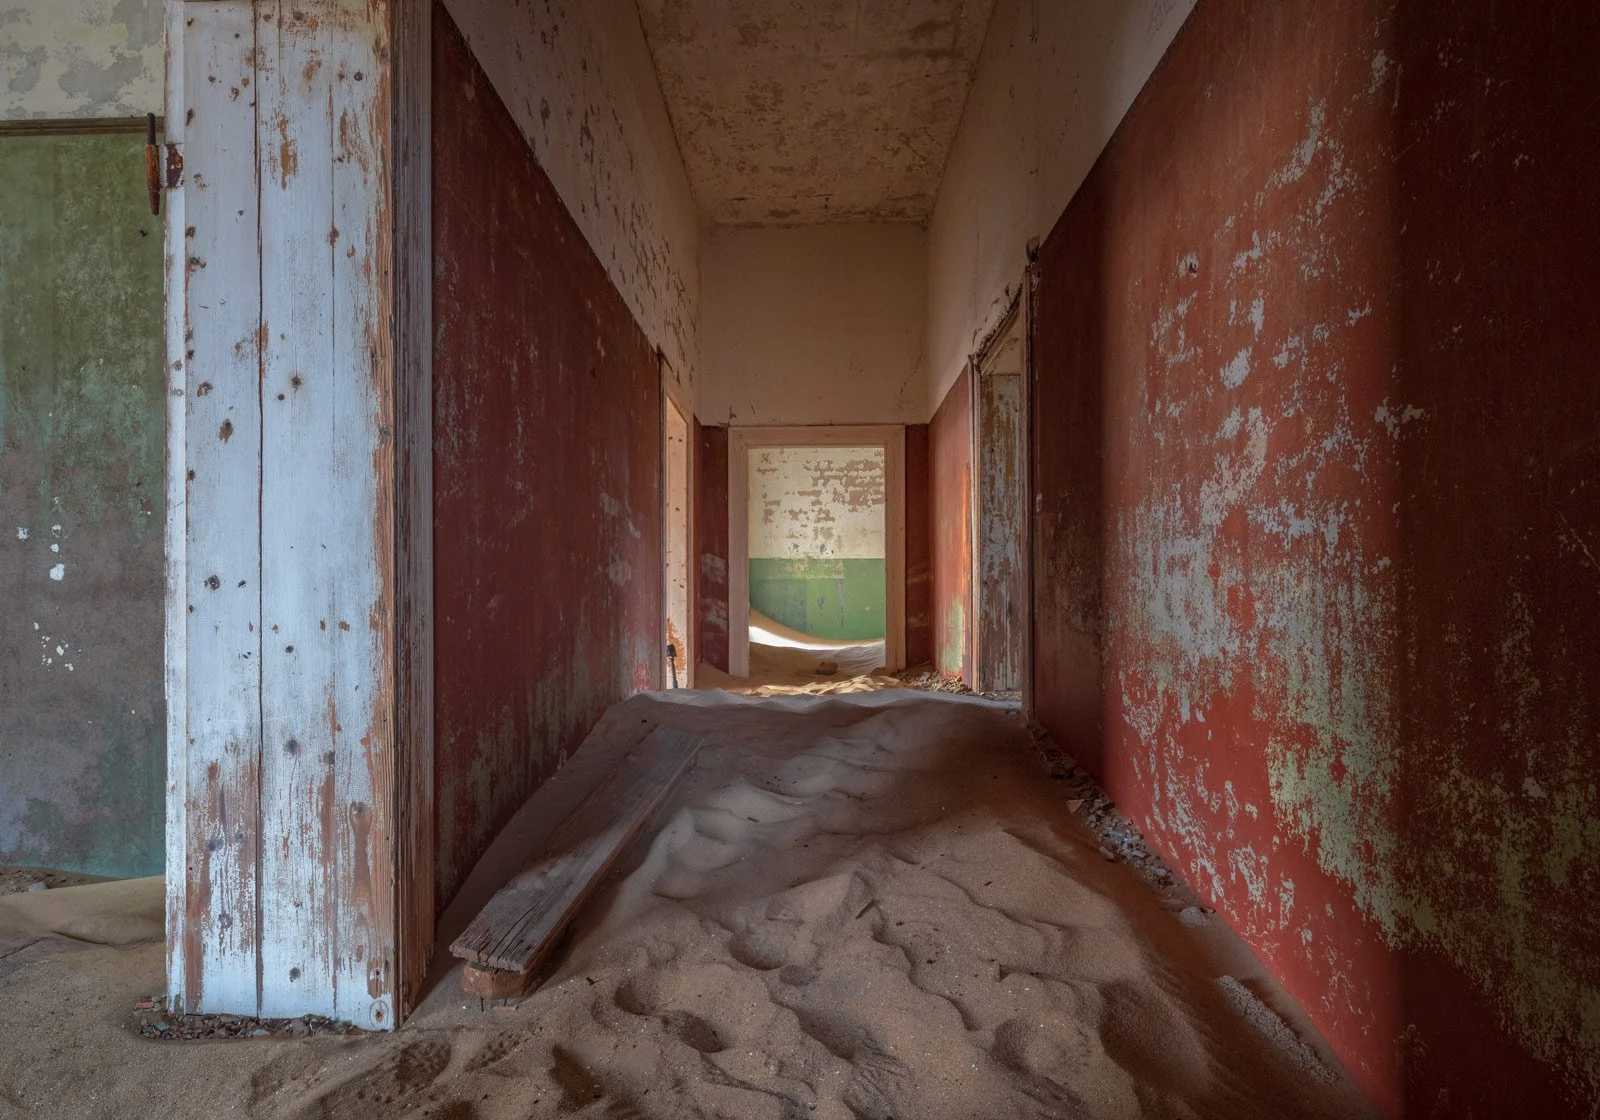
Geometry. Repeated doorways, staircases and connected rooms offer depth, framing and strong lines for careful architectural composition.
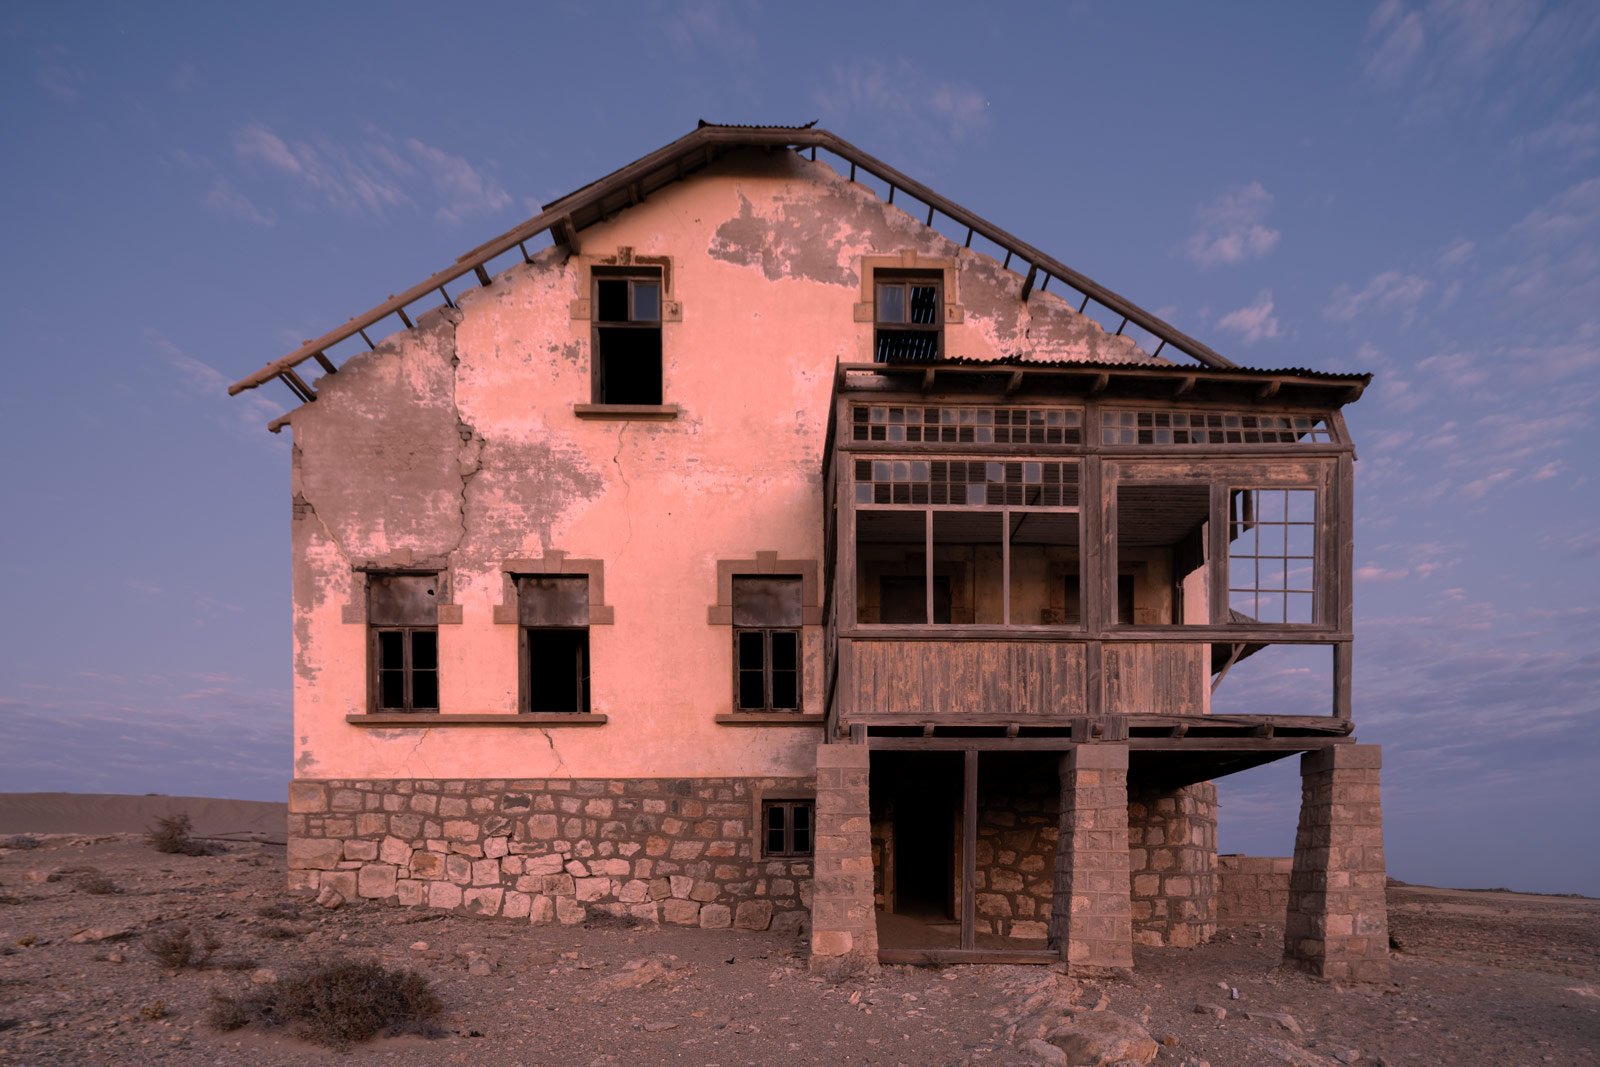
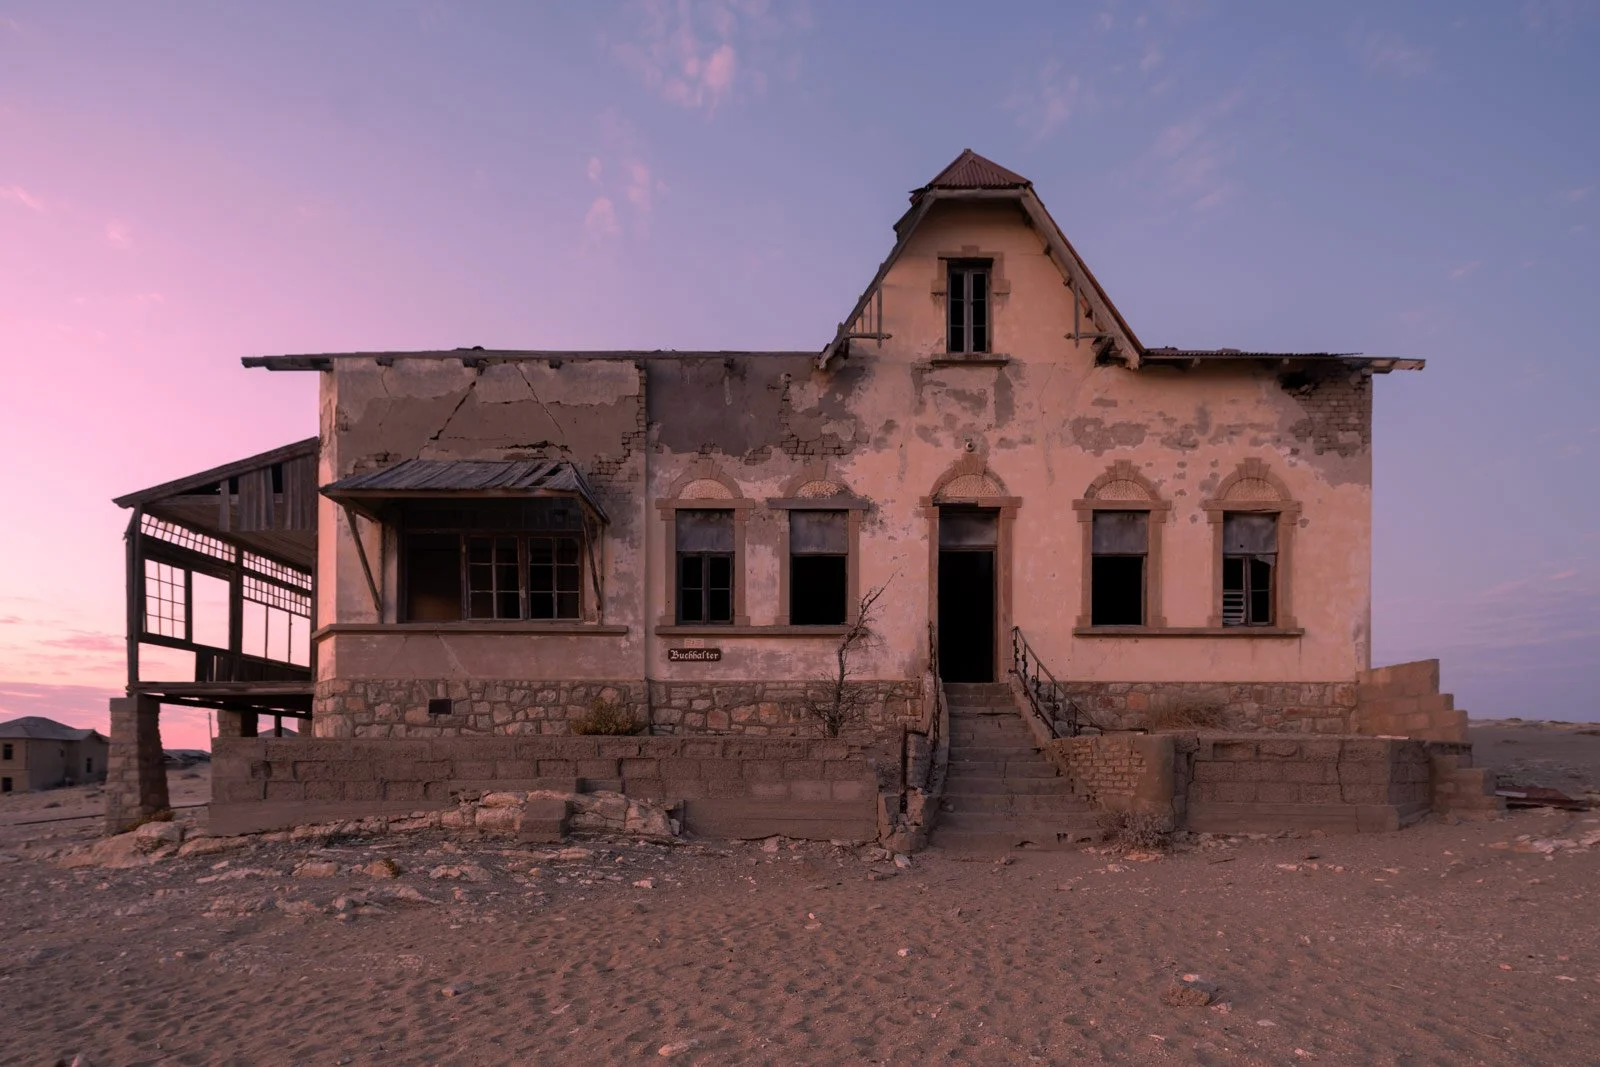
Variety. Each building offers a different photographic approach, from close studies of faded paint and sand patterns to wider views of entire rooms. Outside, isolated façades and buildings surrounded by dunes place the interiors within the broader desert landscape.
Take your time. Revisit rooms at different hours. As sunlight reaches another wall or falls across a sand drift, it can reveal a composition you hadn’t noticed earlier.
Access, hours and permits
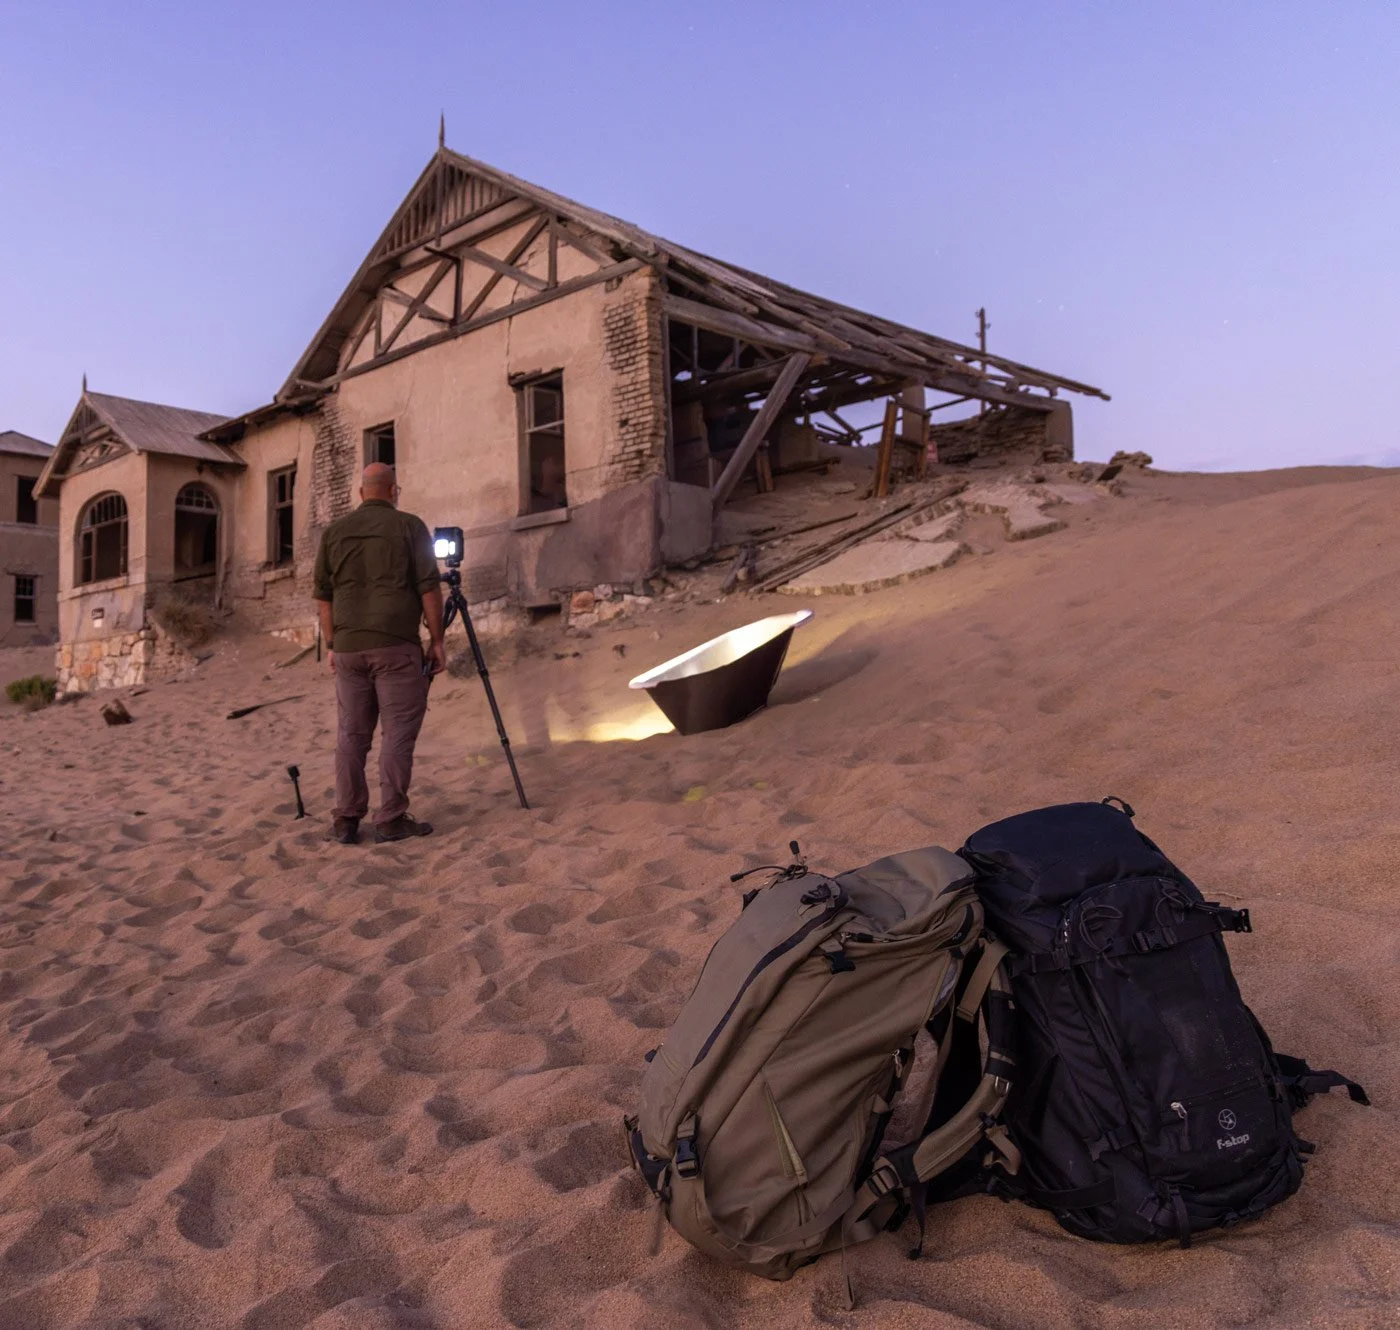
Kolmanskop offers standard admission and an extended photography permit. For early-morning access before regular visitors arrive, you need the photography permit. This gives you the opportunity to work with the early light and photograph the interiors with fewer people around.
Before planning your shoot, check with Desert Deli in Lüderitz, on the corner of Bahnhof and Moltke streets, for the latest permit prices, access hours and photography arrangements.
I found the owner very kind and happy to help, making it a useful stop for advice and organising a visit. They also serve delicious coffee and have a souvenir shop, giving you another reason to stop by.
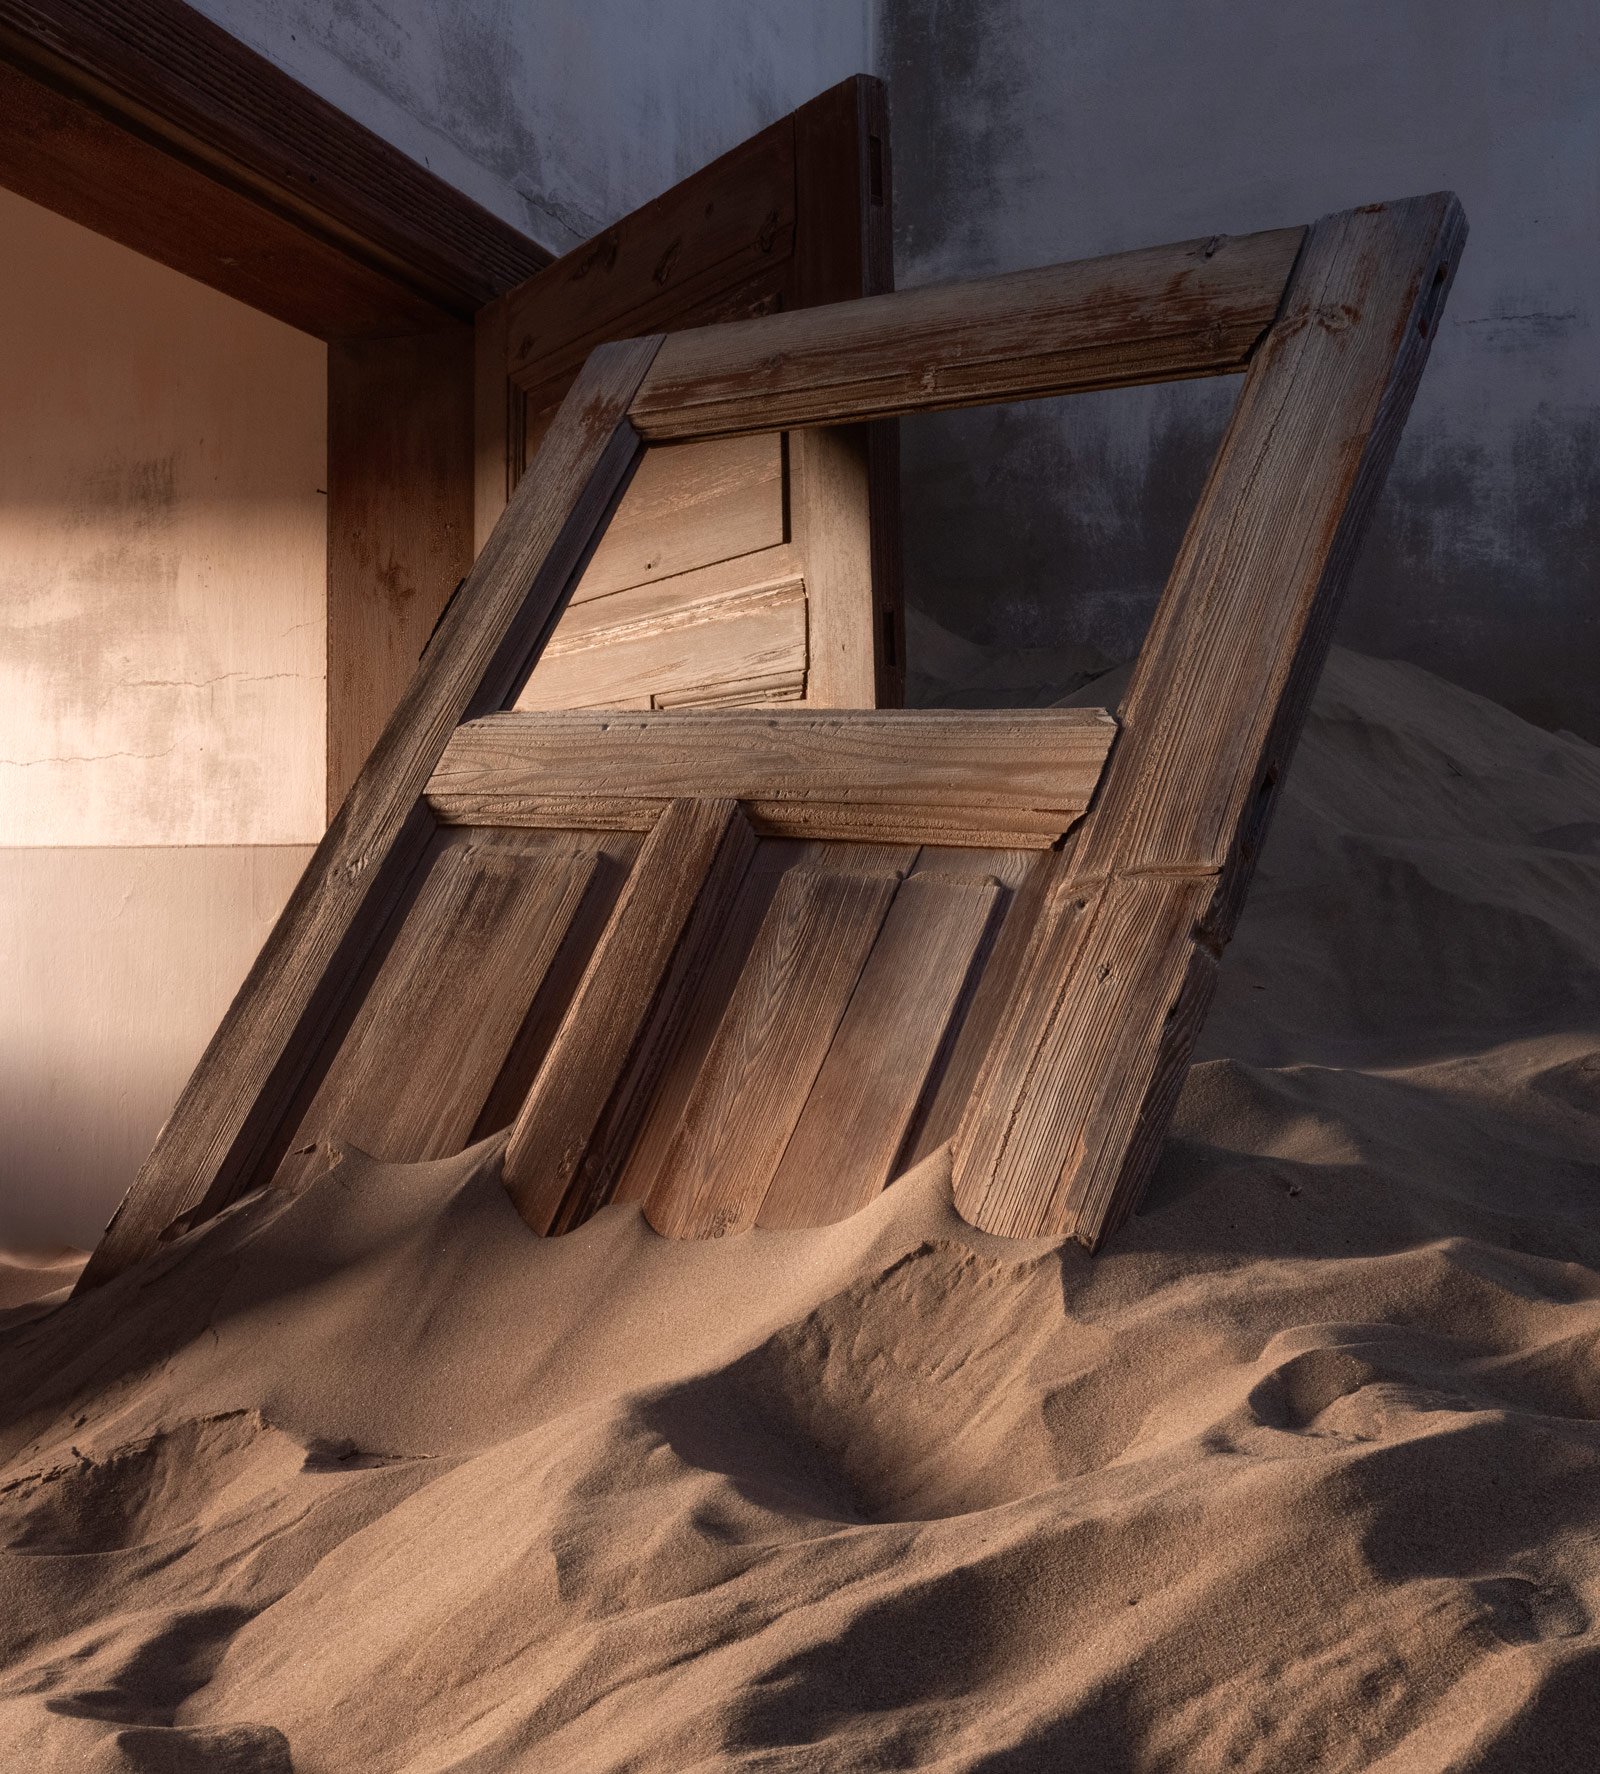
The reality: planning and shooting here is not easy
The photos make Kolmanskop look effortless, but the shoot itself was anything but. If you want to document it properly, plan for three days instead of one rushed morning. Spend the first day on a recce, walking the town to see how the light moves through each room, which compositions work and when, and where the narrow spaces and unsafe floors are. Use the next two days for shooting, going straight to the rooms you’ve already planned and returning to the best ones at different times of day.
Preparing for an early start
Arrange your photography permit in advance and arrive early to photograph the buildings and dunes outdoors during blue hour. As golden hour begins lighting the interiors, move inside to explore the sunlight falling across walls and sand.
Winter mornings can be very cold, especially in the strong coastal winds. Bring warm layers, gloves and a hat. Keep your tripod stable, protect your equipment from blowing sand and carry enough water to help prevent dehydration, even in cold weather.
Pack light.
Leave large telephoto lenses and unnecessary accessories behind. Expect plenty of walking as you explore the accessible buildings, rooms and floors.
Tip: Stay in Lüderitz the night before, with your gear packed, batteries charged and memory cards ready.
Too many rooms, too little time
Kolmanskop is full of rooms, each with several compositions: a doorway looking into another doorway, a window beam across a sand drift, a staircase. It is tempting to rush, but the light changes dramatically within minutes. A beam that hits a wall perfectly at 8:15 can be gone by 8:40.
I wanted many hero shots in a short window, so I had to prioritise:
Scout first, shoot second. Walk through quickly to see which rooms get the best light, and in what order.
Rank the rooms. Shoot the most fleeting light first and leave stable, shaded rooms for later.
Know your frame before you set up. Decide the composition, then place the tripod once.
Accept that you’ll miss some. Trying to shoot every room usually produces weaker frames everywhere.
Narrow spaces
Many rooms and corridors are tight, with little space for a tripod, and the floors are uneven with shifting sand.
Use a tripod you can splay low or shorten quickly.
Check that no leg is about to slide on loose sand.
Move slowly, watch your bag, strap and lens hood, and keep your pack outside or minimal.
Safety comes first
Kolmanskop is abandoned and decaying, and no photograph is worth an injury.
Watch your footing. Floors and stairs may be rotten or hidden beneath sand. Avoid unstable surfaces and stay out of unsafe or blocked-off rooms.
Wear sturdy, closed-toe shoes, not sandals. Watch for debris, exposed nails, broken glass and sharp metal.
Mind your head. Be careful around low doorways, exposed beams and narrow passages, especially when carrying equipment.
Avoid exploring alone. Let your guide or group know where you are.
Take breaks. If you feel tired, stop, drink water and rest before continuing.
Brown hyenas: sometimes shelter in Kolmanskop’s buildings. If you see one, keep your distance, avoid disturbing it and never feed it.
From dark to bright: getting composition, exposure and focus right
The hardest technical moment is stepping from a dim corridor into a bright room. Your eyes adjust quickly, but the camera and your judgment do not. Before pressing the shutter I ran a short checklist every time:
Composition: Are the verticals straight, the camera level and shift set correctly? Is anything touching the frame edges?
Exposure: Check the histogram and highlights. Are the windows protected? Do I need a bracket?
Focus: Zoom in on the near and far points, and if tilt is in use, confirm the plane of focus lies where I want it. Medium format has a shallow depth of field, so tilt alone often wasn’t enough and I shot a focus stack. This is where I take my time: I check focus at several points, review the images at 100%, and only then move on.
Final scan: Check the corners and edges for stray objects, my shadow or a bag strap or anything distracting.
I also paused between rooms to let my eyes adjust, which is when I tend to misjudge exposure. The same checklist each time kept me from silly mistakes when I was tired and rushed.
Preparing the Camera Gear
Finding the Frame
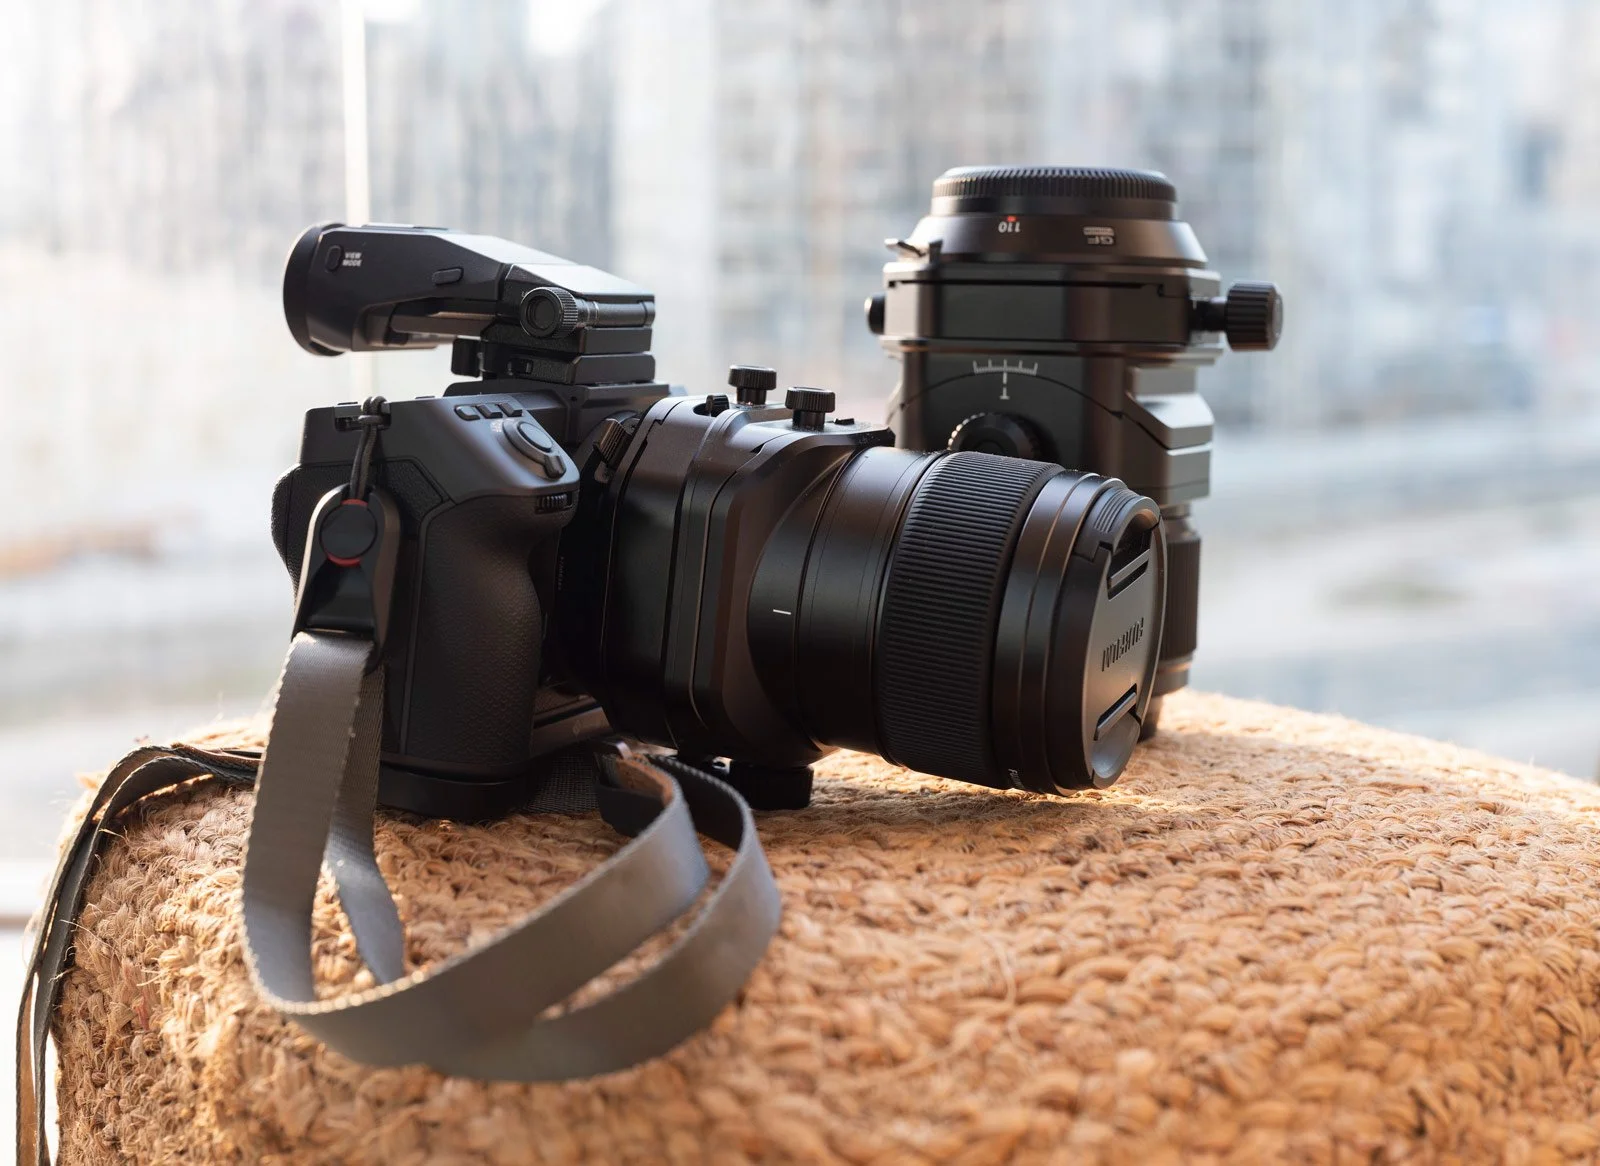
How I shot the interiors: GFX100 II + GF 30mm f/5.6 T/S
I paired the GFX100 II with the GF 30mm f/5.6 T/S, a wide lens (about 24mm in full-frame terms) with tilt and shift. The 102-megapixel sensor captures fine detail in peeling paint and sand ripples, and its dynamic range copes with bright windows next to shaded rooms. Shift lets me frame tall walls and ceilings without tilting the camera, so the verticals stay straight, and tilt helps keep a long floor sharp from the foreground to the far wall.
My setup
Cameras: Fujifilm GFX100 II, plus a second body, the Fujifilm GFX100
Lens: GF 30mm f/5.6 T/S, manual focus
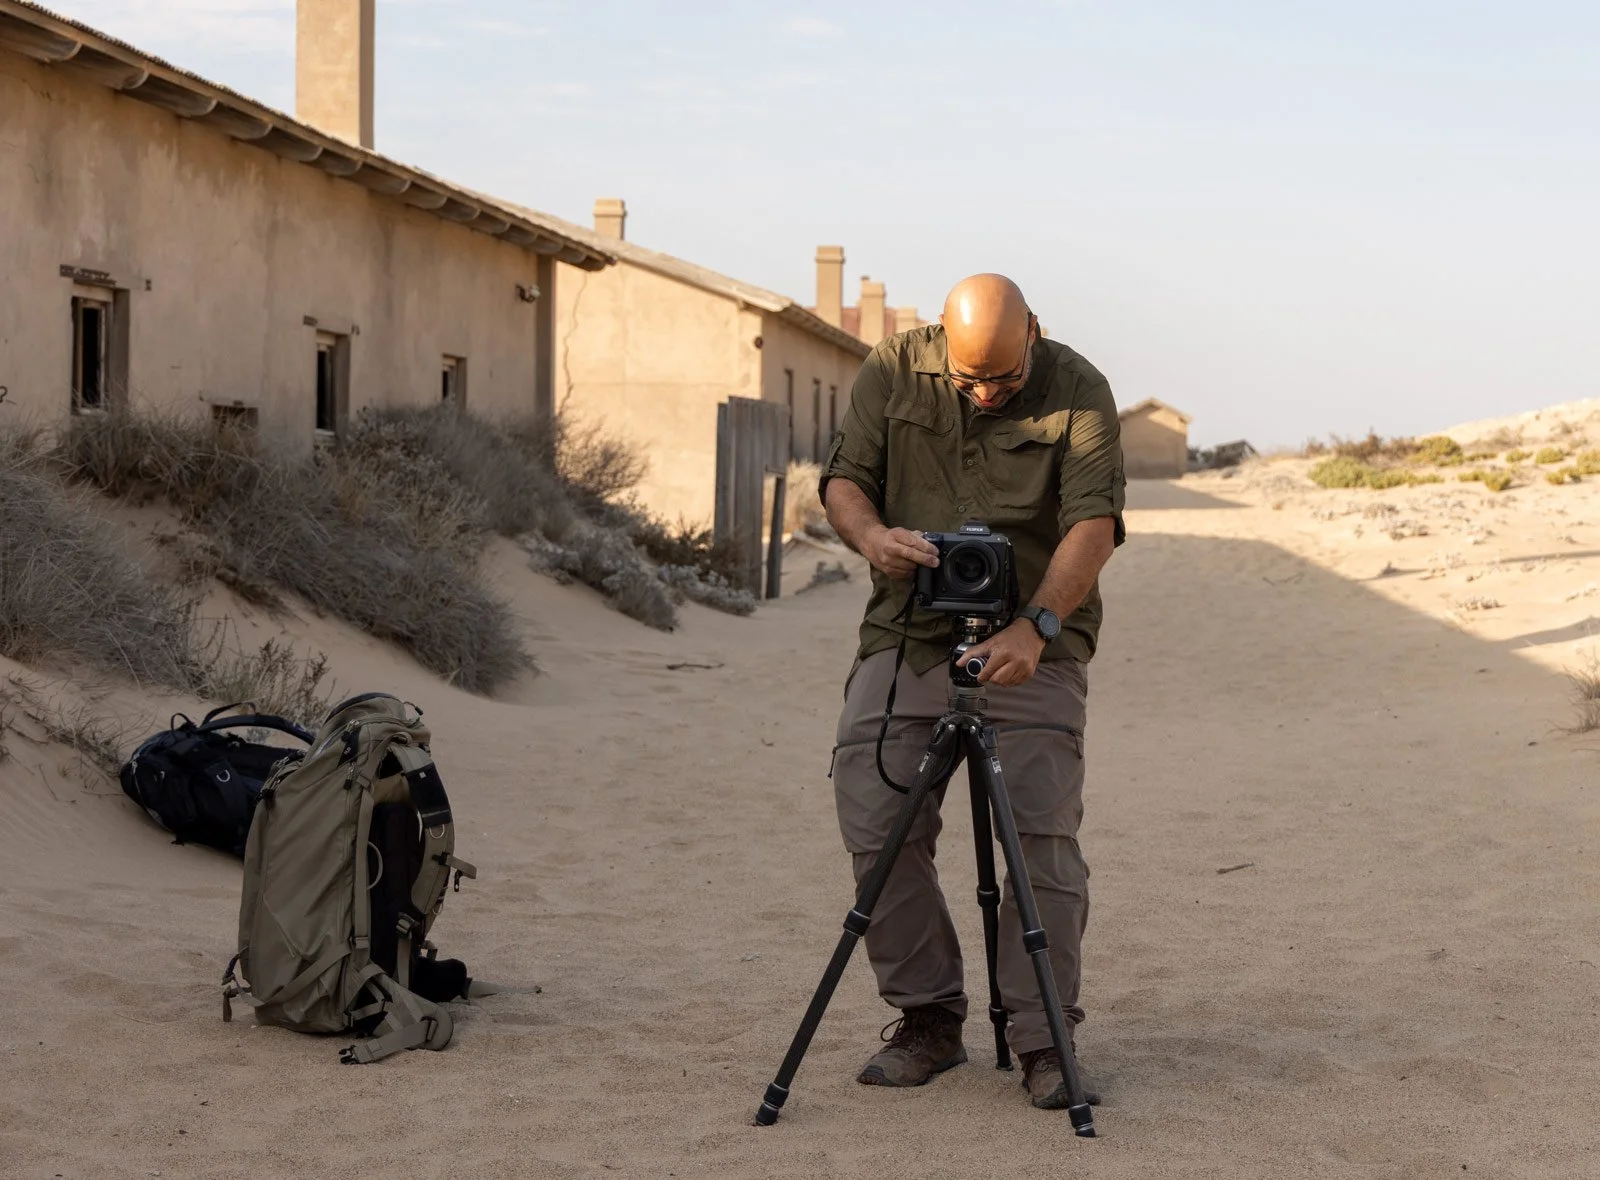
Support: Gitzo Systematic Series 3, a professional modular carbon fibre tripod, with a Really Right Stuff BH-55 ball head
Bag: f-stop Sukha 70L, a travel and adventure camera backpack from the f-stop Mountain Series range
Extras: Fujifilm EVF-TL1 EVF tilt adapter, dust blower and microfibre cloth
Typical settings: I usually work at f/8 to f/11 and native base ISO 80, with exposures ranging from half a second to several seconds. A single frame exposed to protect the highlights is enough for most scenes. For scenes with bright windows and dark interiors, I capture three bracketed frames: a balanced exposure, an underexposed frame and an overexposed frame, spaced two stops apart. I then blend these in post-processing to retain detail in both the highlights and shadows while keeping a natural look.
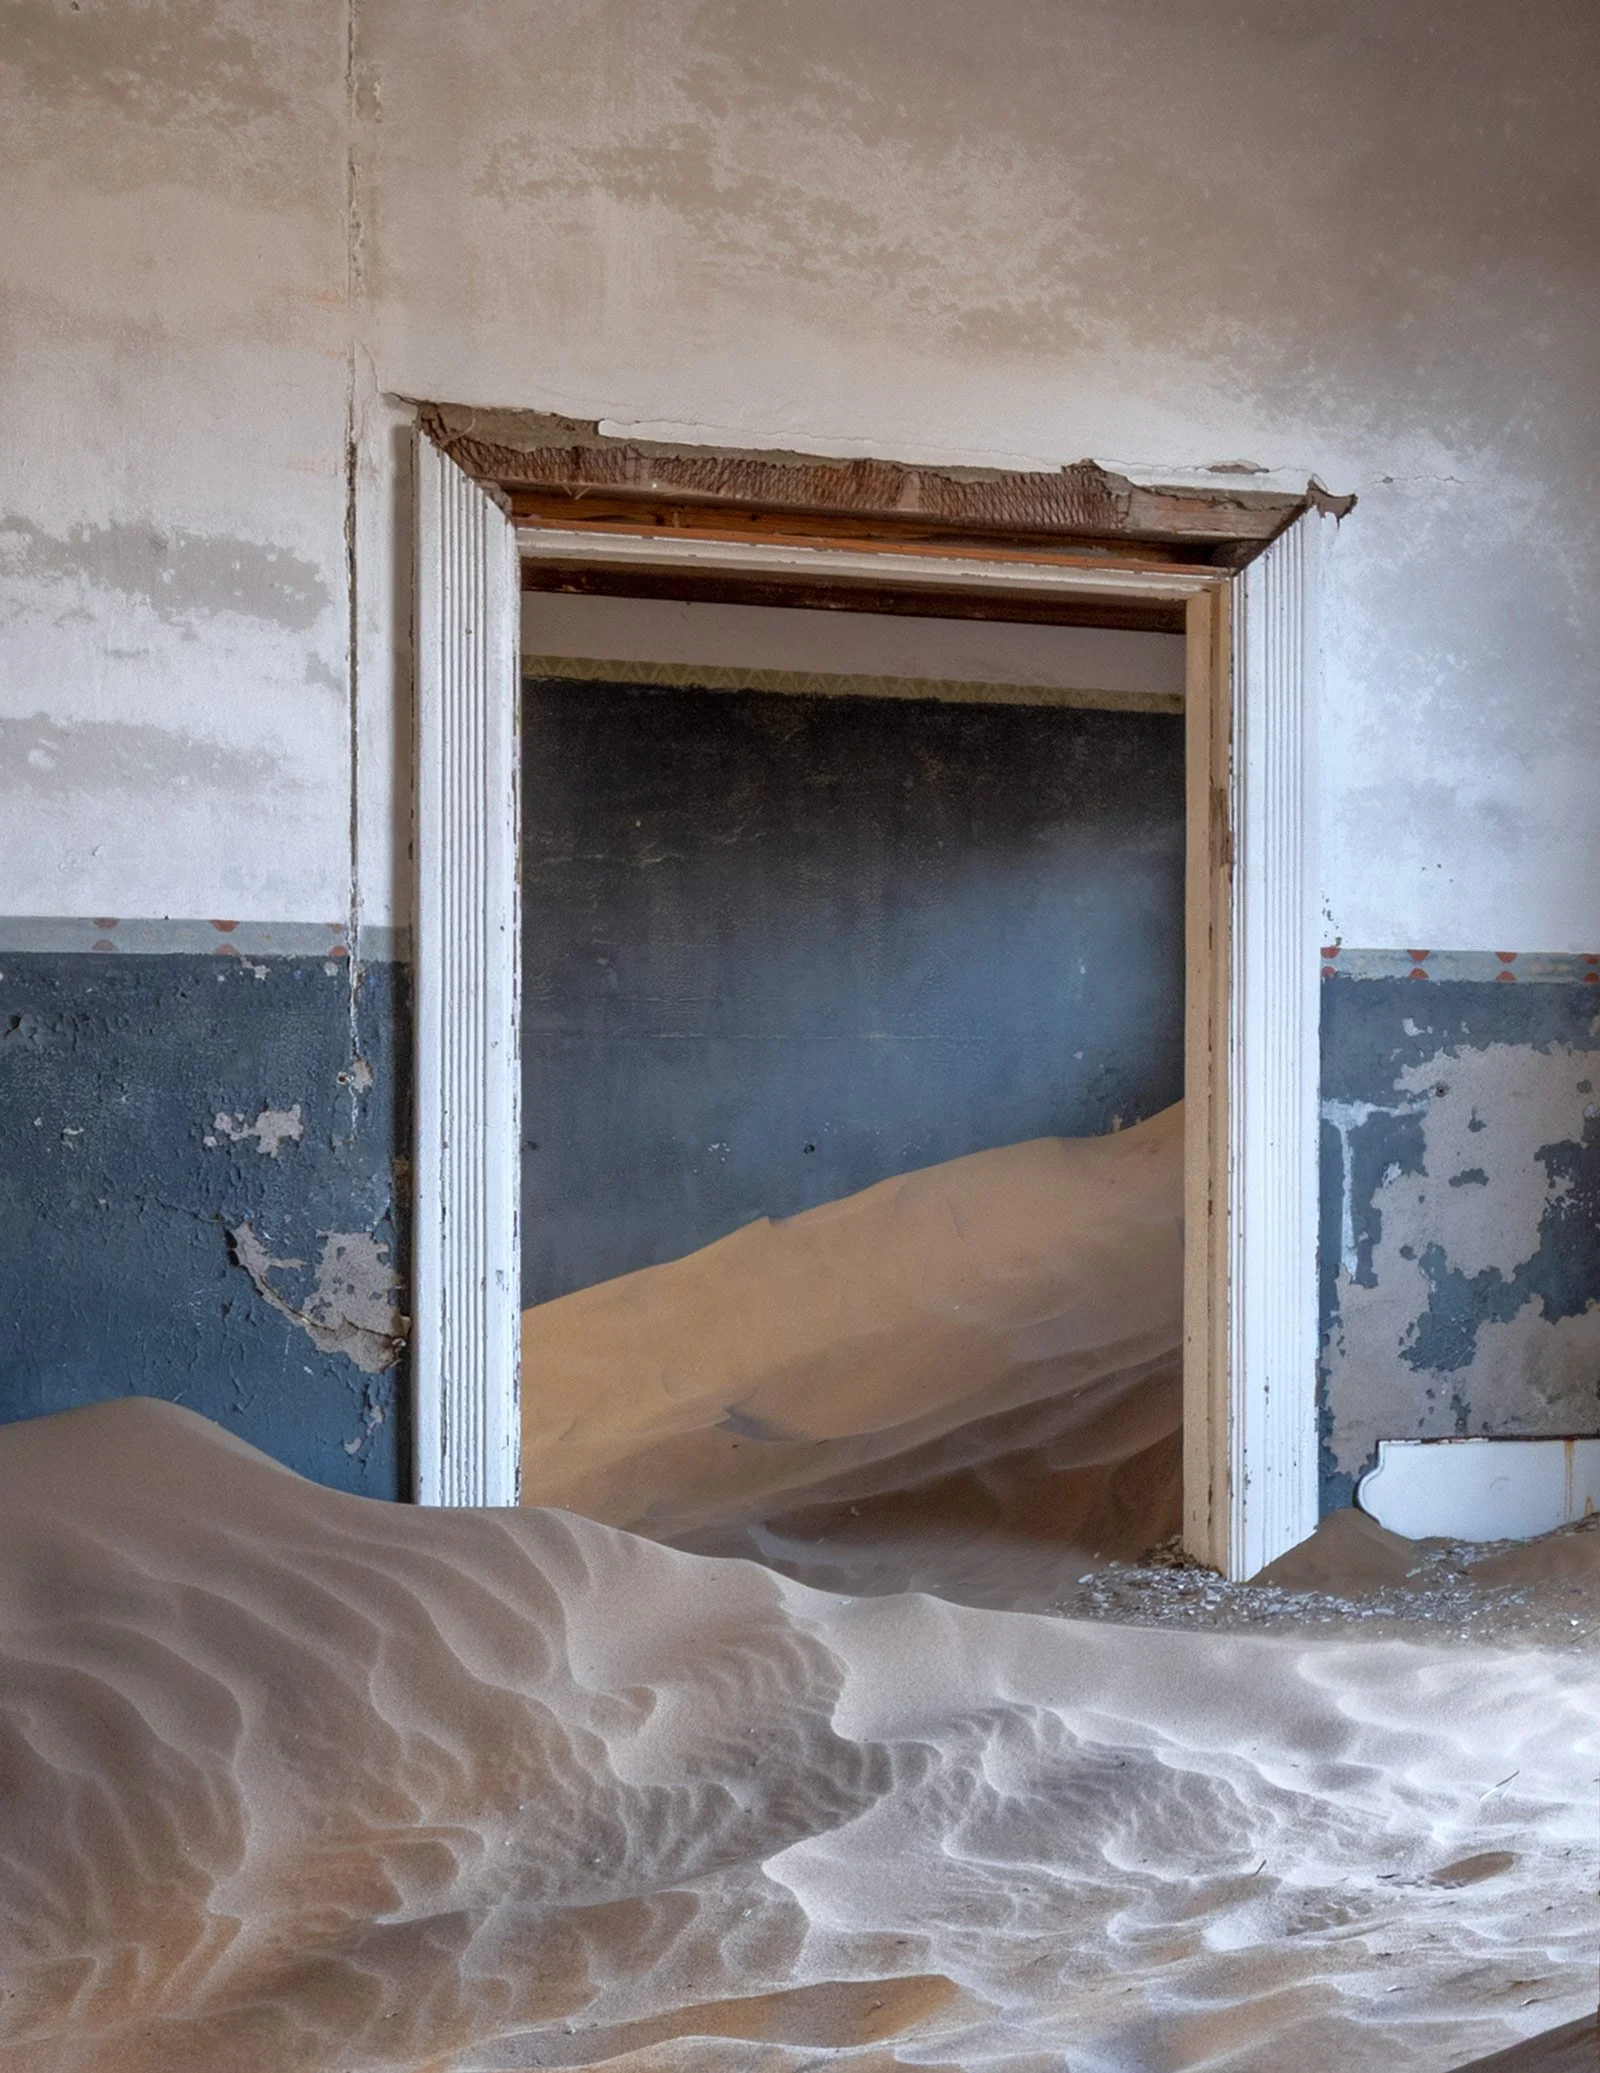
Faded Blue Walls and Shifting Sand
My Approach to Photographing the Interiors
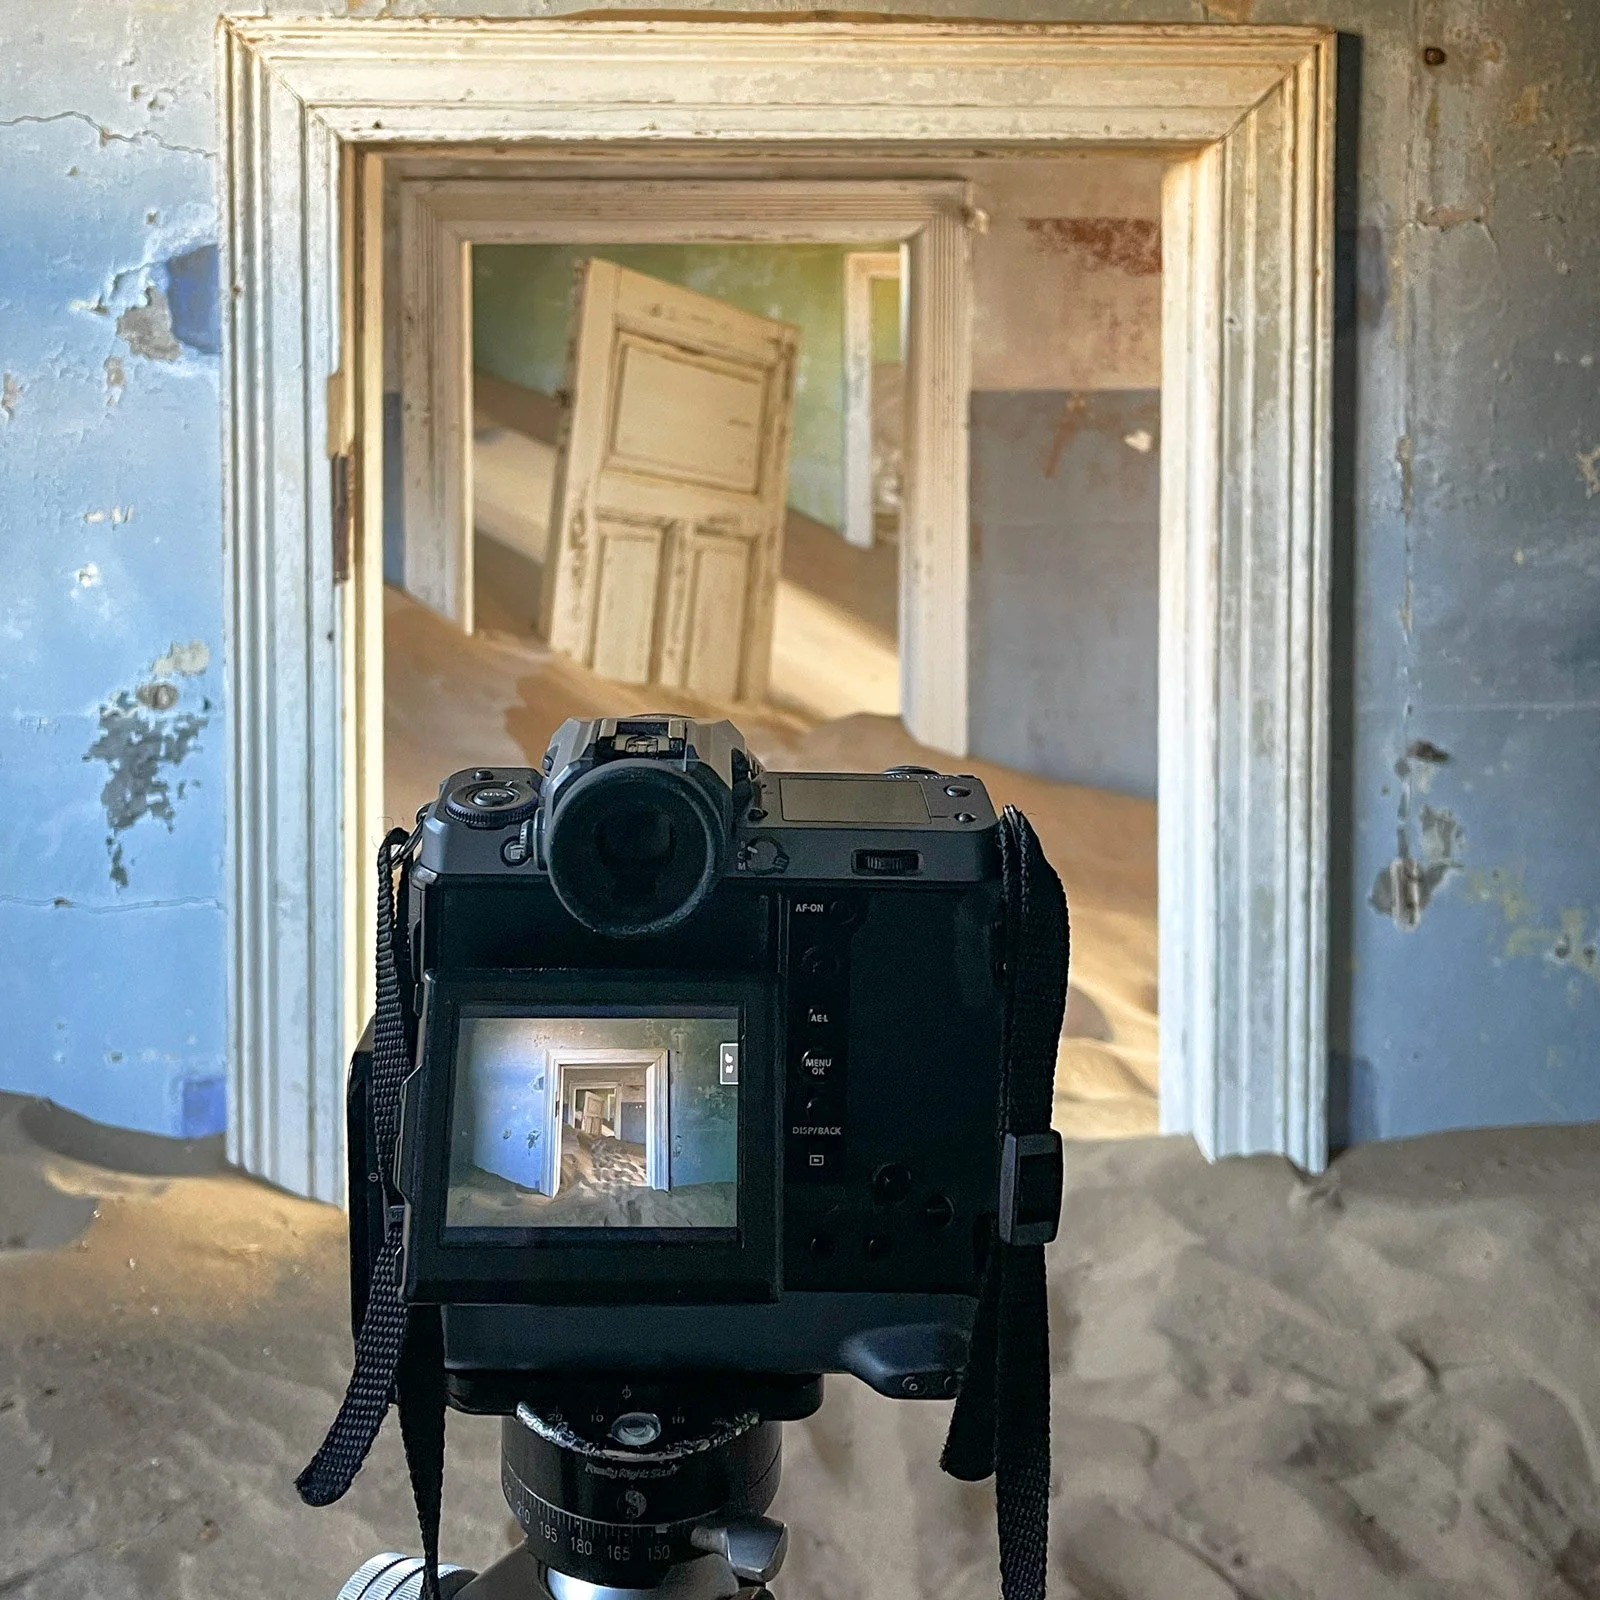
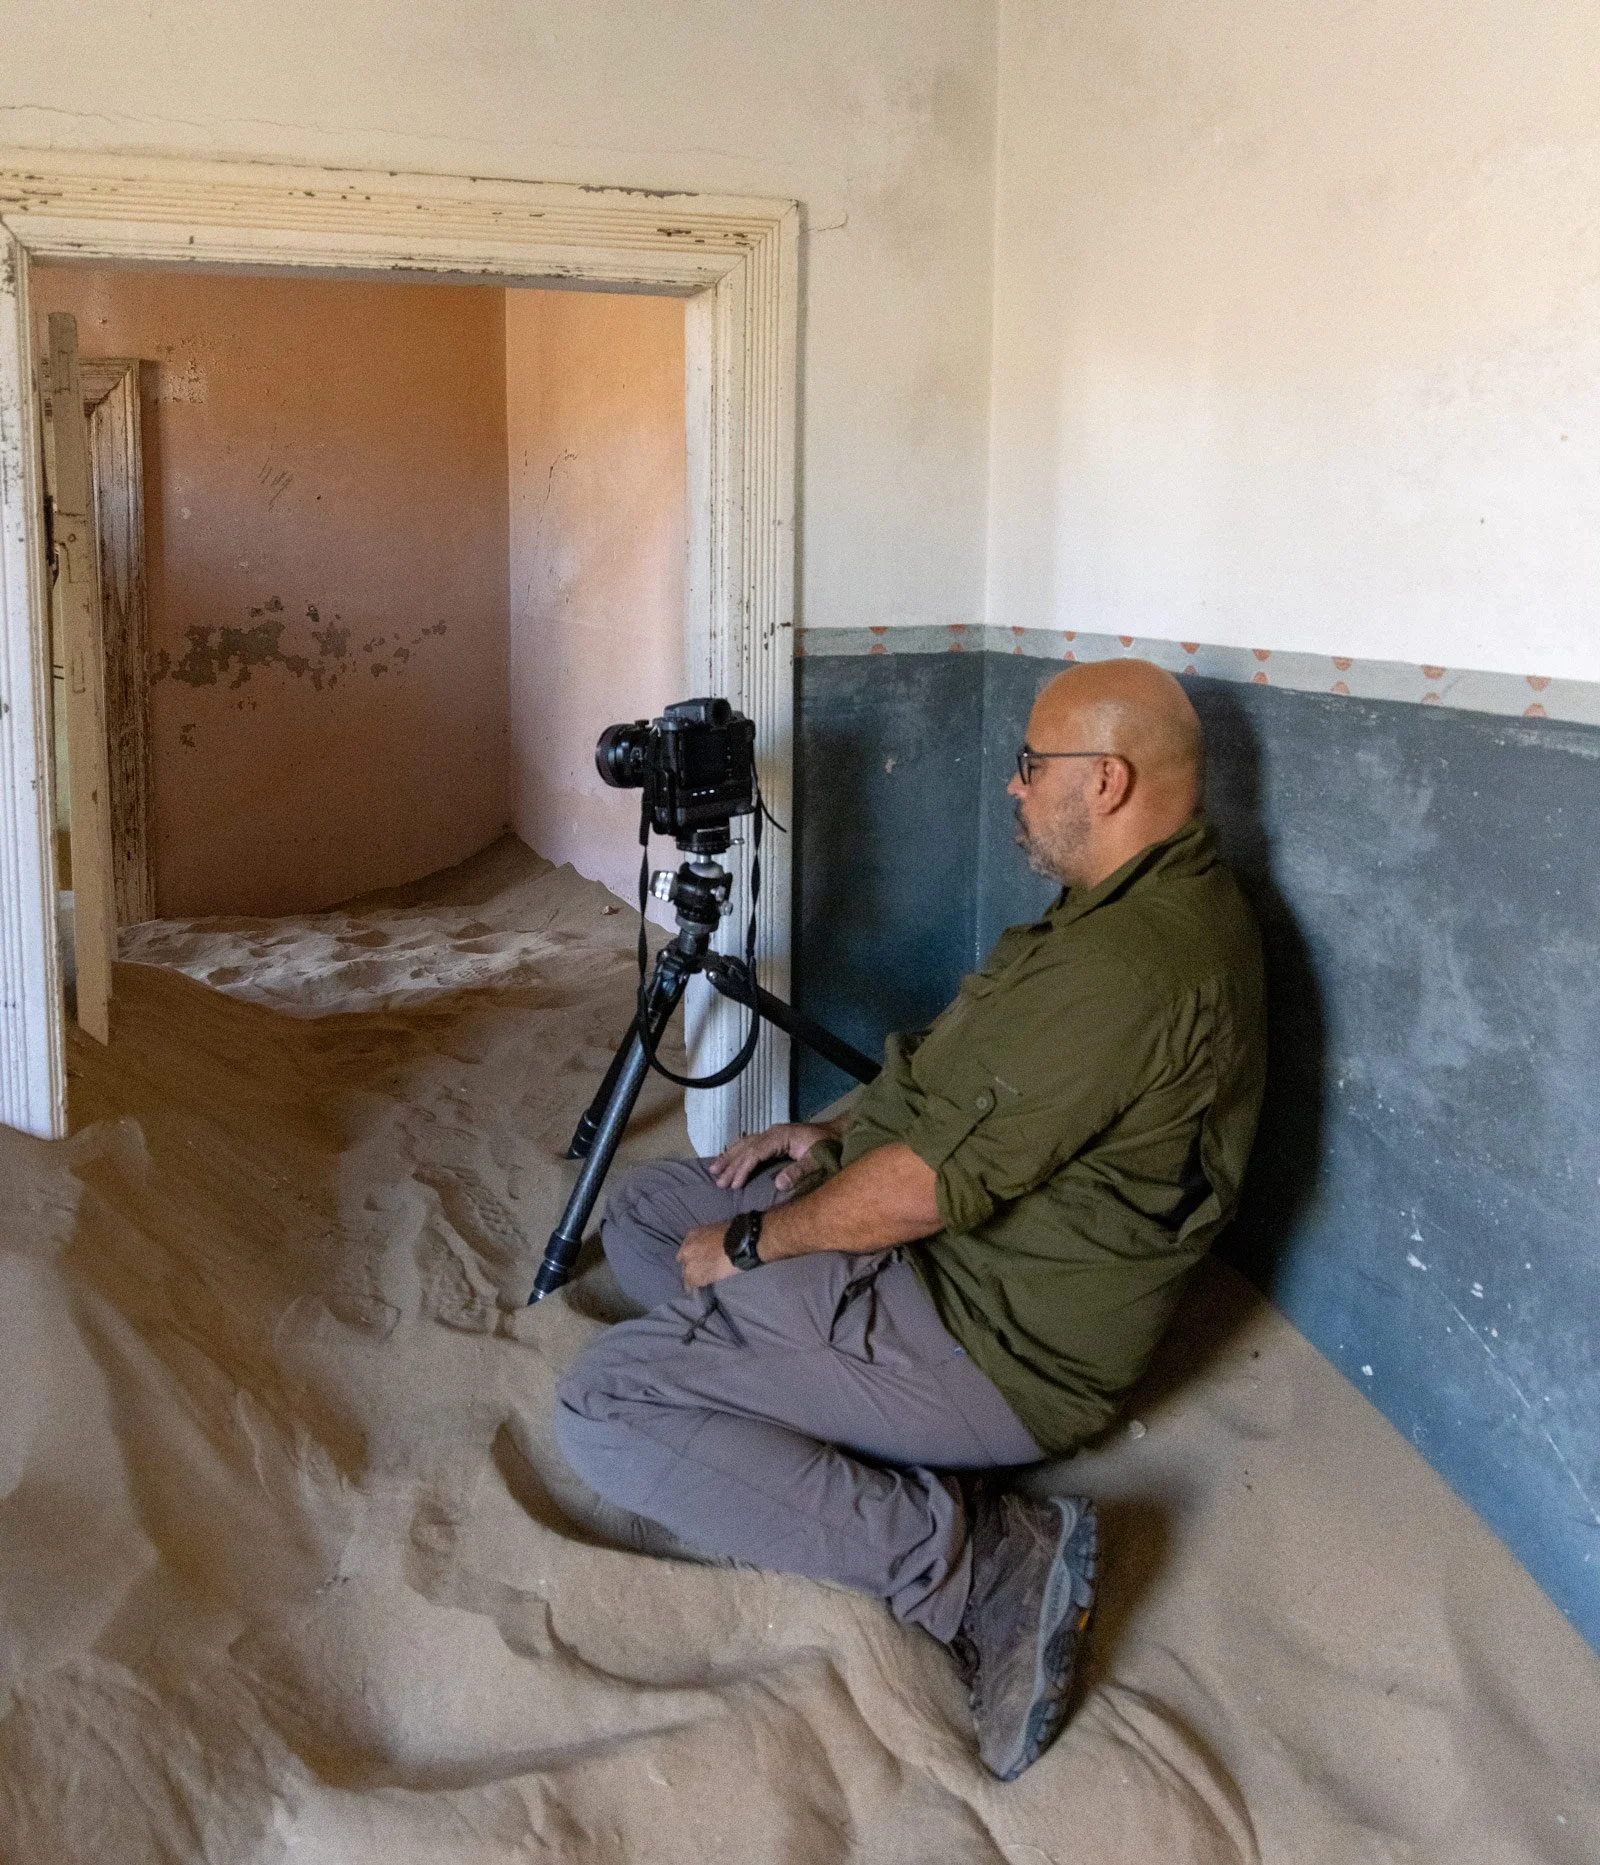
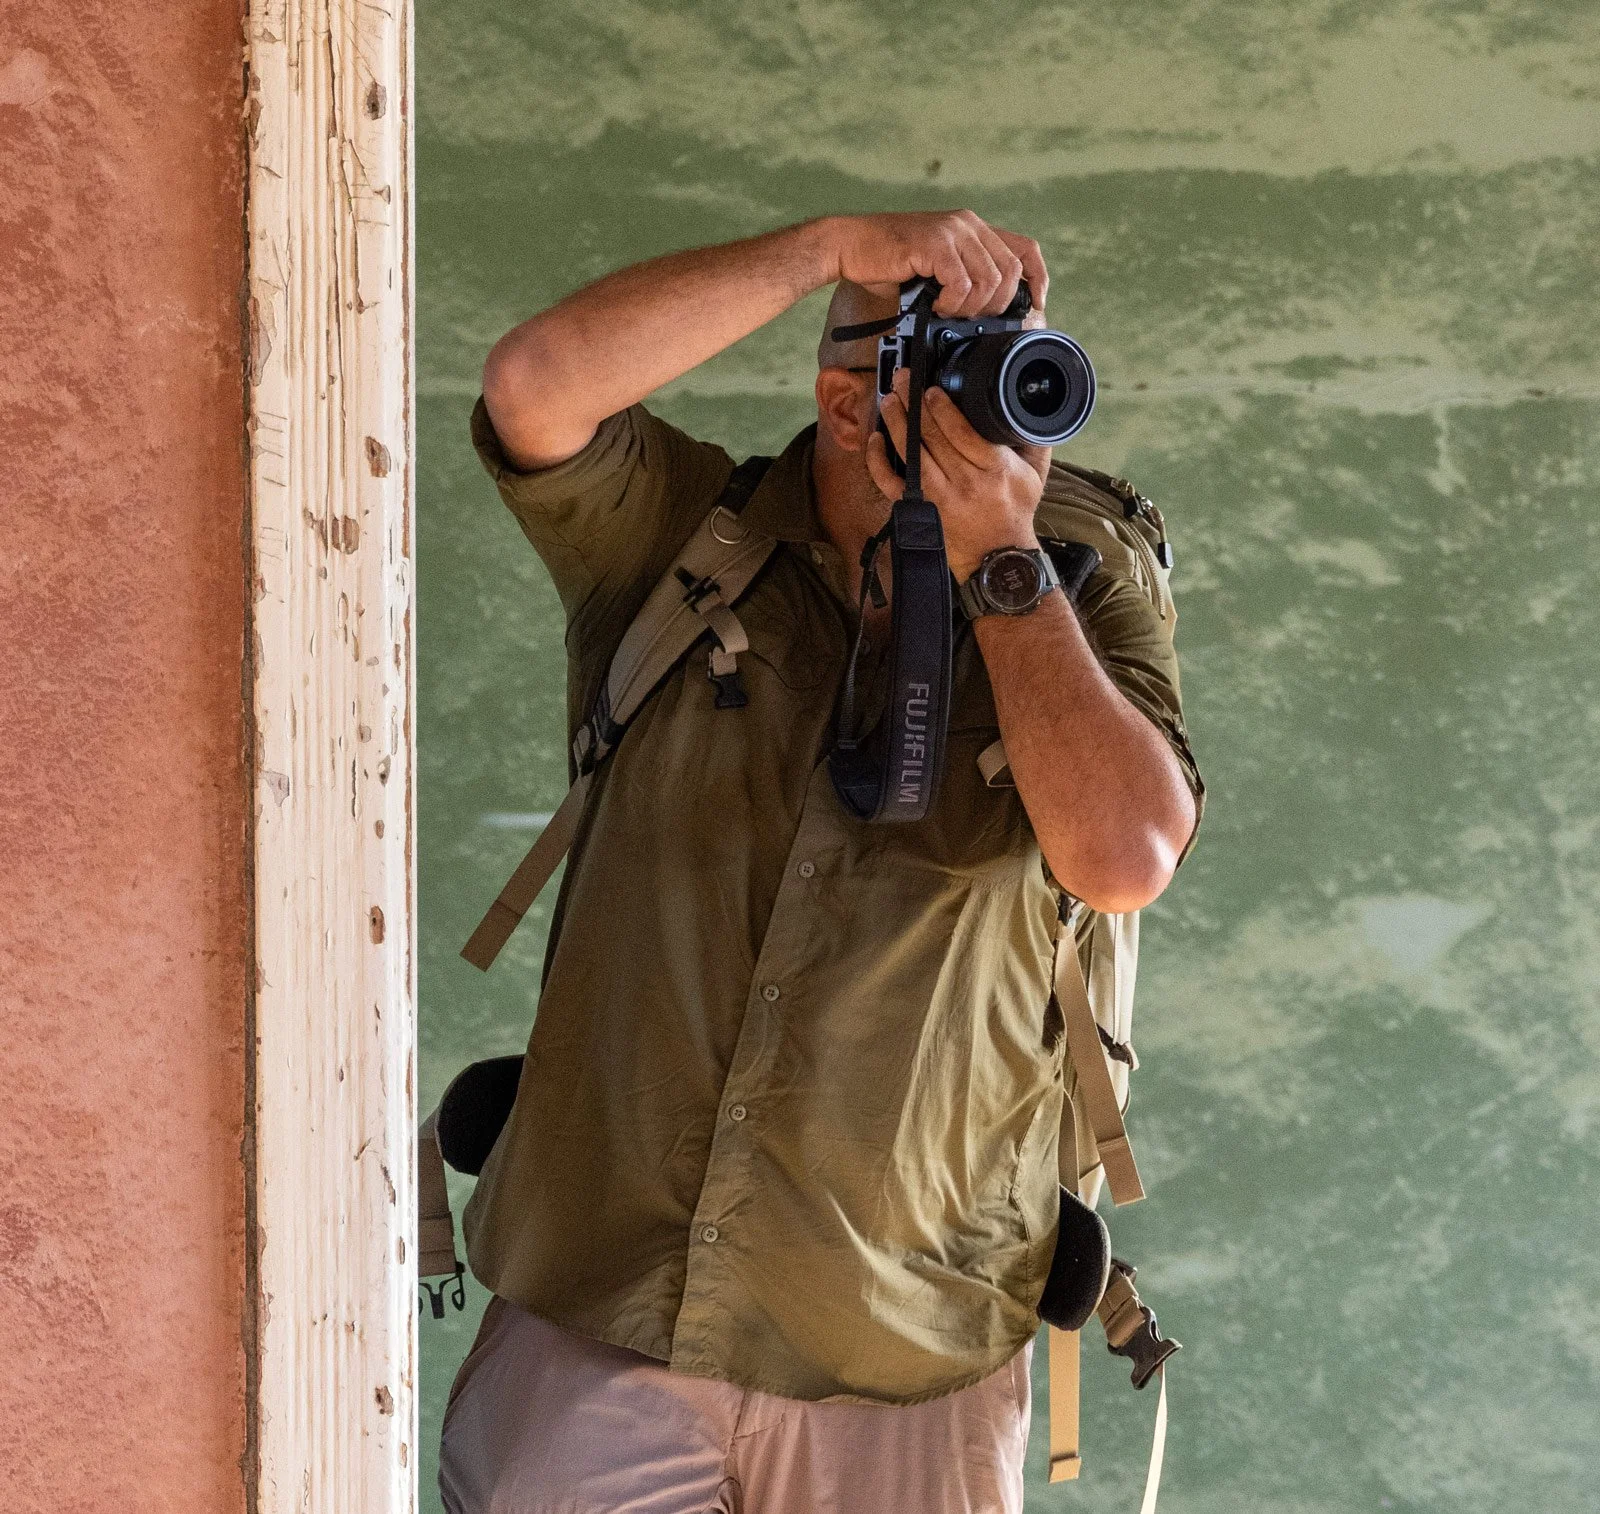
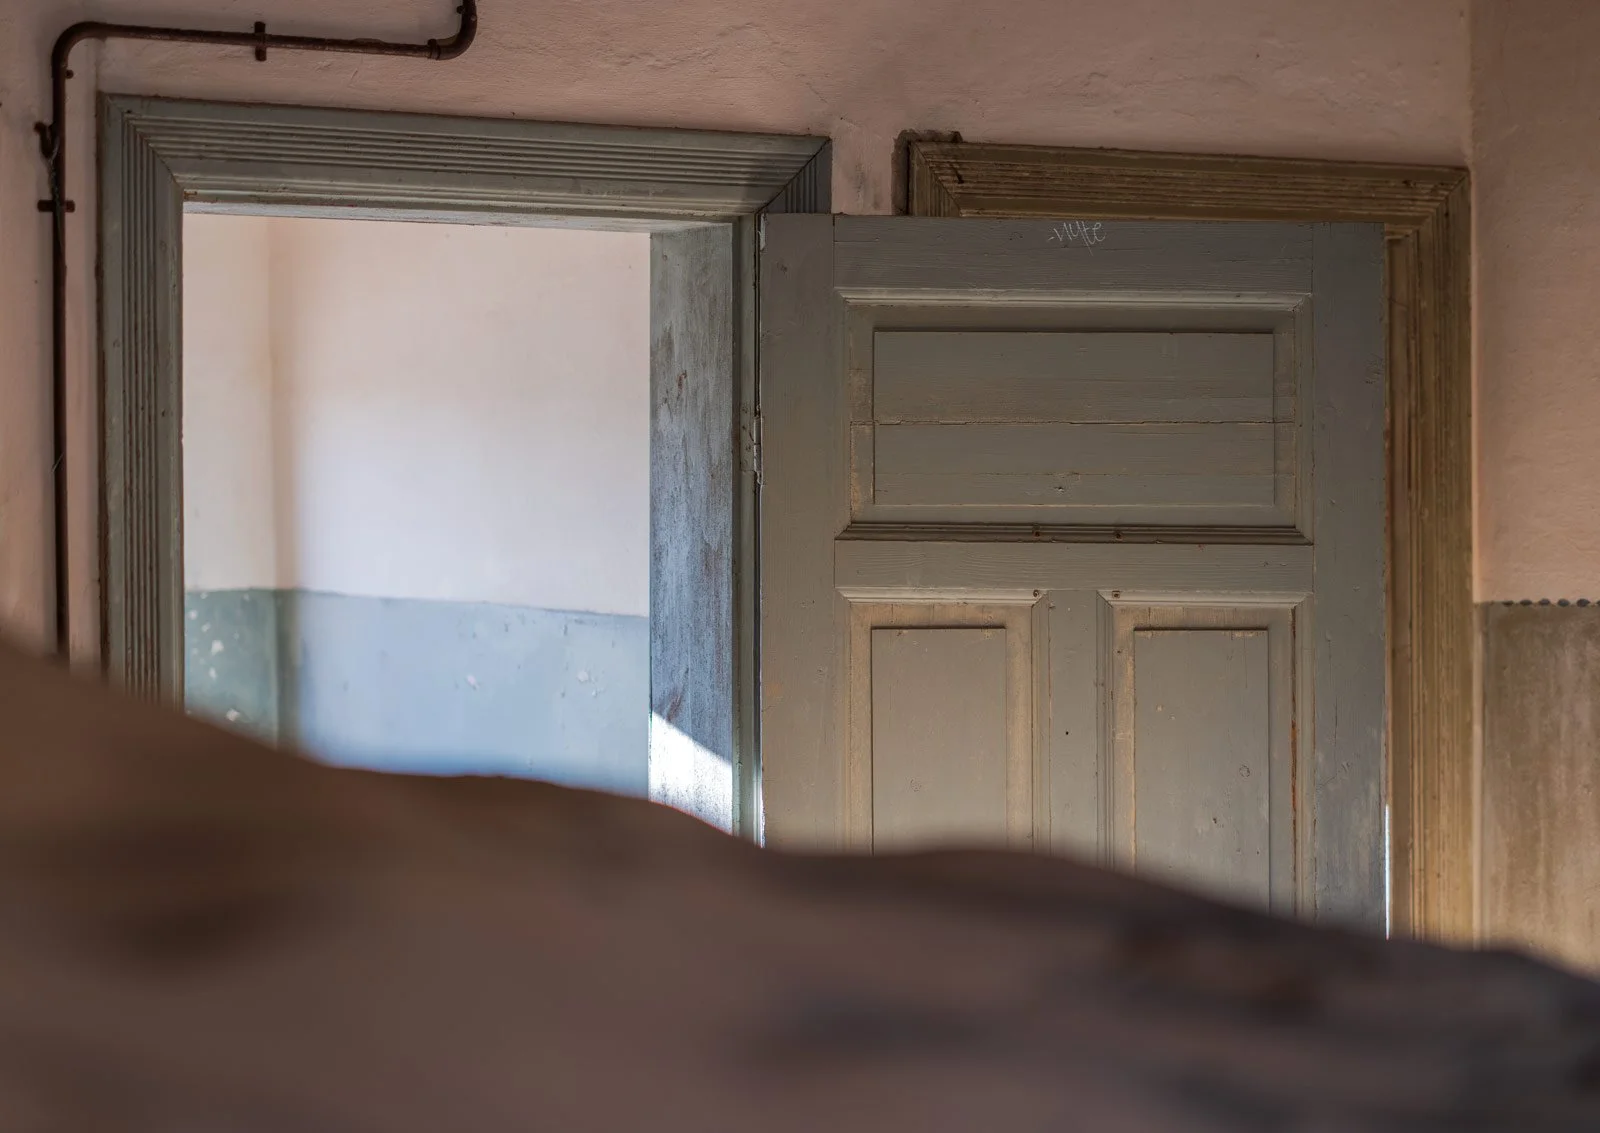
Frame handheld first. Before setting up the tripod, I frame the shot handheld to check my composition.
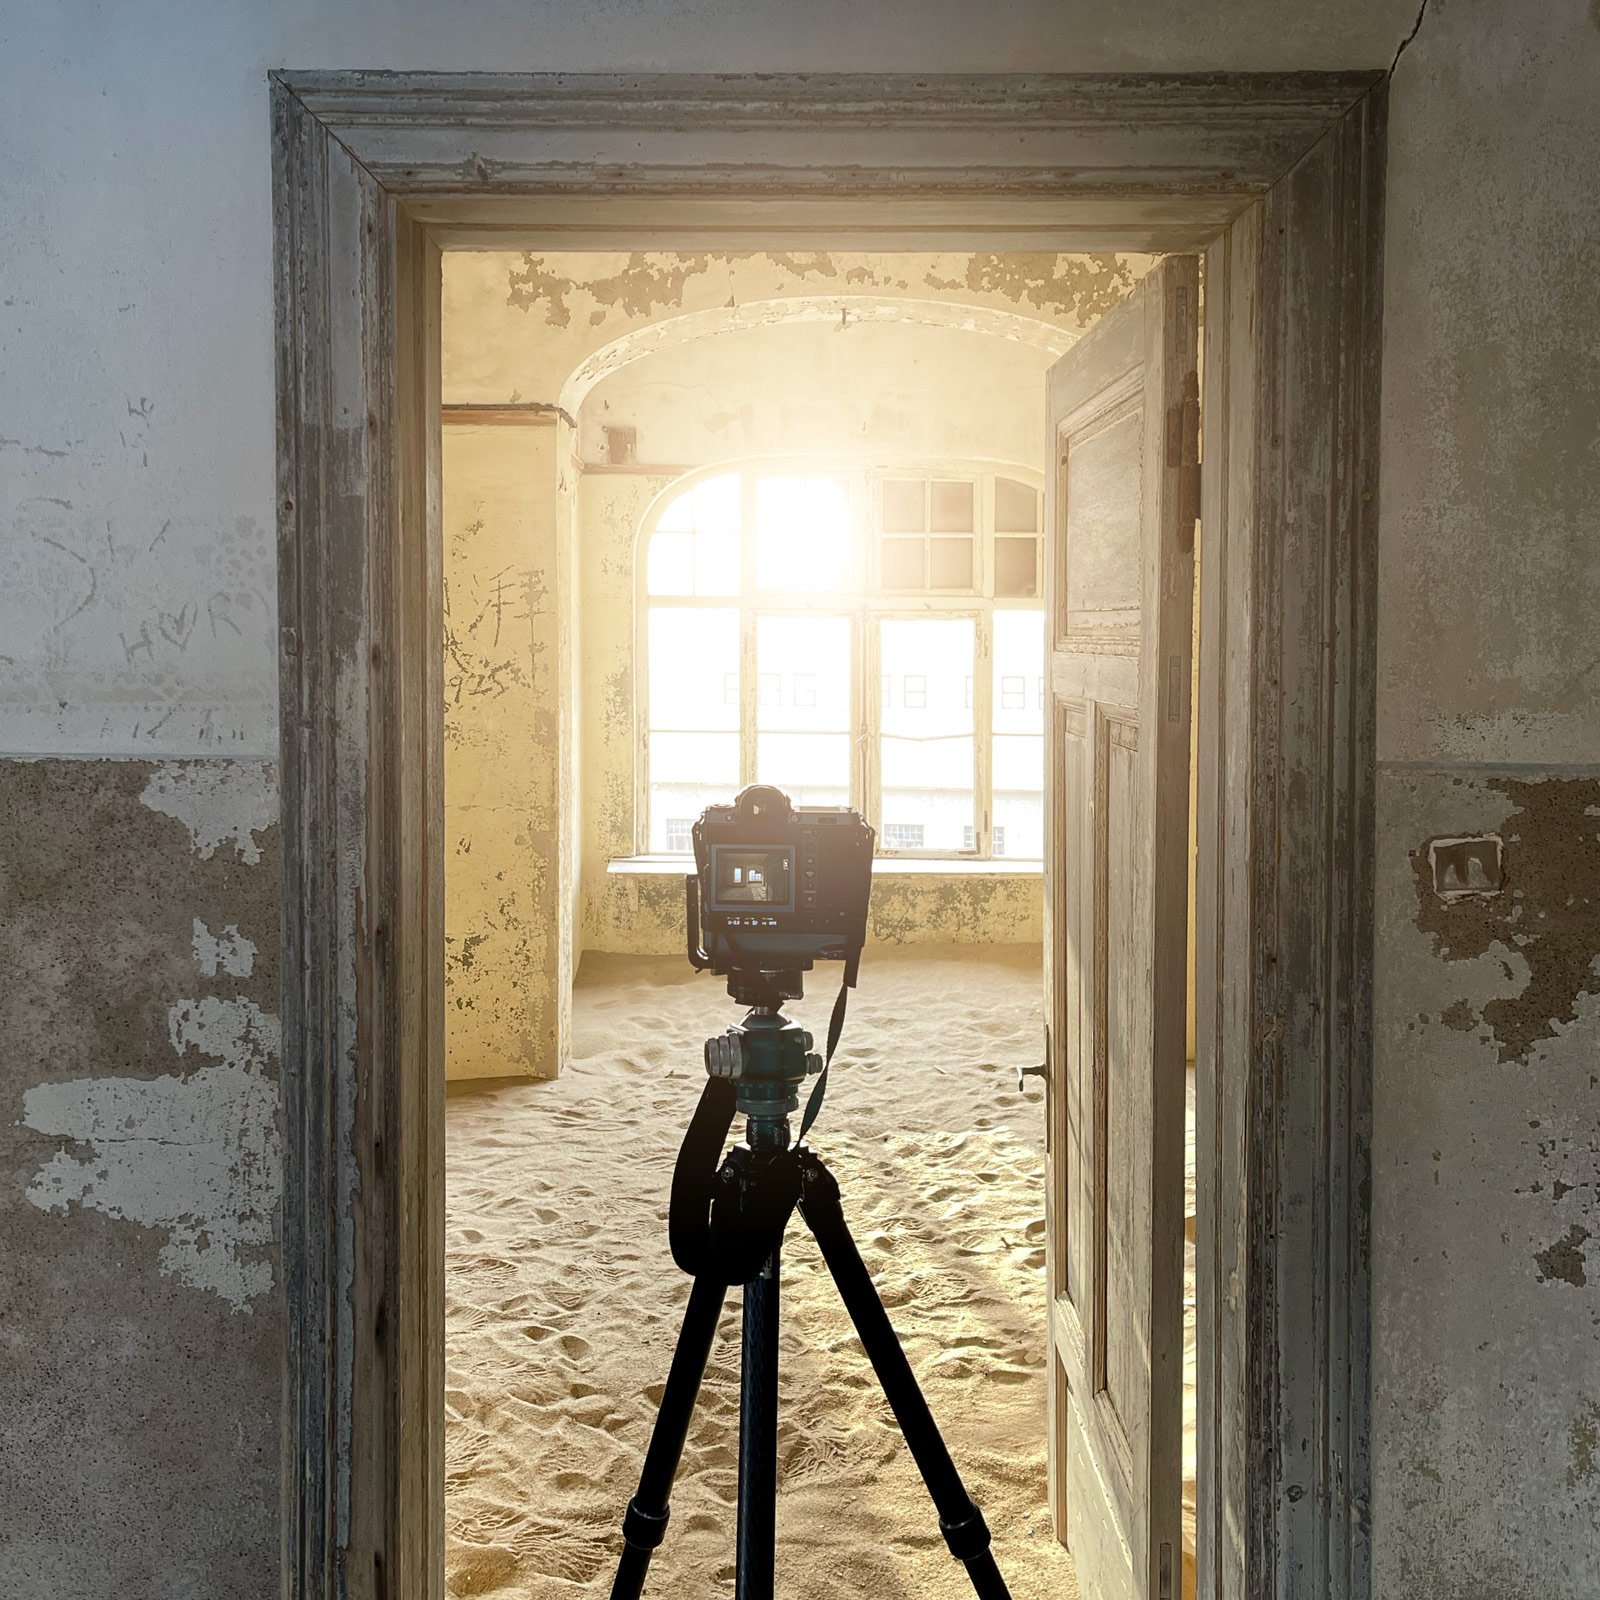
Set up and level. I mount the camera on the tripod, adjust the height, and level it on both axes, aiming the lens straight at the subject with no upward or downward angle to keep verticals parallel.
Use shift to frame, not tilt the camera. I raise or lower the lens with shift instead of pointing the camera up or down, so walls and door frames stay vertical.
Check focus with live view magnification. I zoom in on the far wall and the nearest floor sand to see where sharpness falls off. This is where the EVF-TL1 tilt adapter shines: on a low tripod or in a narrow room it lets me angle the viewfinder instead of contorting to see the image, so I can check focus point by point without rushing.
Expose for the highlights. I trust the GFX dynamic range, so I often underexpose to protect the windows and pull up the shadows in post, without bracketing every frame. I save brackets for difficult scenes, such as a dark room with a blazing window, and merge them later.
Stitch with shift when I want more. For a wider frame or a different aspect ratio, I take shifted frames left and right and merge them in post.
Wait for the light. I return to rooms as the sun moves to catch a different beam.
How to master a tilt-shift lens
Mastering a tilt-shift lens takes practice and a clear understanding of how each movement affects the image. Start with shift, keeping the camera level and observing how you can adjust the framing without tilting it. Then explore tilt, making small adjustments to the plane of focus and checking the results carefully.
It is a specialist tool with applications far beyond architecture and interiors. Product, jewellery, watch and food photographers can also benefit from its precise control over framing and focus.
A tilt-shift lens is a significant investment, but for my architectural work, it is worth every penny. Once its movements become second nature, it becomes difficult to imagine working without it.
Be confident with manual focus
A tilt-shift lens is manual focus, so you need to be confident focusing by hand. Activate focus peaking in the camera and set the peaking level so it highlights clearly. It is one of the most important aids for controlling your focus, and it makes the whole process much easier. Use it together with magnified live view to check the near and far points of the scene.
1. Understand the two movements
Shift moves the lens parallel to the sensor, allowing you to adjust the framing while keeping the camera level. This helps preserve straight vertical lines when including the top of a building or more of a room’s ceiling.
Tilt angles the lens relative to the sensor, changing the orientation of the plane of focus. This allows you to align focus with a surface, such as a floor or table, using the Scheimpflug principle.
As an architectural photographer, I use shift far more often than tilt. It allows me to refine the composition while keeping the camera level and preserving the geometry of the space. I can also rotate the shift direction to adjust the framing vertically, horizontally or diagonally, depending on the composition, in either landscape or portrait orientation.
2. Practise shift first
Level the camera on a tripod and point it at a room or building with strong vertical lines.
Shift up or down until the framing is right, and notice that the lines stay parallel.
Compare with the same frame tilted up and corrected in post: shift keeps more detail and avoids edge stretching.
3. Common mistakes
Not protecting the lens from dust and sand. They are the enemy of an expensive tool with moving tilt and shift mechanisms, so keep it capped and bagged between shots, change lenses as little as possible, and use a blower before wiping anything.
Using too much tilt, which throws part of the scene out of focus.
Forgetting to re-check focus after changing shift.
Leaving the camera slightly rotated, which defeats the point of shifting.
Rushing. Tilt-shift rewards a slow, deliberate way of working.
Final thoughts
At Kolmanskop, the architecture gives each photograph its structure, while sand and light continually reshape the scene. Working with a tilt-shift lens encouraged me to slow down, study those relationships and compose with greater care.
Every time I visit Namibia, Kolmanskop is a place I want to return to. Even in familiar rooms, shifting sand, a different viewpoint or a change in light gives me something new to photograph.
Arrive early, give yourself time to explore and revisit rooms as the light changes. Respect the fragile buildings and leave the sand undisturbed. Take time to look carefully at each space and discover the compositions it offers.
More from Namibia: Overland in Namibia — Namibia Aerial Photography Process
Subscribe to Stay in the Frame for new projects, workshop dates and stories from location.