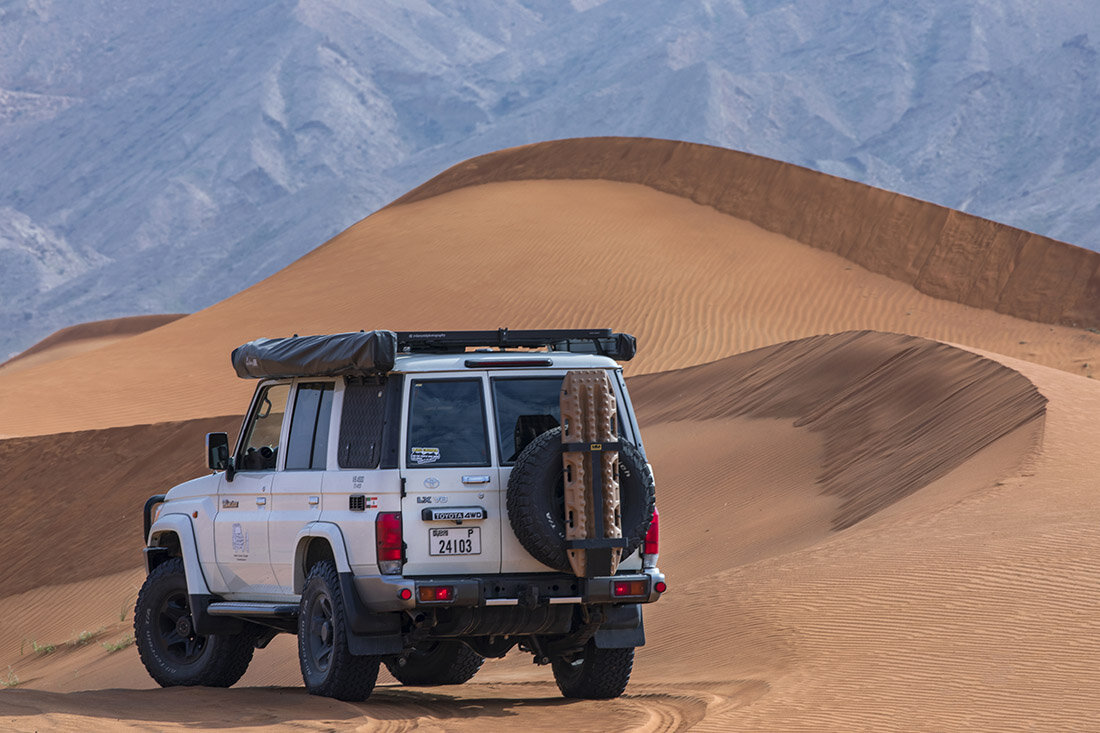
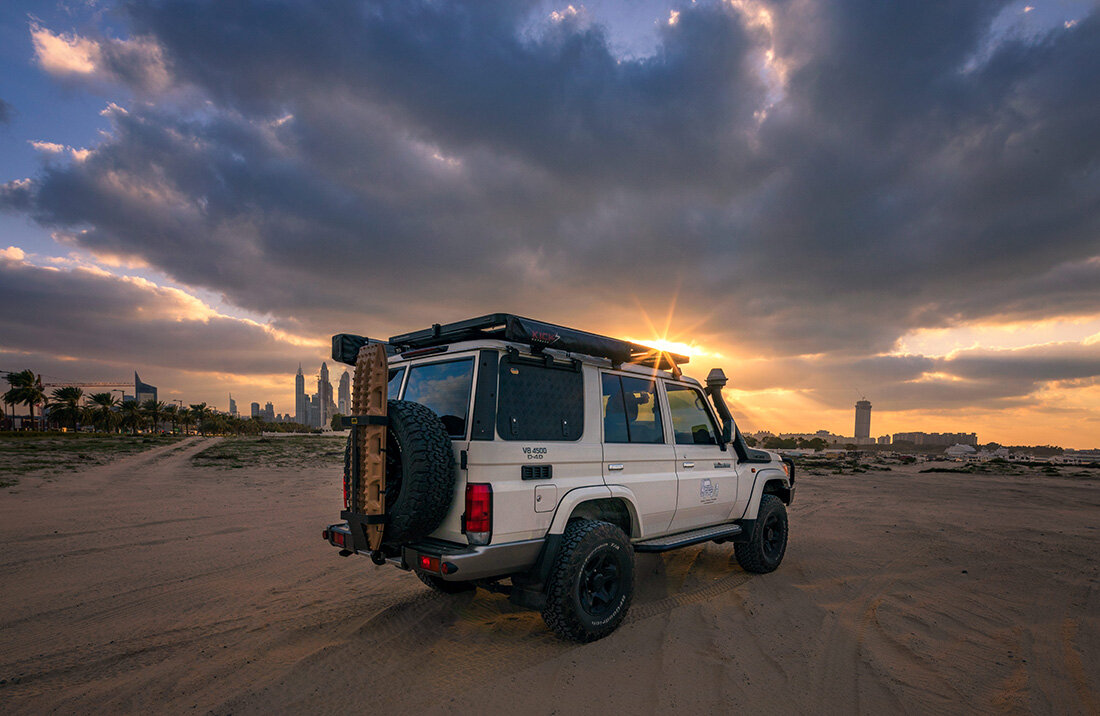
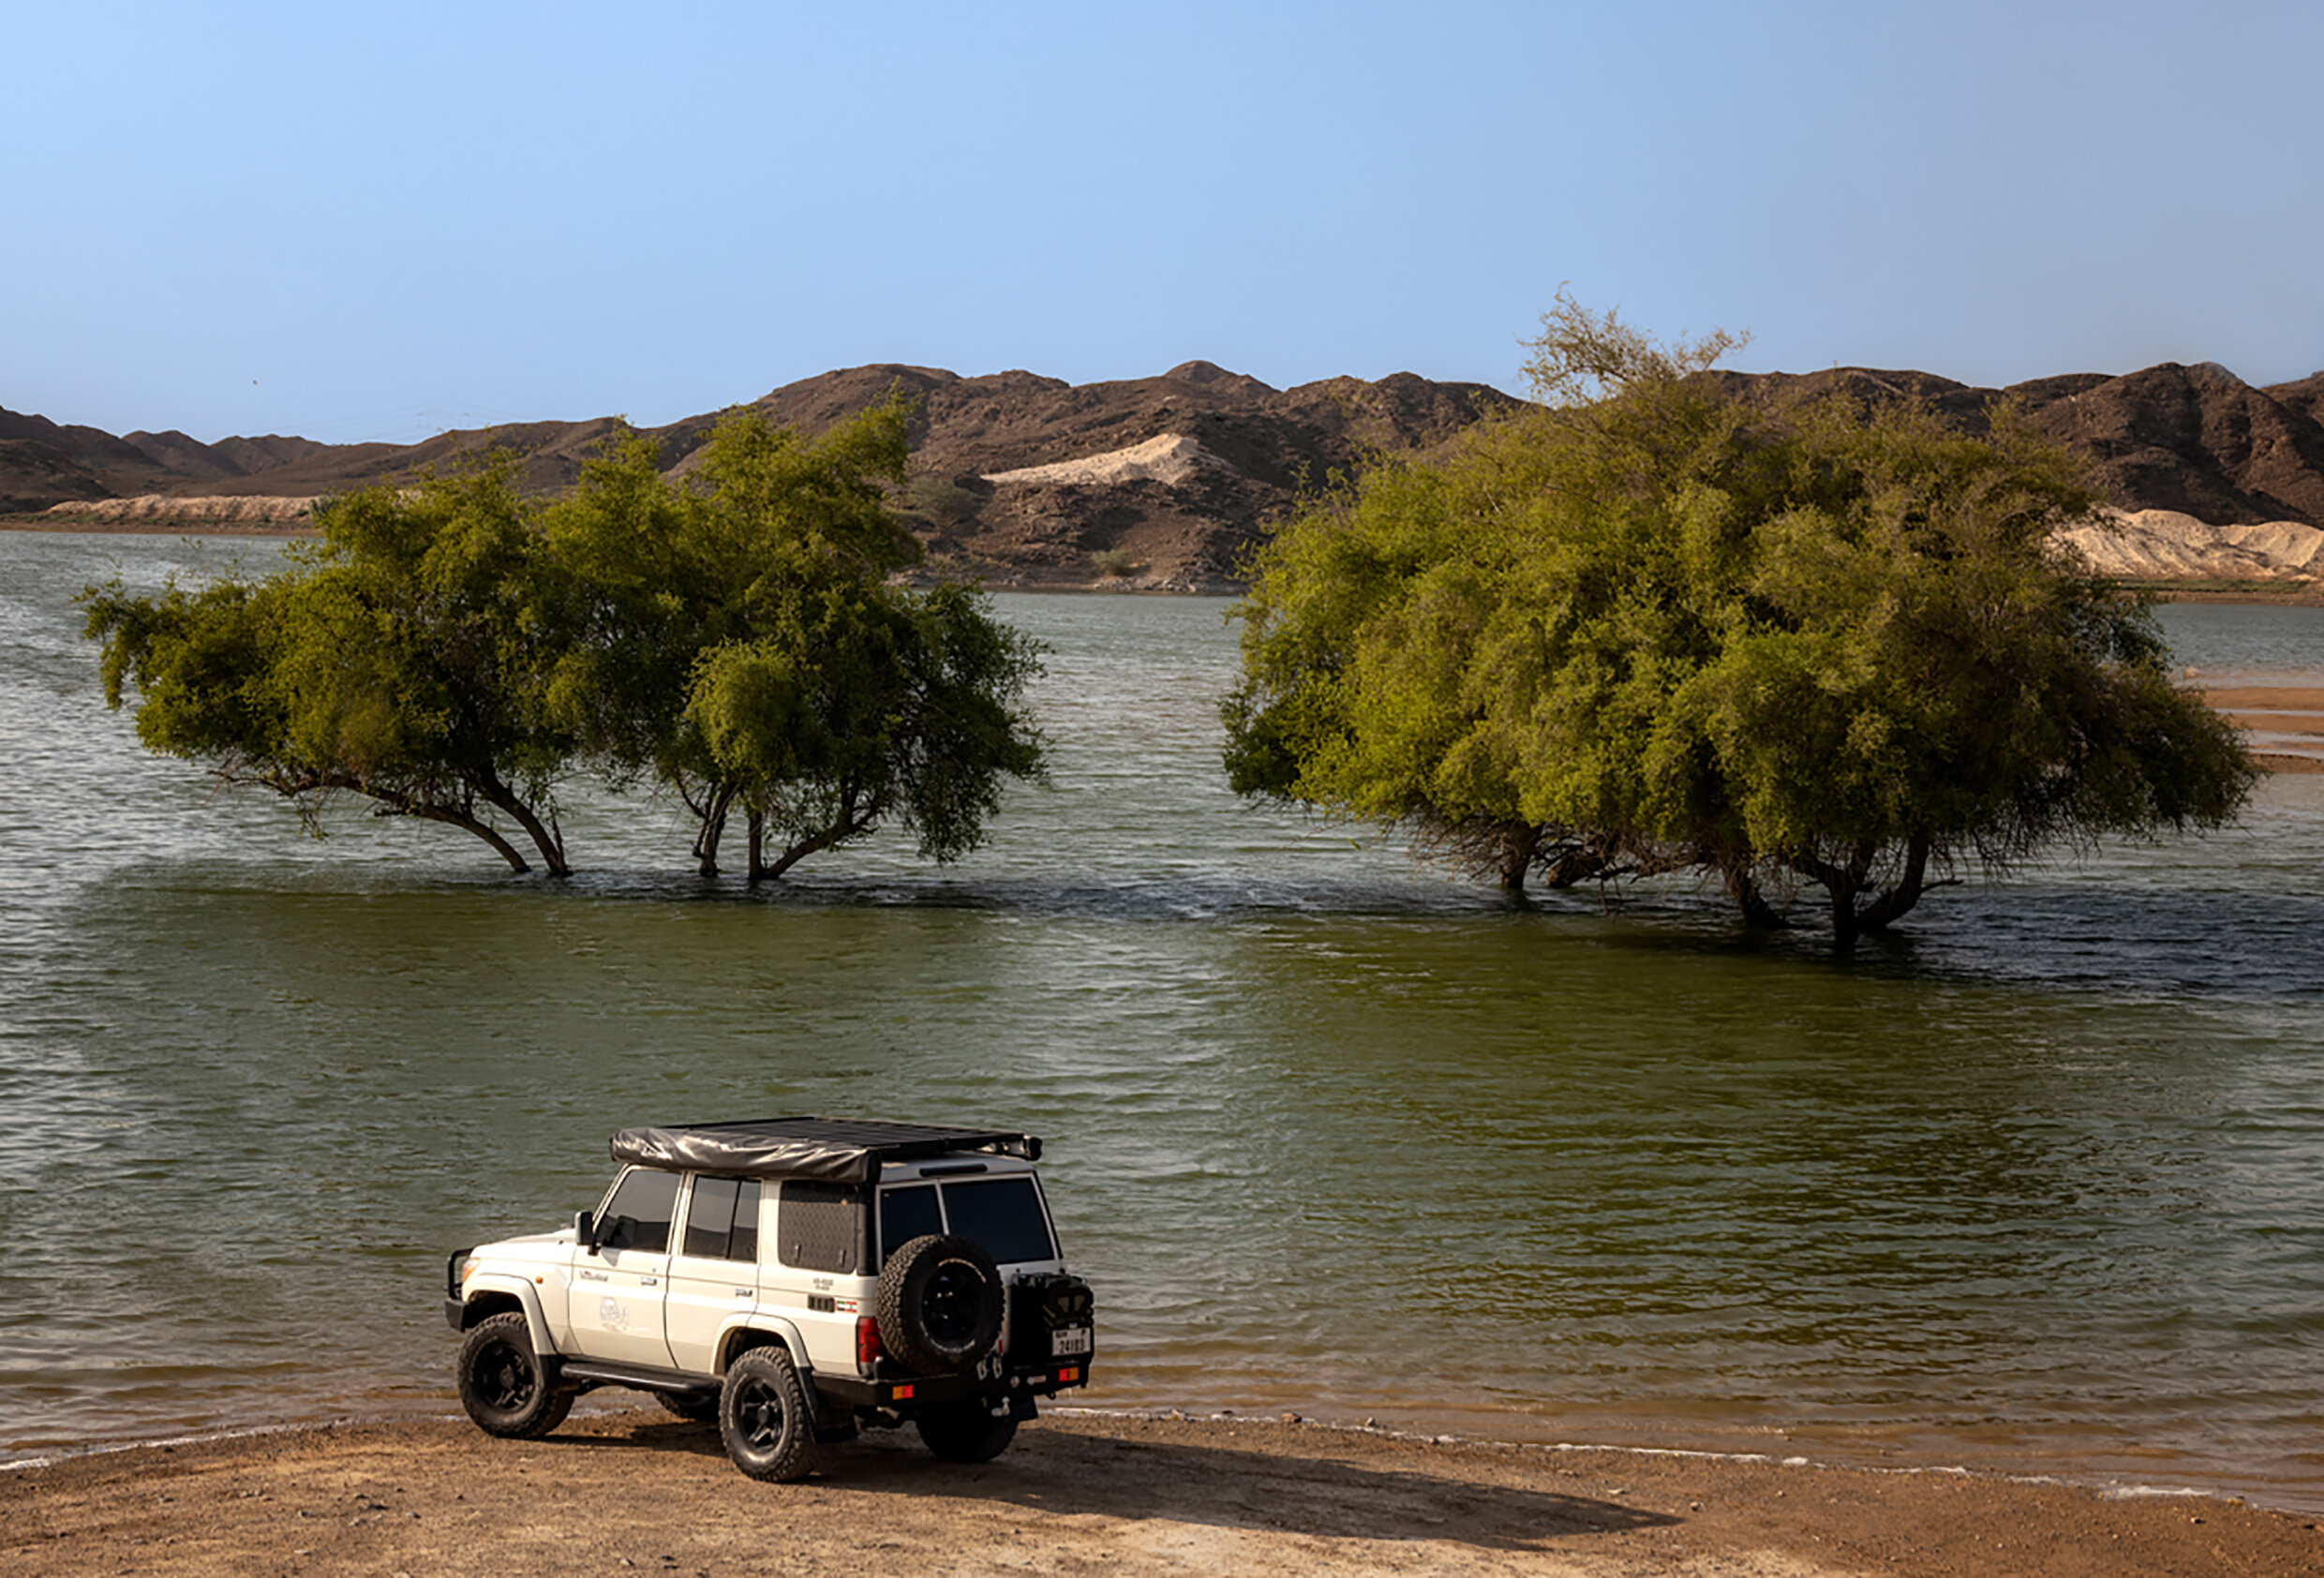
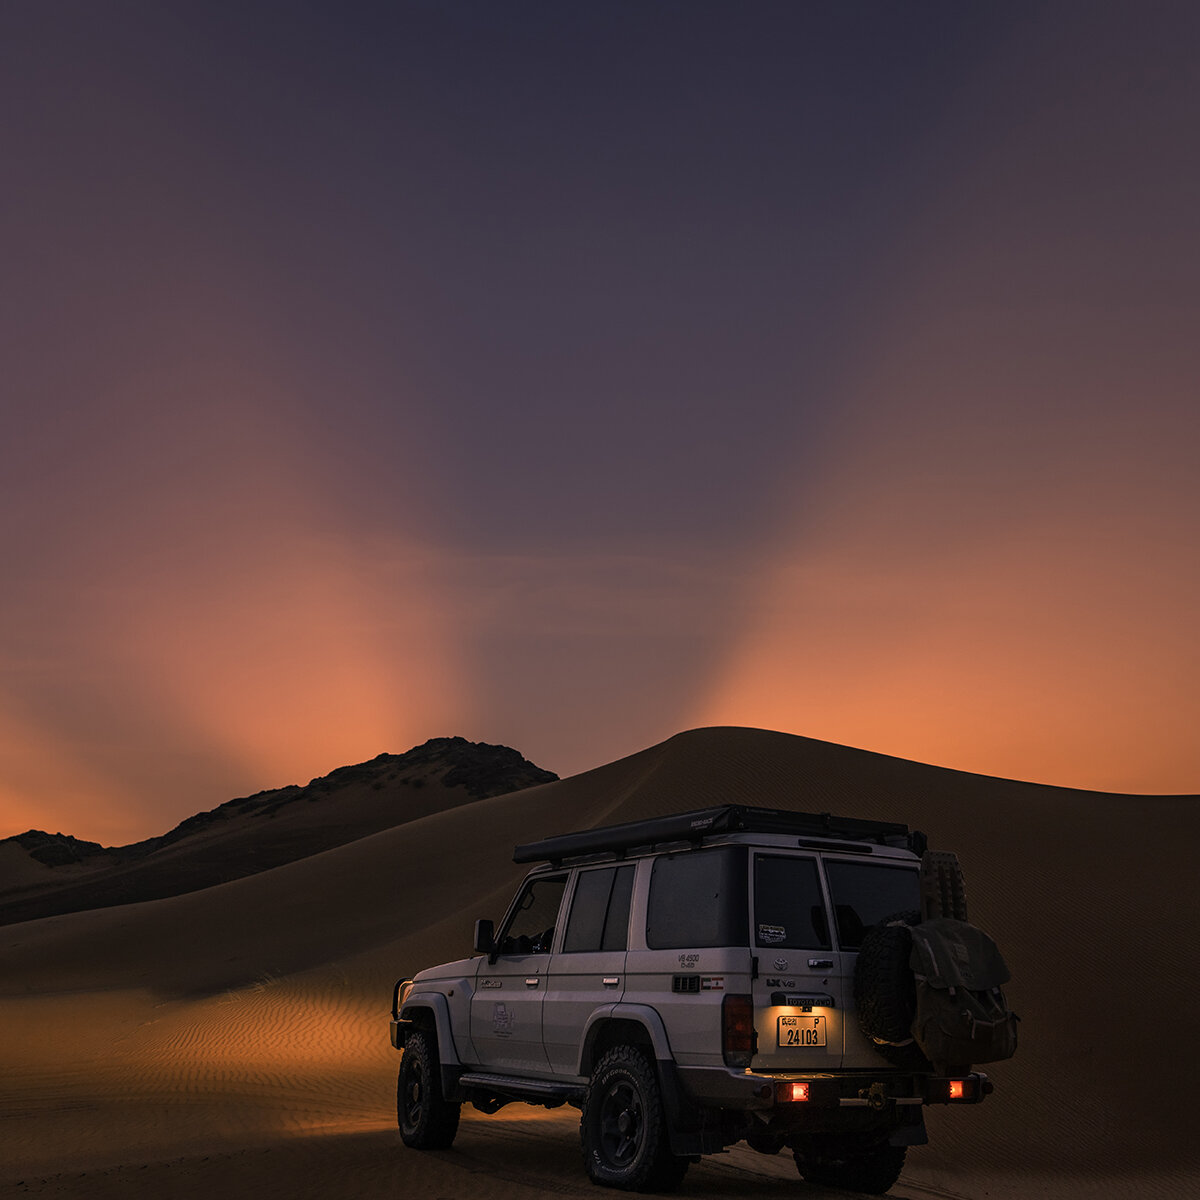
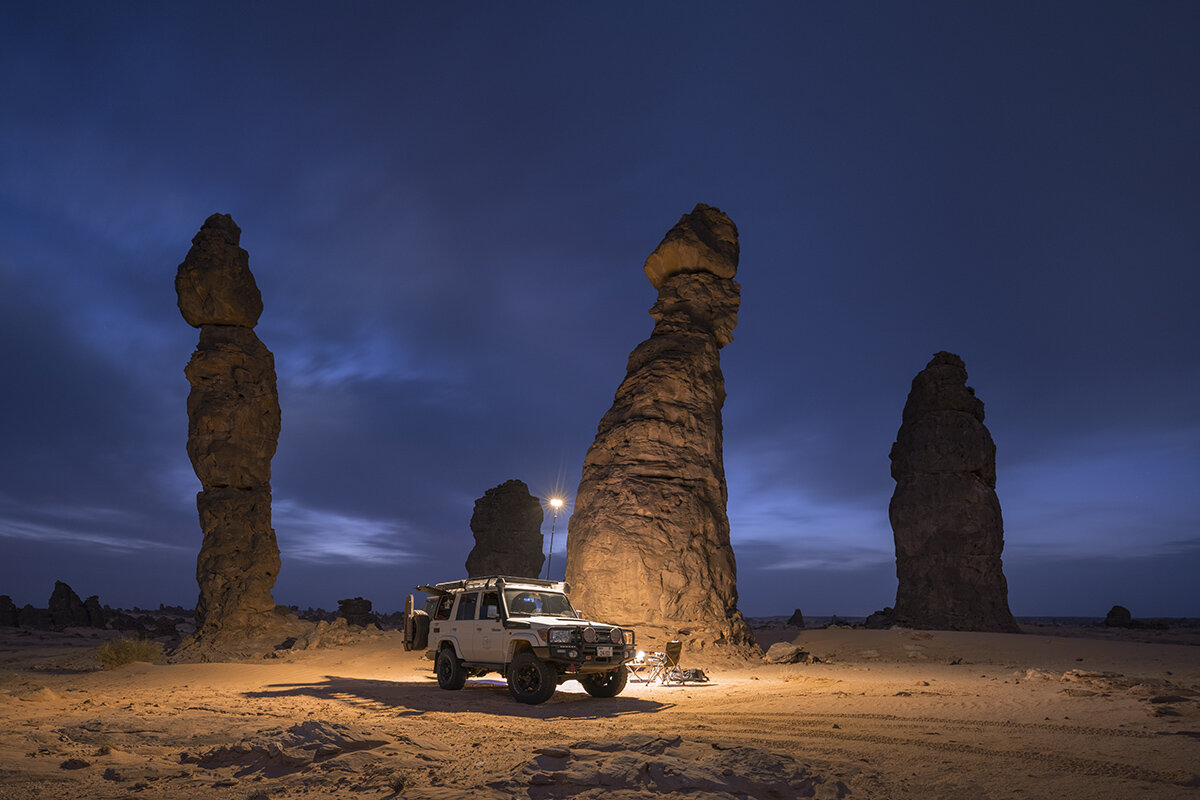
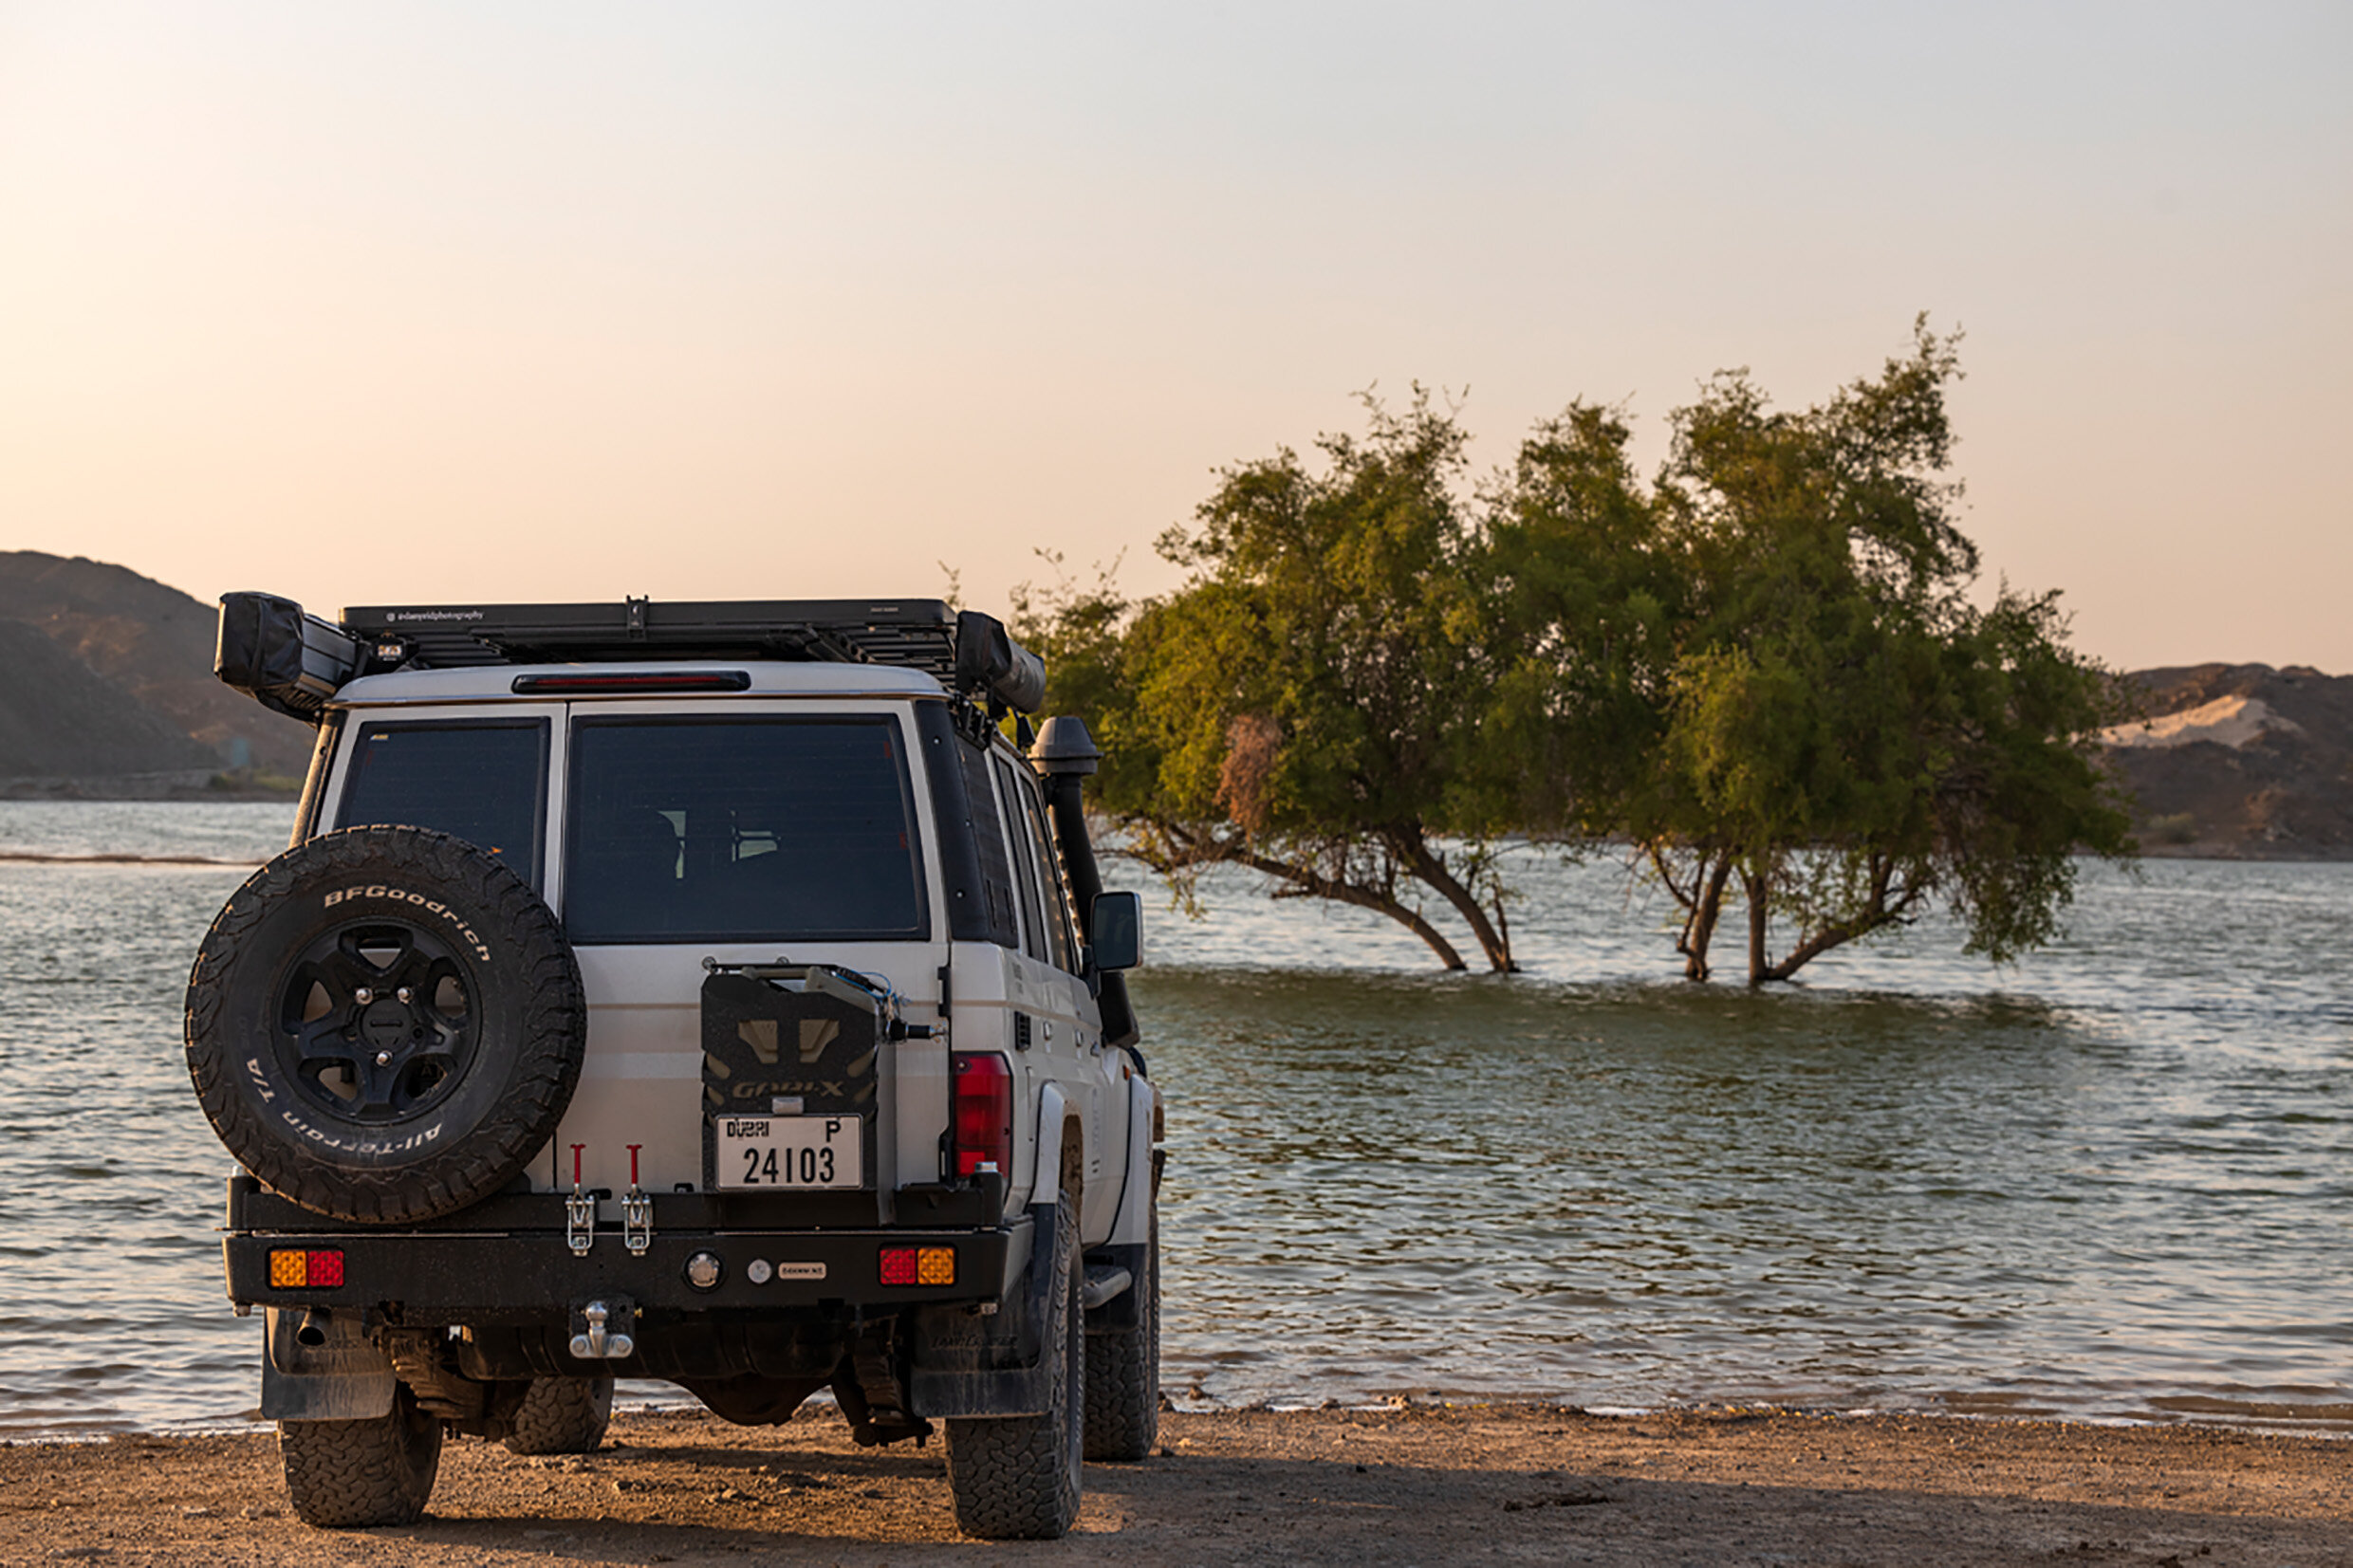
The Story Of Obelix: Why I Built Him & What Modifications I Made
/As a landscape and travel photographer, my camera helps me tell the story, but reaching the places I want to photograph is often an adventure in itself.
Years of travelling and leading workshops have taken me far off the beaten track, searching for landscapes, light and perspectives that reward the effort of getting there. Along the way, I realised that a dependable vehicle was just as important to these journeys as the equipment in my camera bag.
I needed something that could support both my personal photography trips and the landscape workshops I lead across the UAE and GCC. It had to carry equipment, handle demanding terrain and offer the flexibility to spend longer in remote locations. For my workshop participants, it also needed to support the experience I wanted to create: a combination of photography, adventure and overlanding, with comfort and safety central to the planning.
Finding the Right Vehicle
My priorities were straightforward: reliability, space, carrying capacity and the freedom to adapt the vehicle to my needs. Plenty of vehicles met those requirements on paper, which made choosing one harder than I expected.
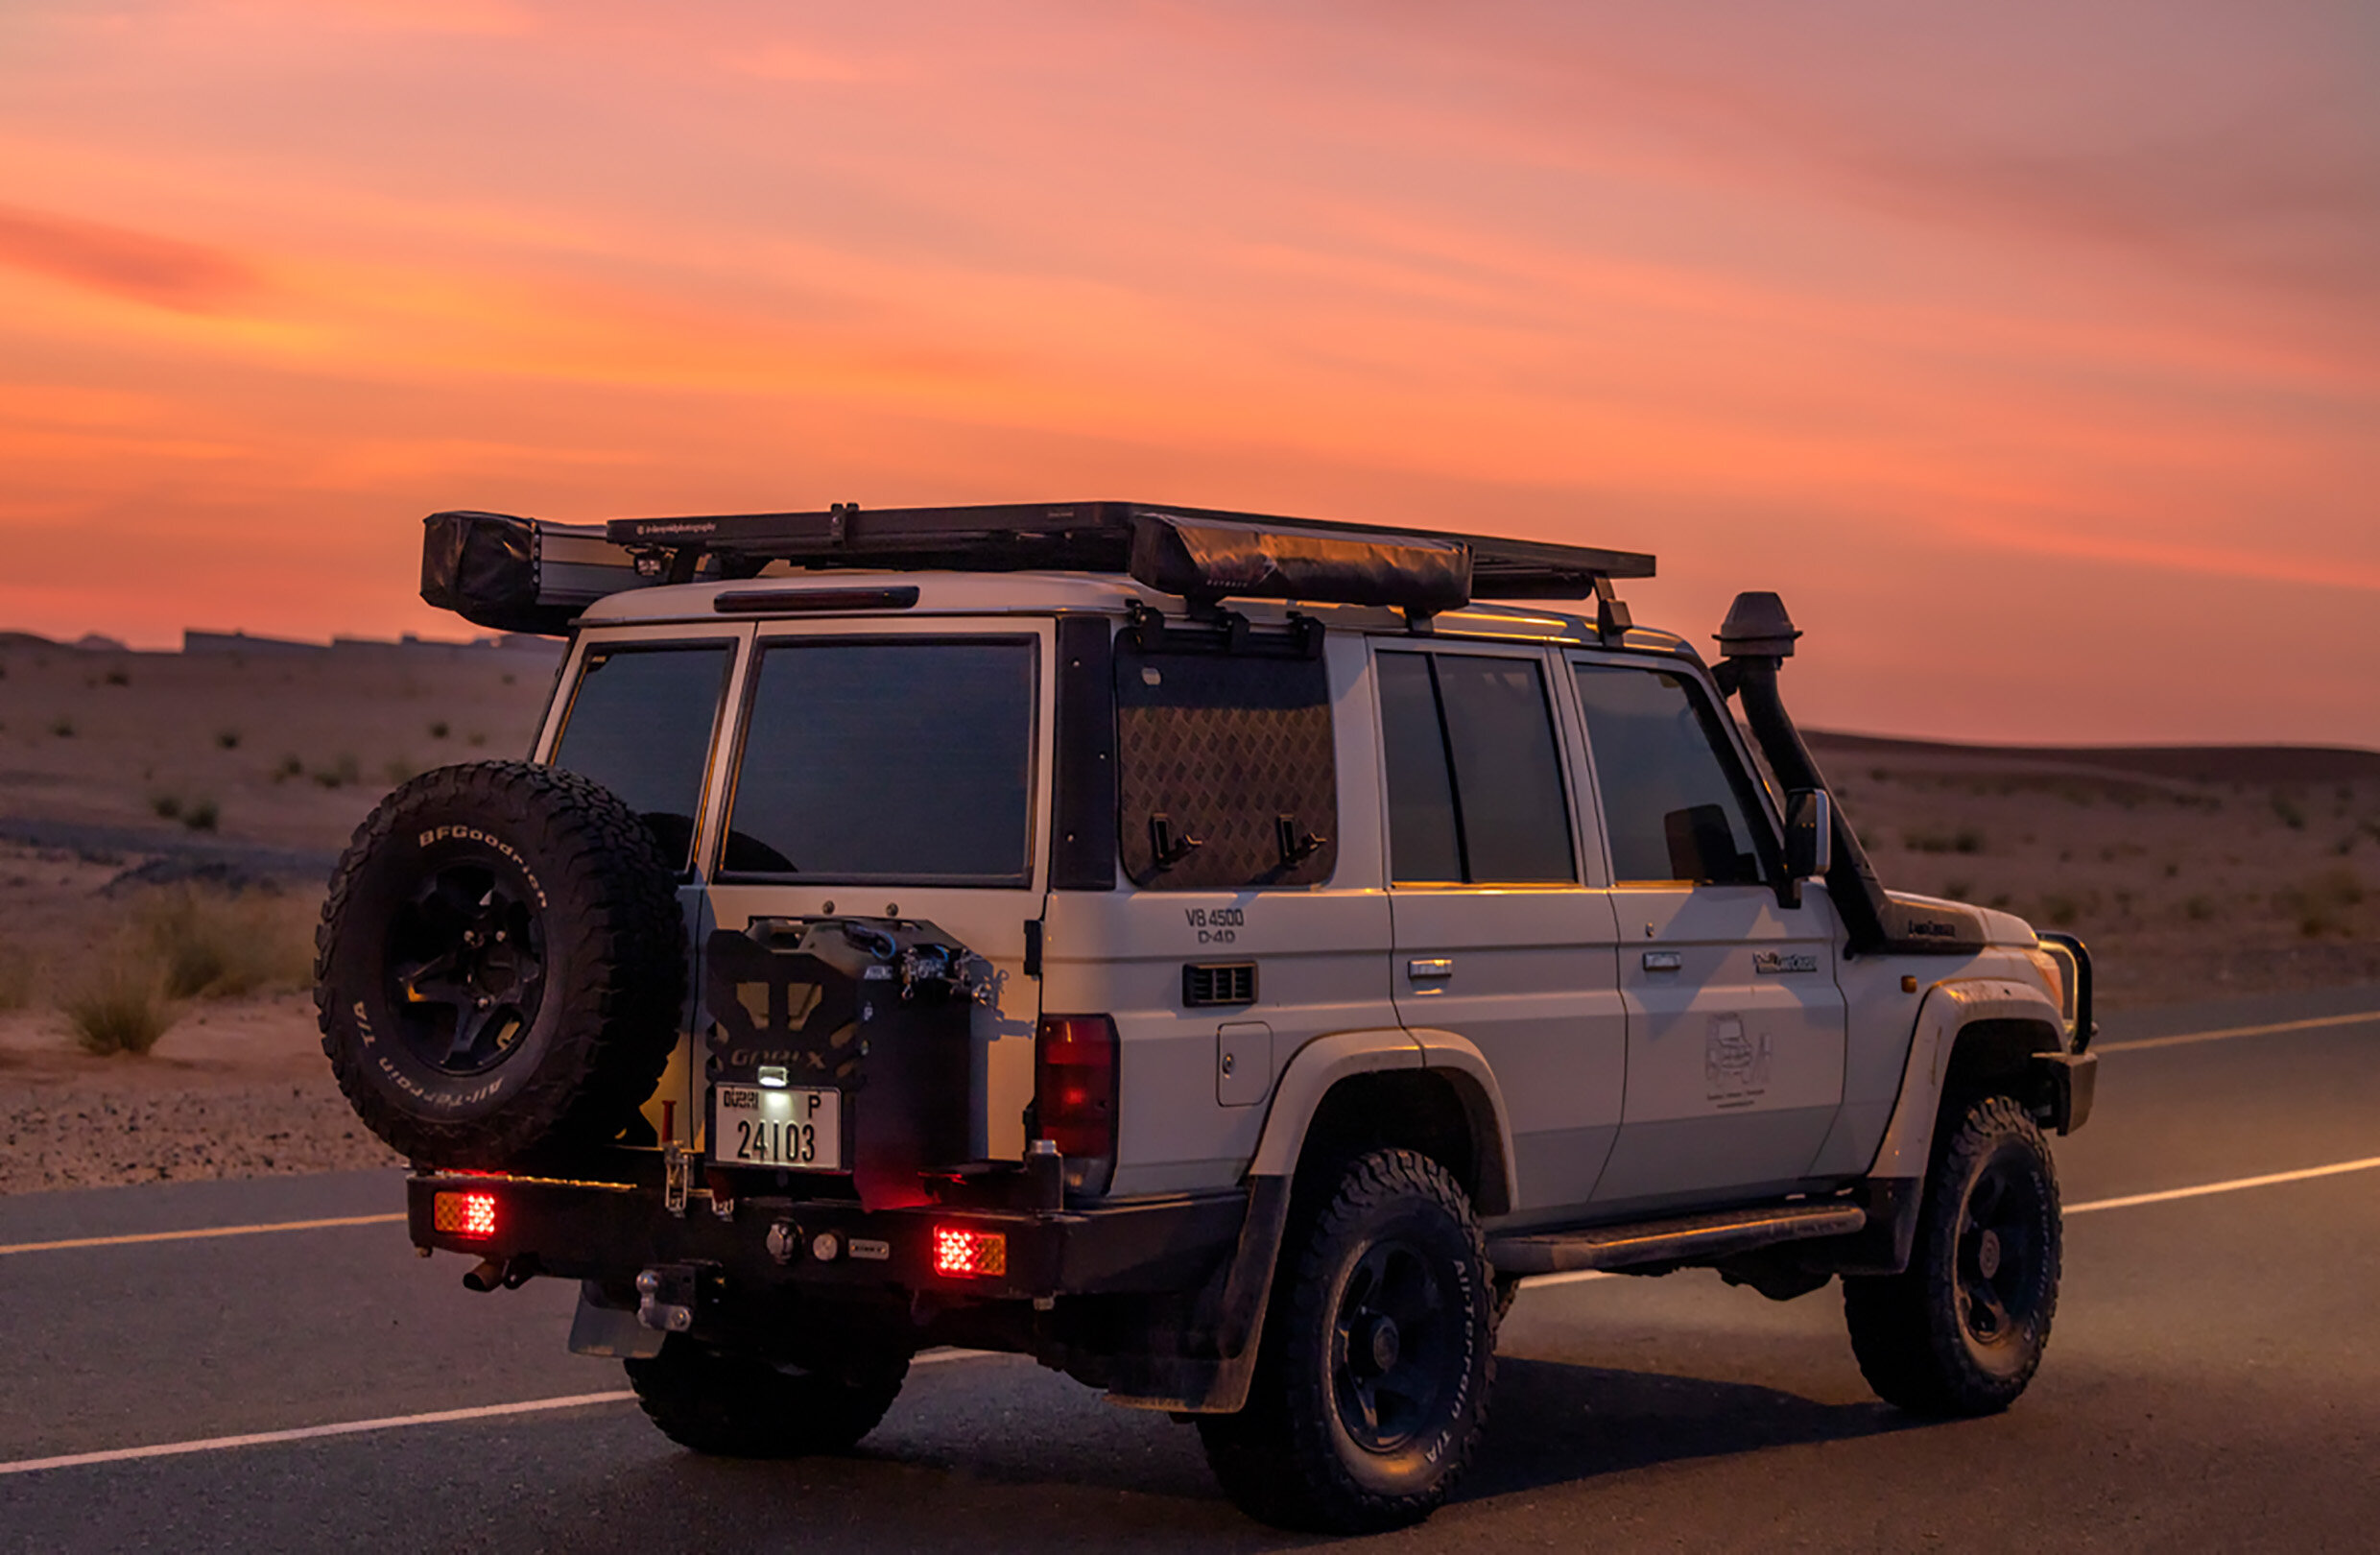
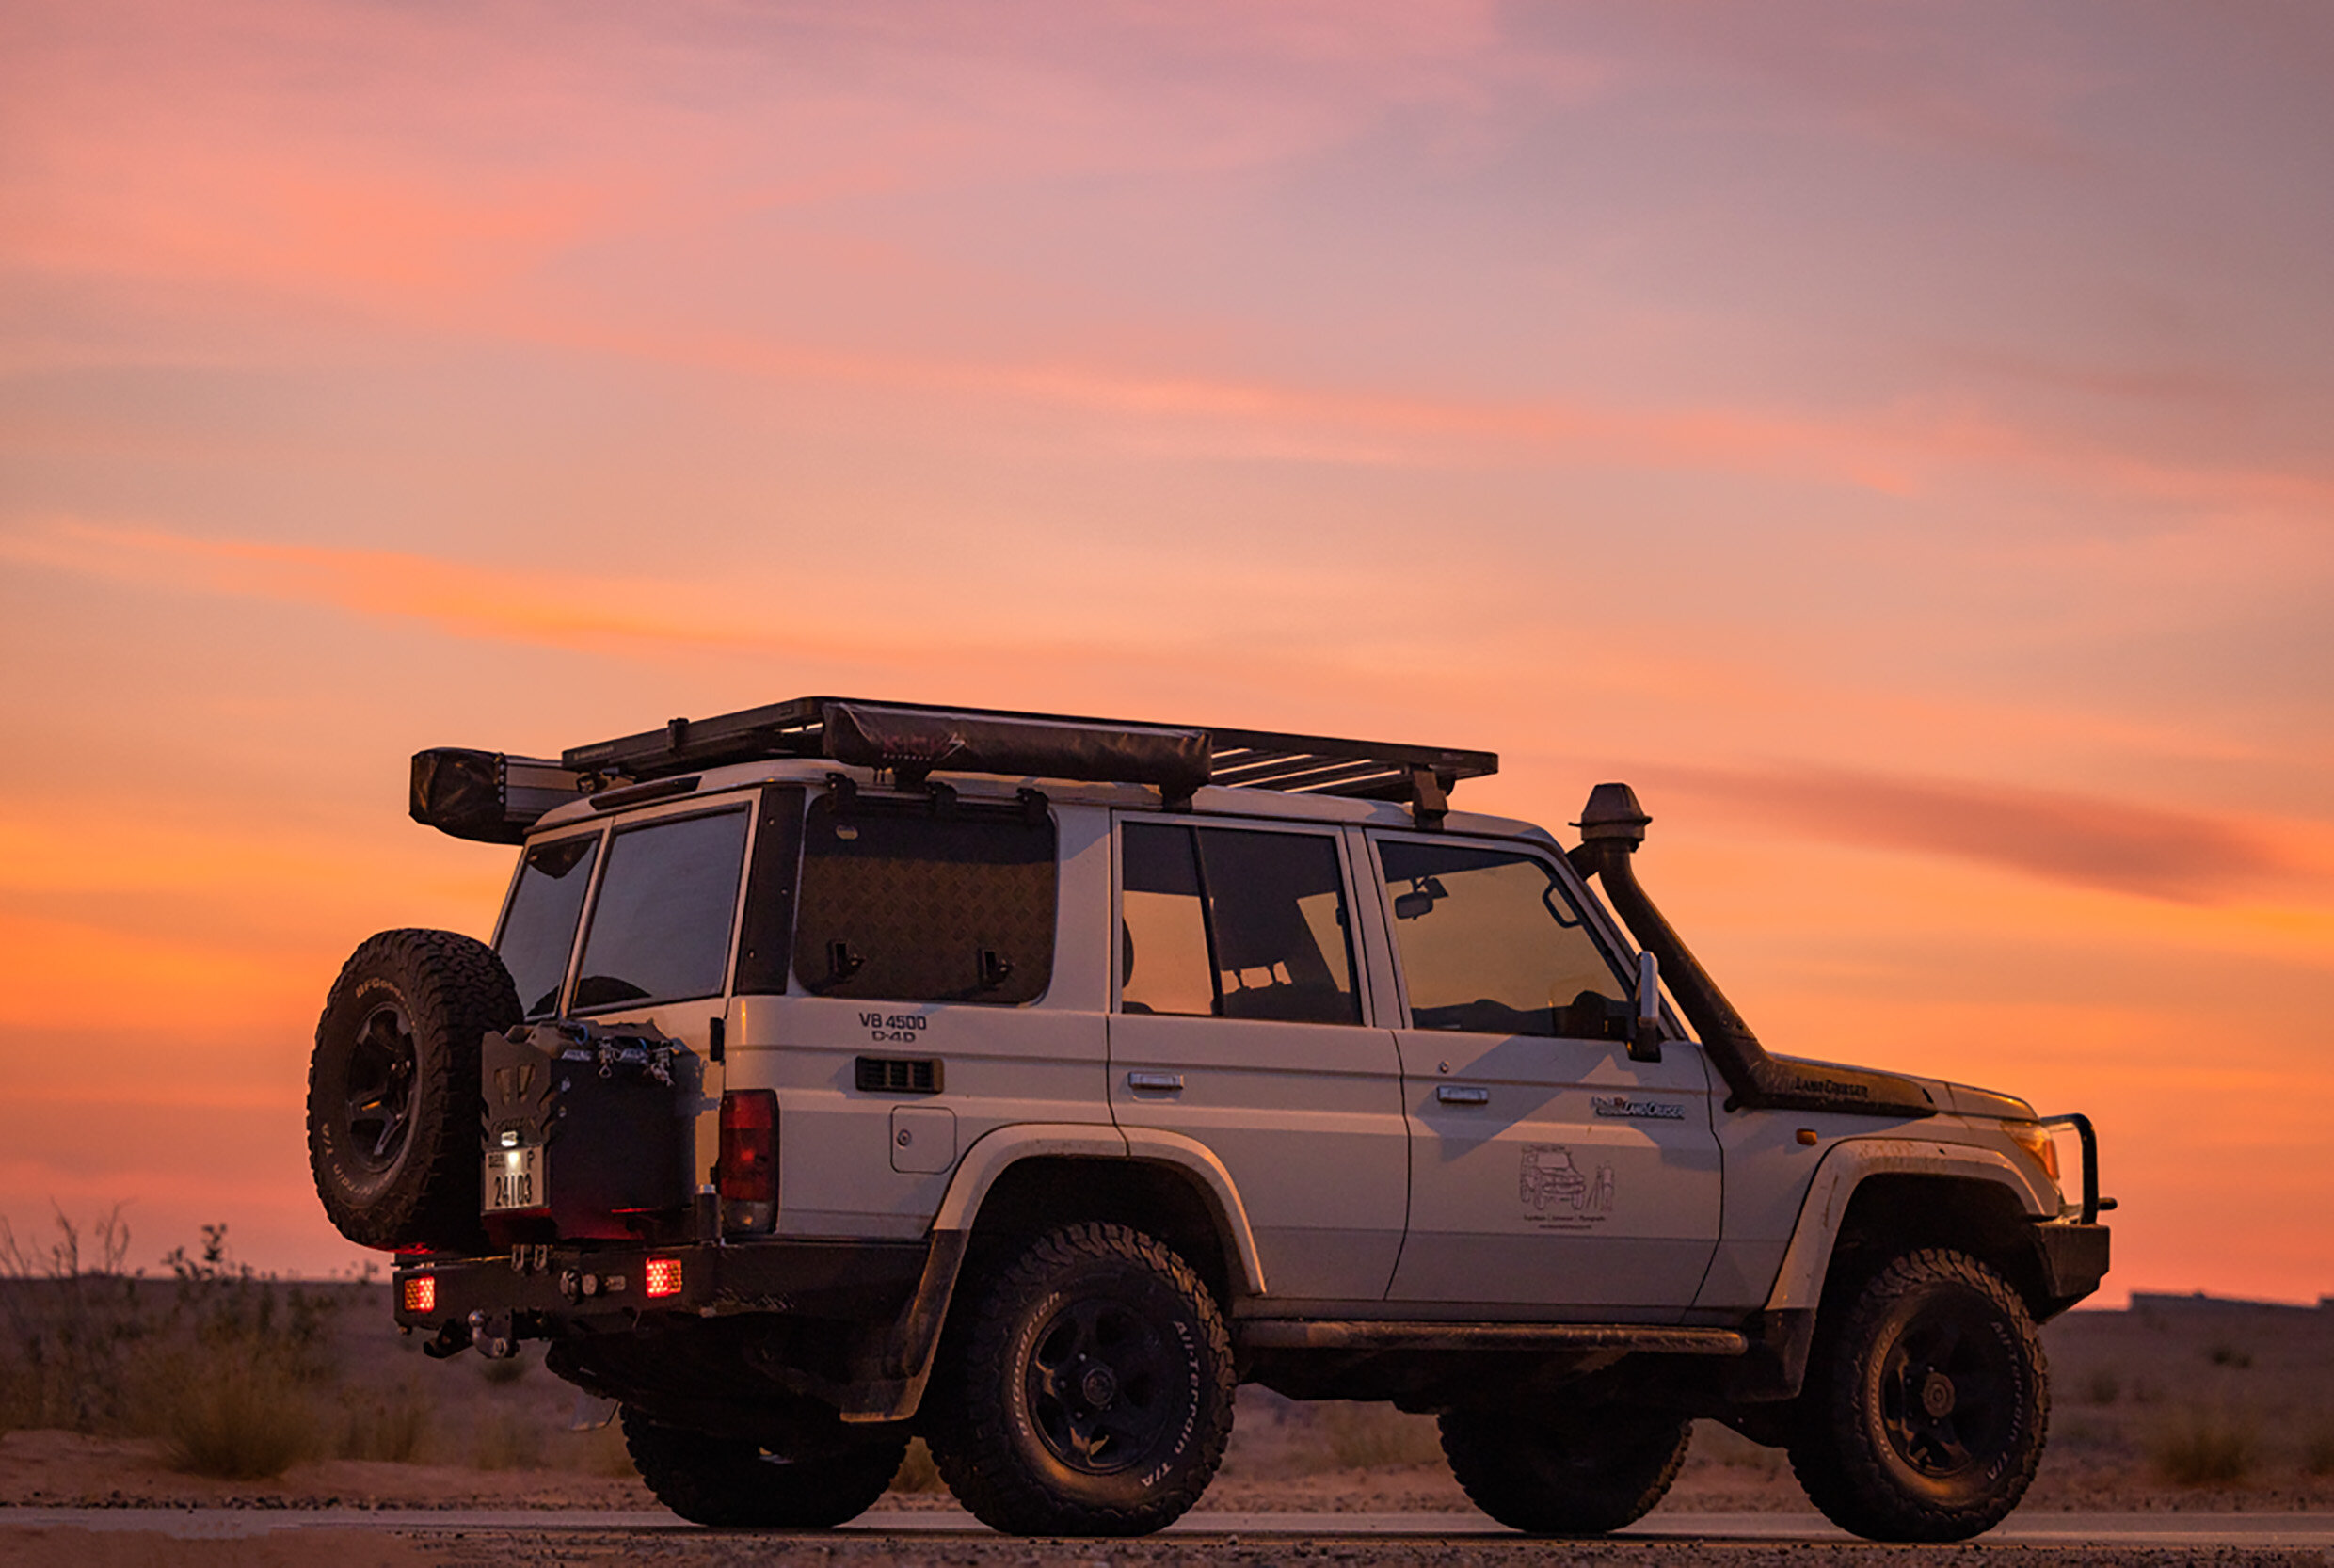
After considerable research, I settled on the Toyota Land Cruiser 76 Series, powered by a 4.5-litre V8 diesel engine.
Why go old school? I was drawn to its straightforward, practical design and long-standing reputation in demanding environments. Its rugged construction, rear leaf springs and V8 engine suited the kind of vehicle I wanted to build. It offered a solid foundation for carrying my photography equipment and travelling beyond the paved road.
A Name Worth Keeping
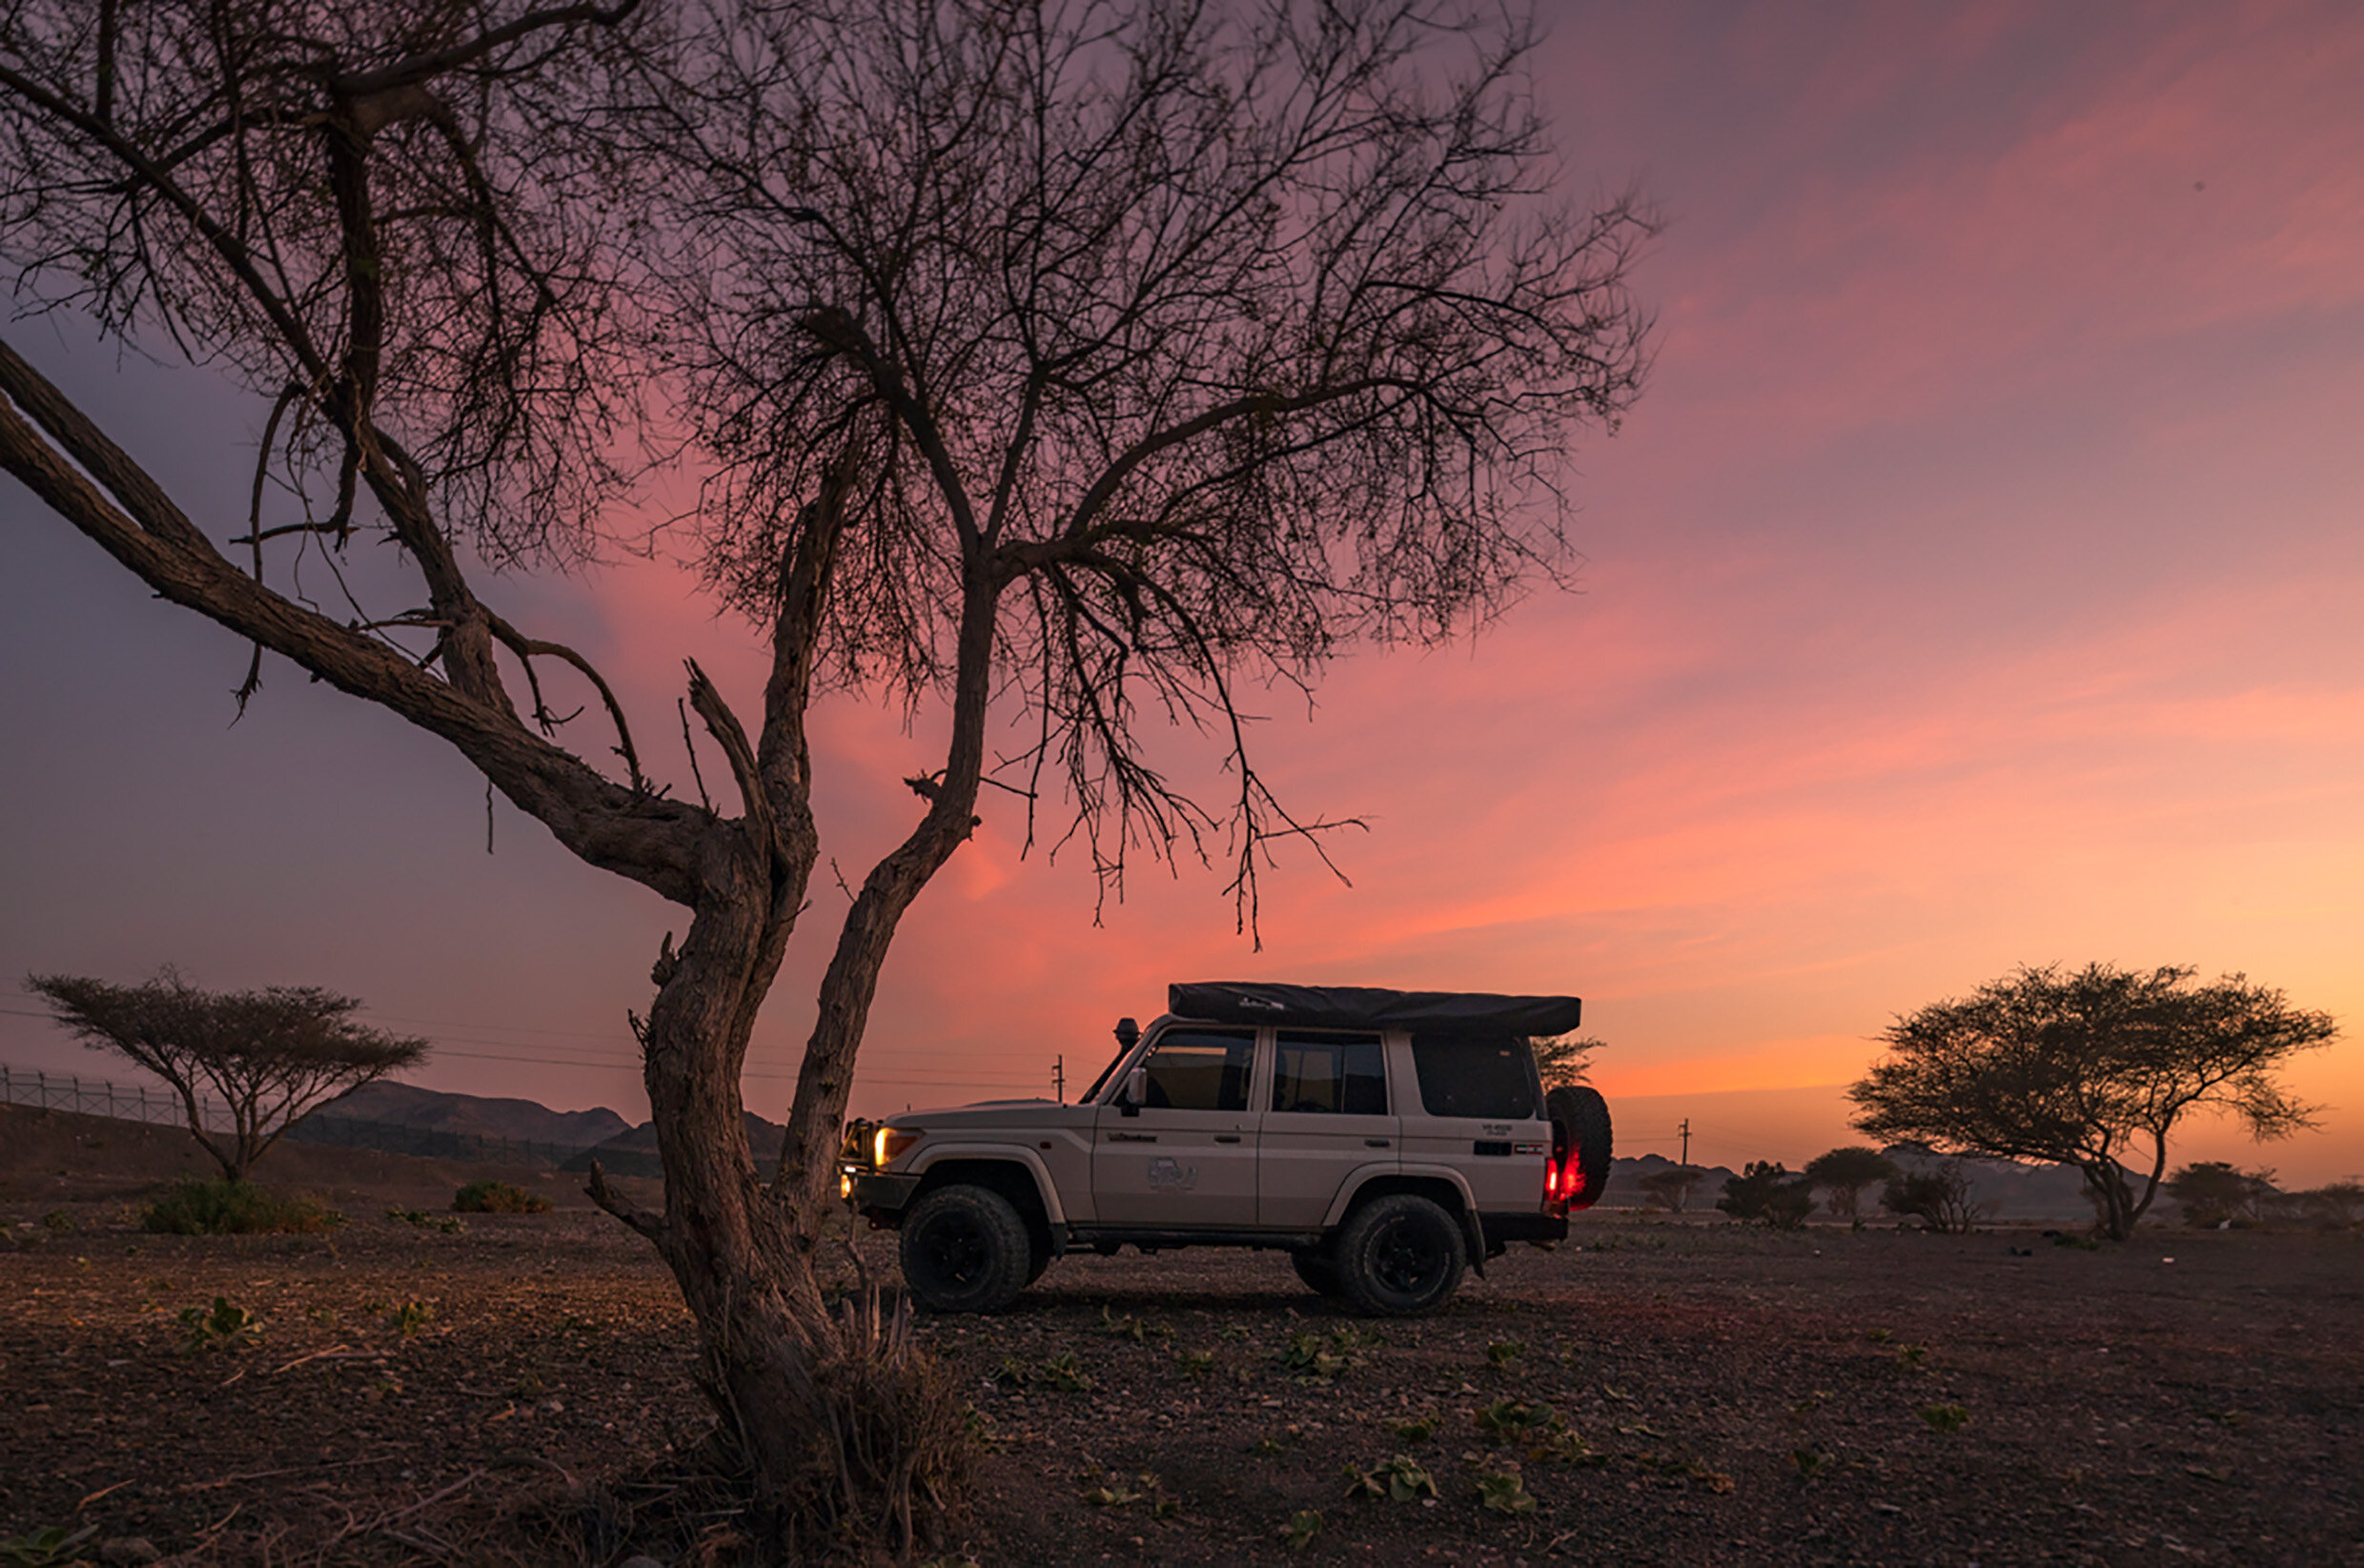
Living in Dubai gave me plenty of options, but the right vehicle eventually came from an Australian expat who shared my enthusiasm for Toyota. He was selling his Land Cruiser 76, a vehicle he had named Obelix.
I still remember the sadness on his face when the time came to hand it over. Before we completed the sale, he made one request: keep the name.
I promised I would.
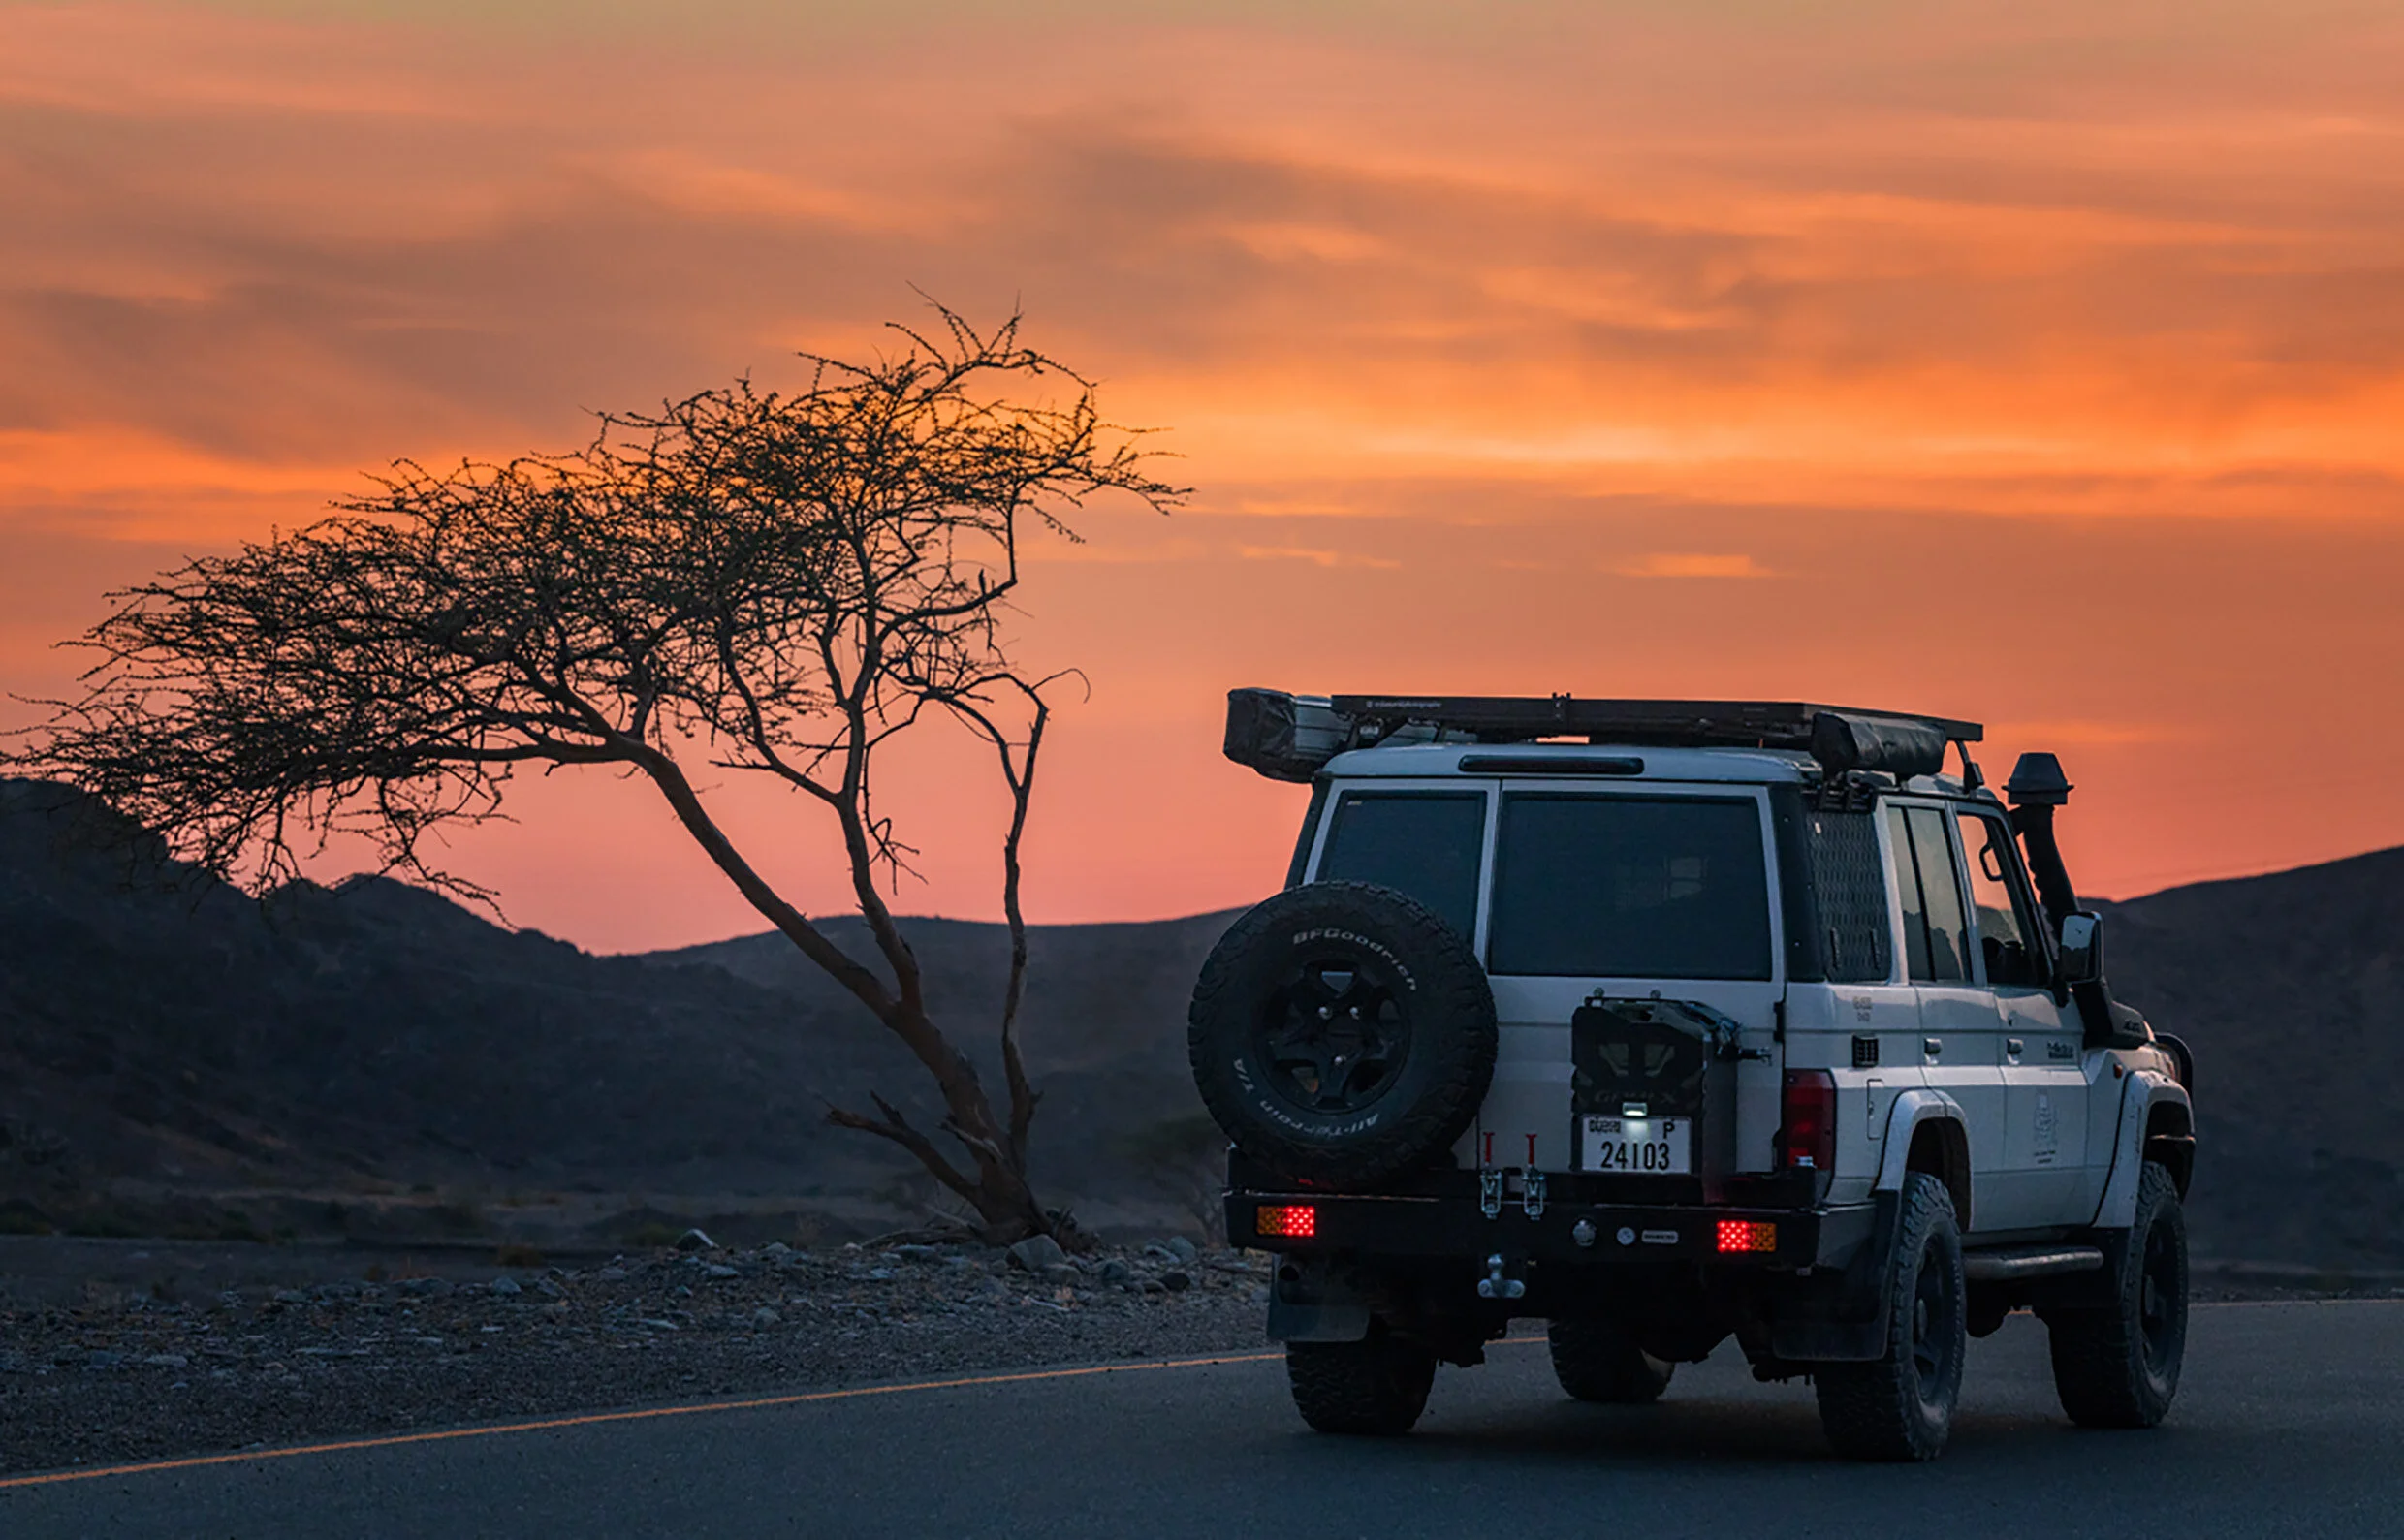
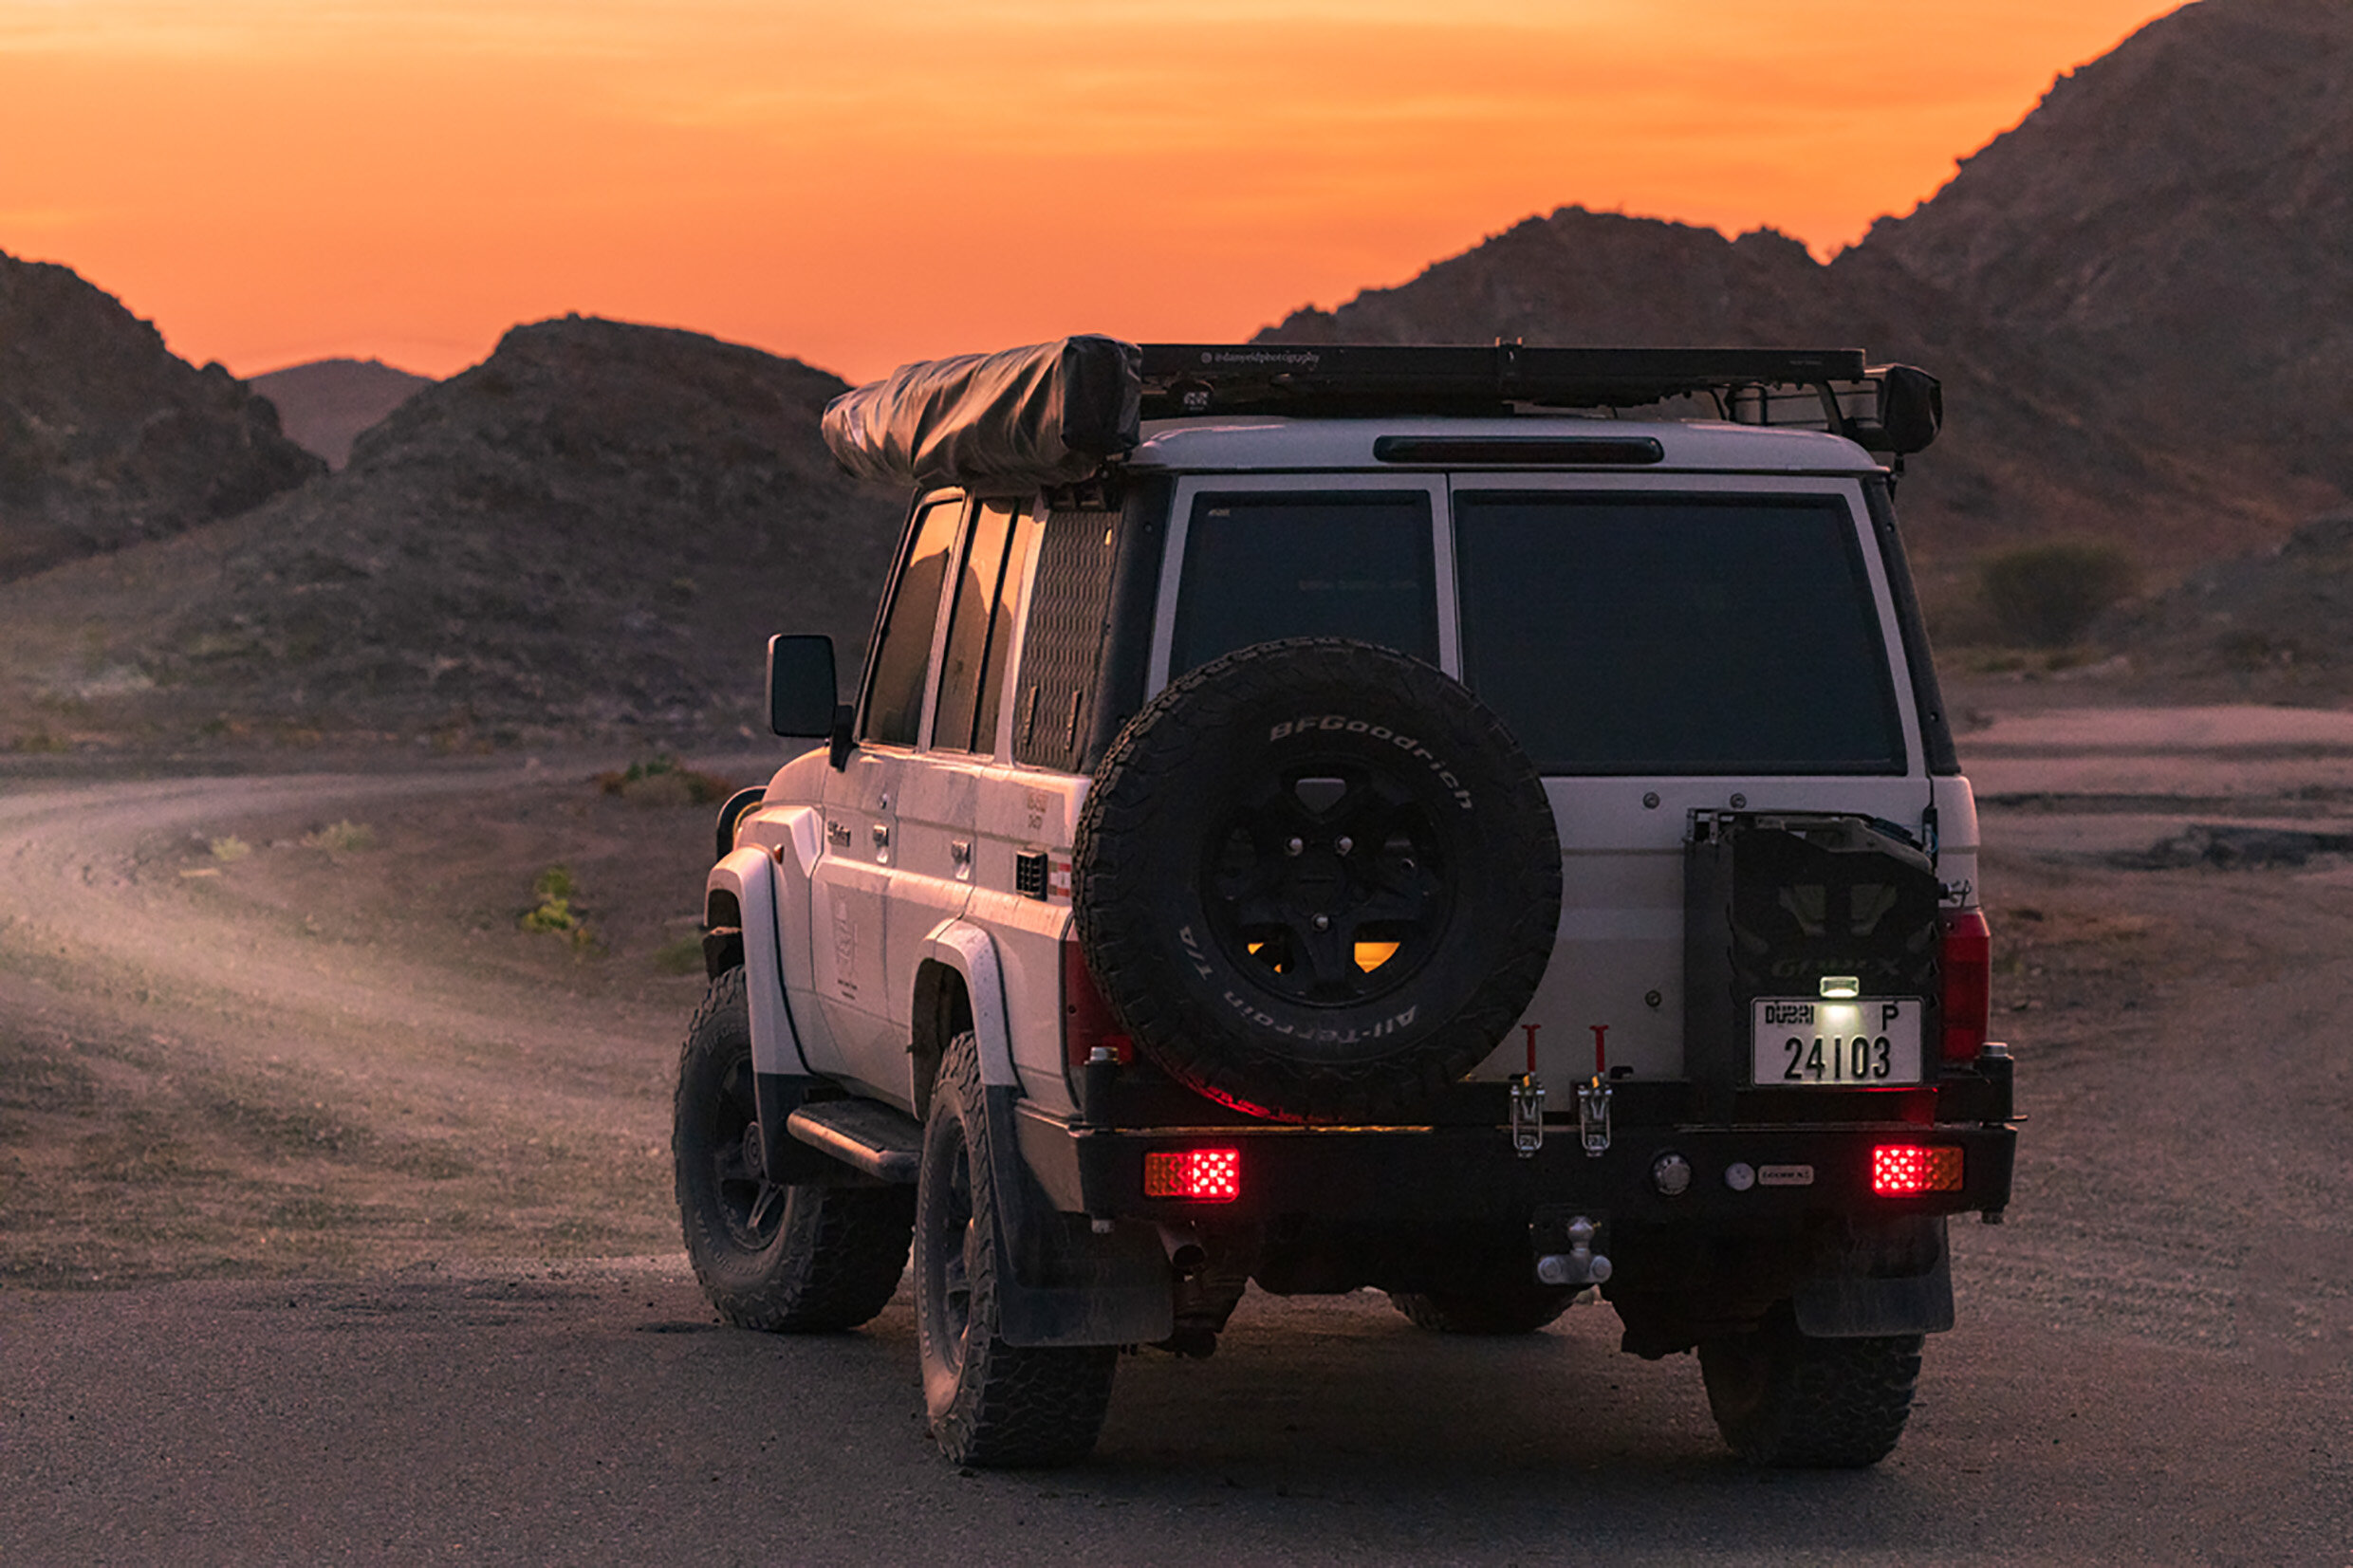
Obelix came home with me, its name intact and a new chapter ahead.
Building the Dream
Turning Obelix into the vehicle I had imagined was an enjoyable project, although it came with plenty of challenges. There was equipment to research, a workshop to choose and mechanics to trust with the build. Every modification had to serve a purpose, and every decision had to fit the budget.
At least, that was the plan.
As often happens with projects like this, the budget stretched further than intended. My enthusiasm for the build was not always shared by my wife, particularly when the invoices arrived.
But the purpose remained clear: to build a dependable vehicle that would help me reach remote landscapes, carry what I needed and spend more time making photographs.
Obelix was ready for a life beyond the daily commute. There were roads to explore, camps to make and photographs waiting somewhere along the way.
Planning the Modifications
When I bought Obelix, I had little experience preparing a vehicle for overland travel. I spent hours researching equipment, watching videos and learning from experienced travellers. Gradually, I began to understand what I needed, although turning those ideas into a practical build required help.
A friend introduced me to ANR Performance in Dubai. During our first meeting, the team asked how I intended to use the vehicle. Their focus on the purpose of the build gave me confidence that they understood what I wanted.
Together, we created a list of modifications and prioritised the essentials. The aim was to support photography trips and longer journeys, with enough space for equipment, camping supplies and the practical needs of life on the road.
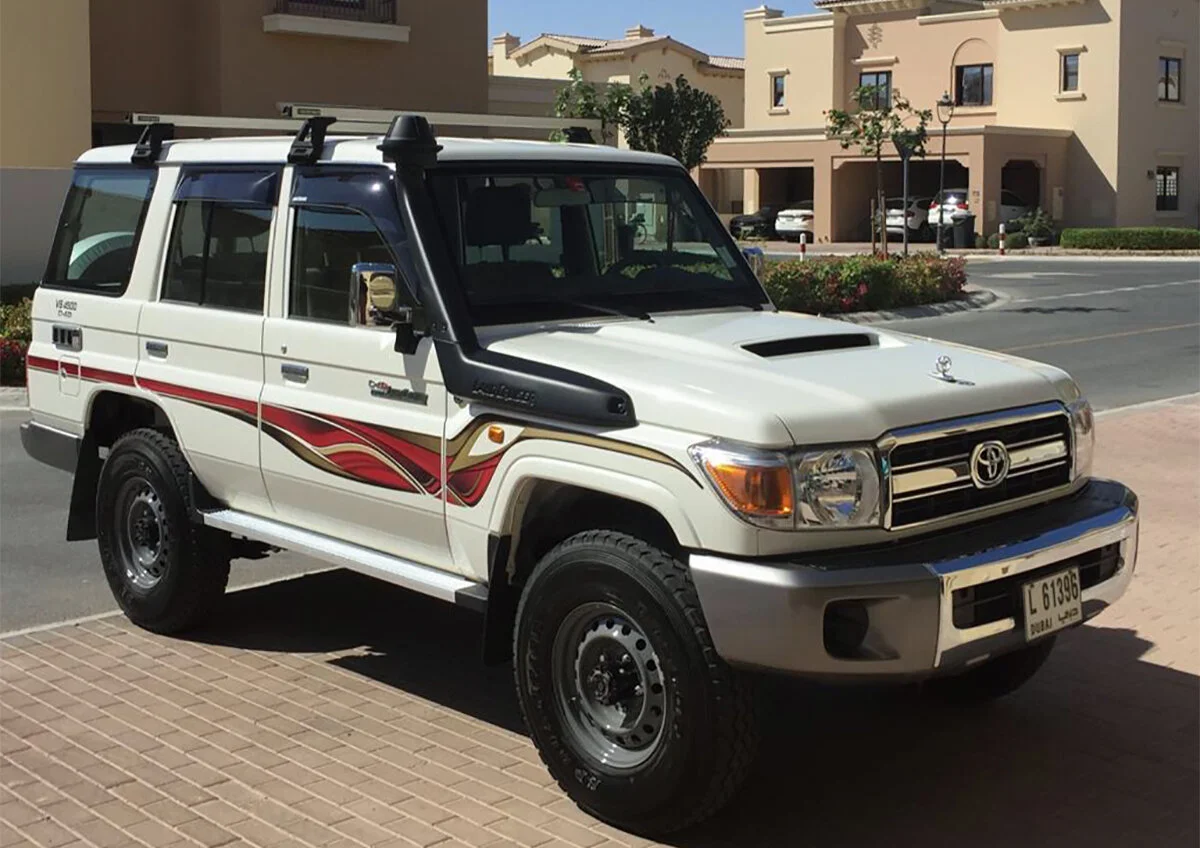
Obelix before the major modifications
Suspension Upgrades
The Land Cruiser 76 has the character of a working truck, and its firm ride reflects that. Since I planned to use Obelix as my daily driver as well as for photography expeditions, improving comfort on paved and gravel roads became one of the first priorities for the ANR team and me.
We fitted Ironman leaf springs and Foam Cell shock absorbers, choosing a setup suited to the additional weight of my equipment and the planned modifications. The aim was to improve handling and ride quality under load, with a suspension lift of approximately two inches.
We also fitted rear wheel spacers to address the difference between the front and rear track widths. On my LC76, the rear wheels sit approximately 100 mm closer together than the front wheels.
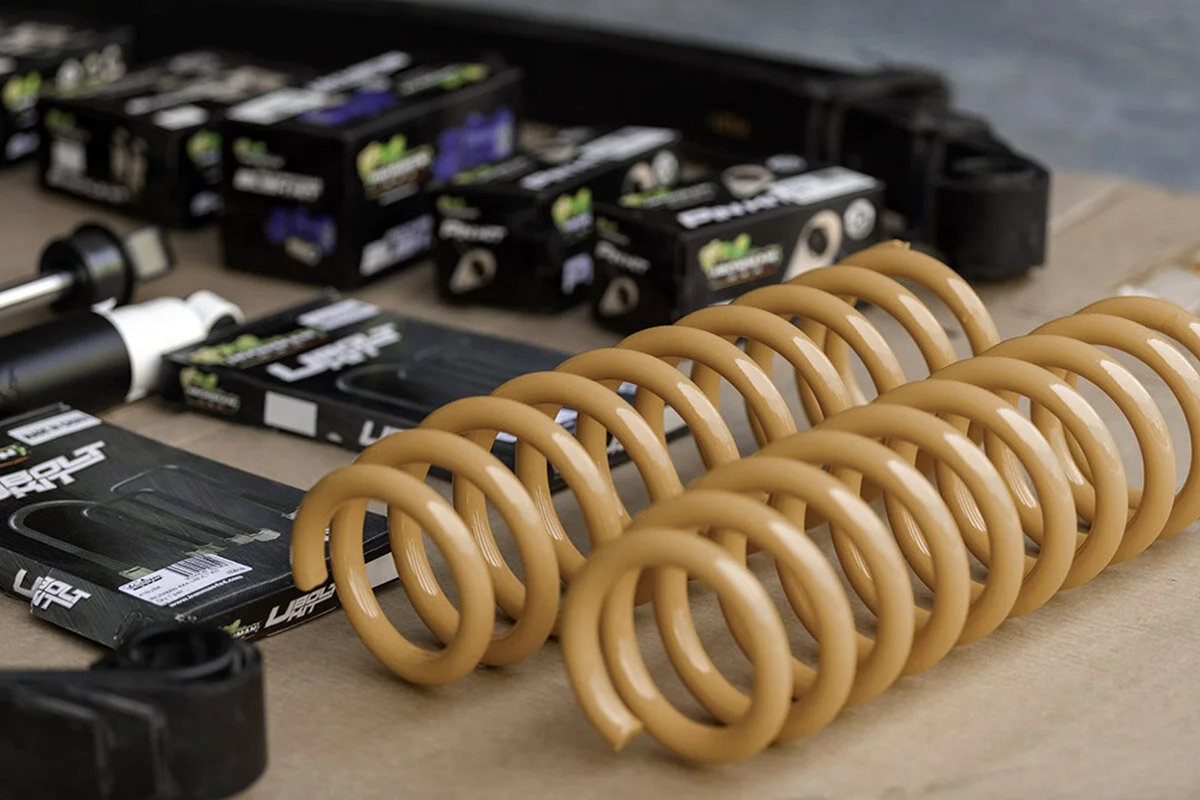
IronMan Suspension kit
Tyres and Wheels
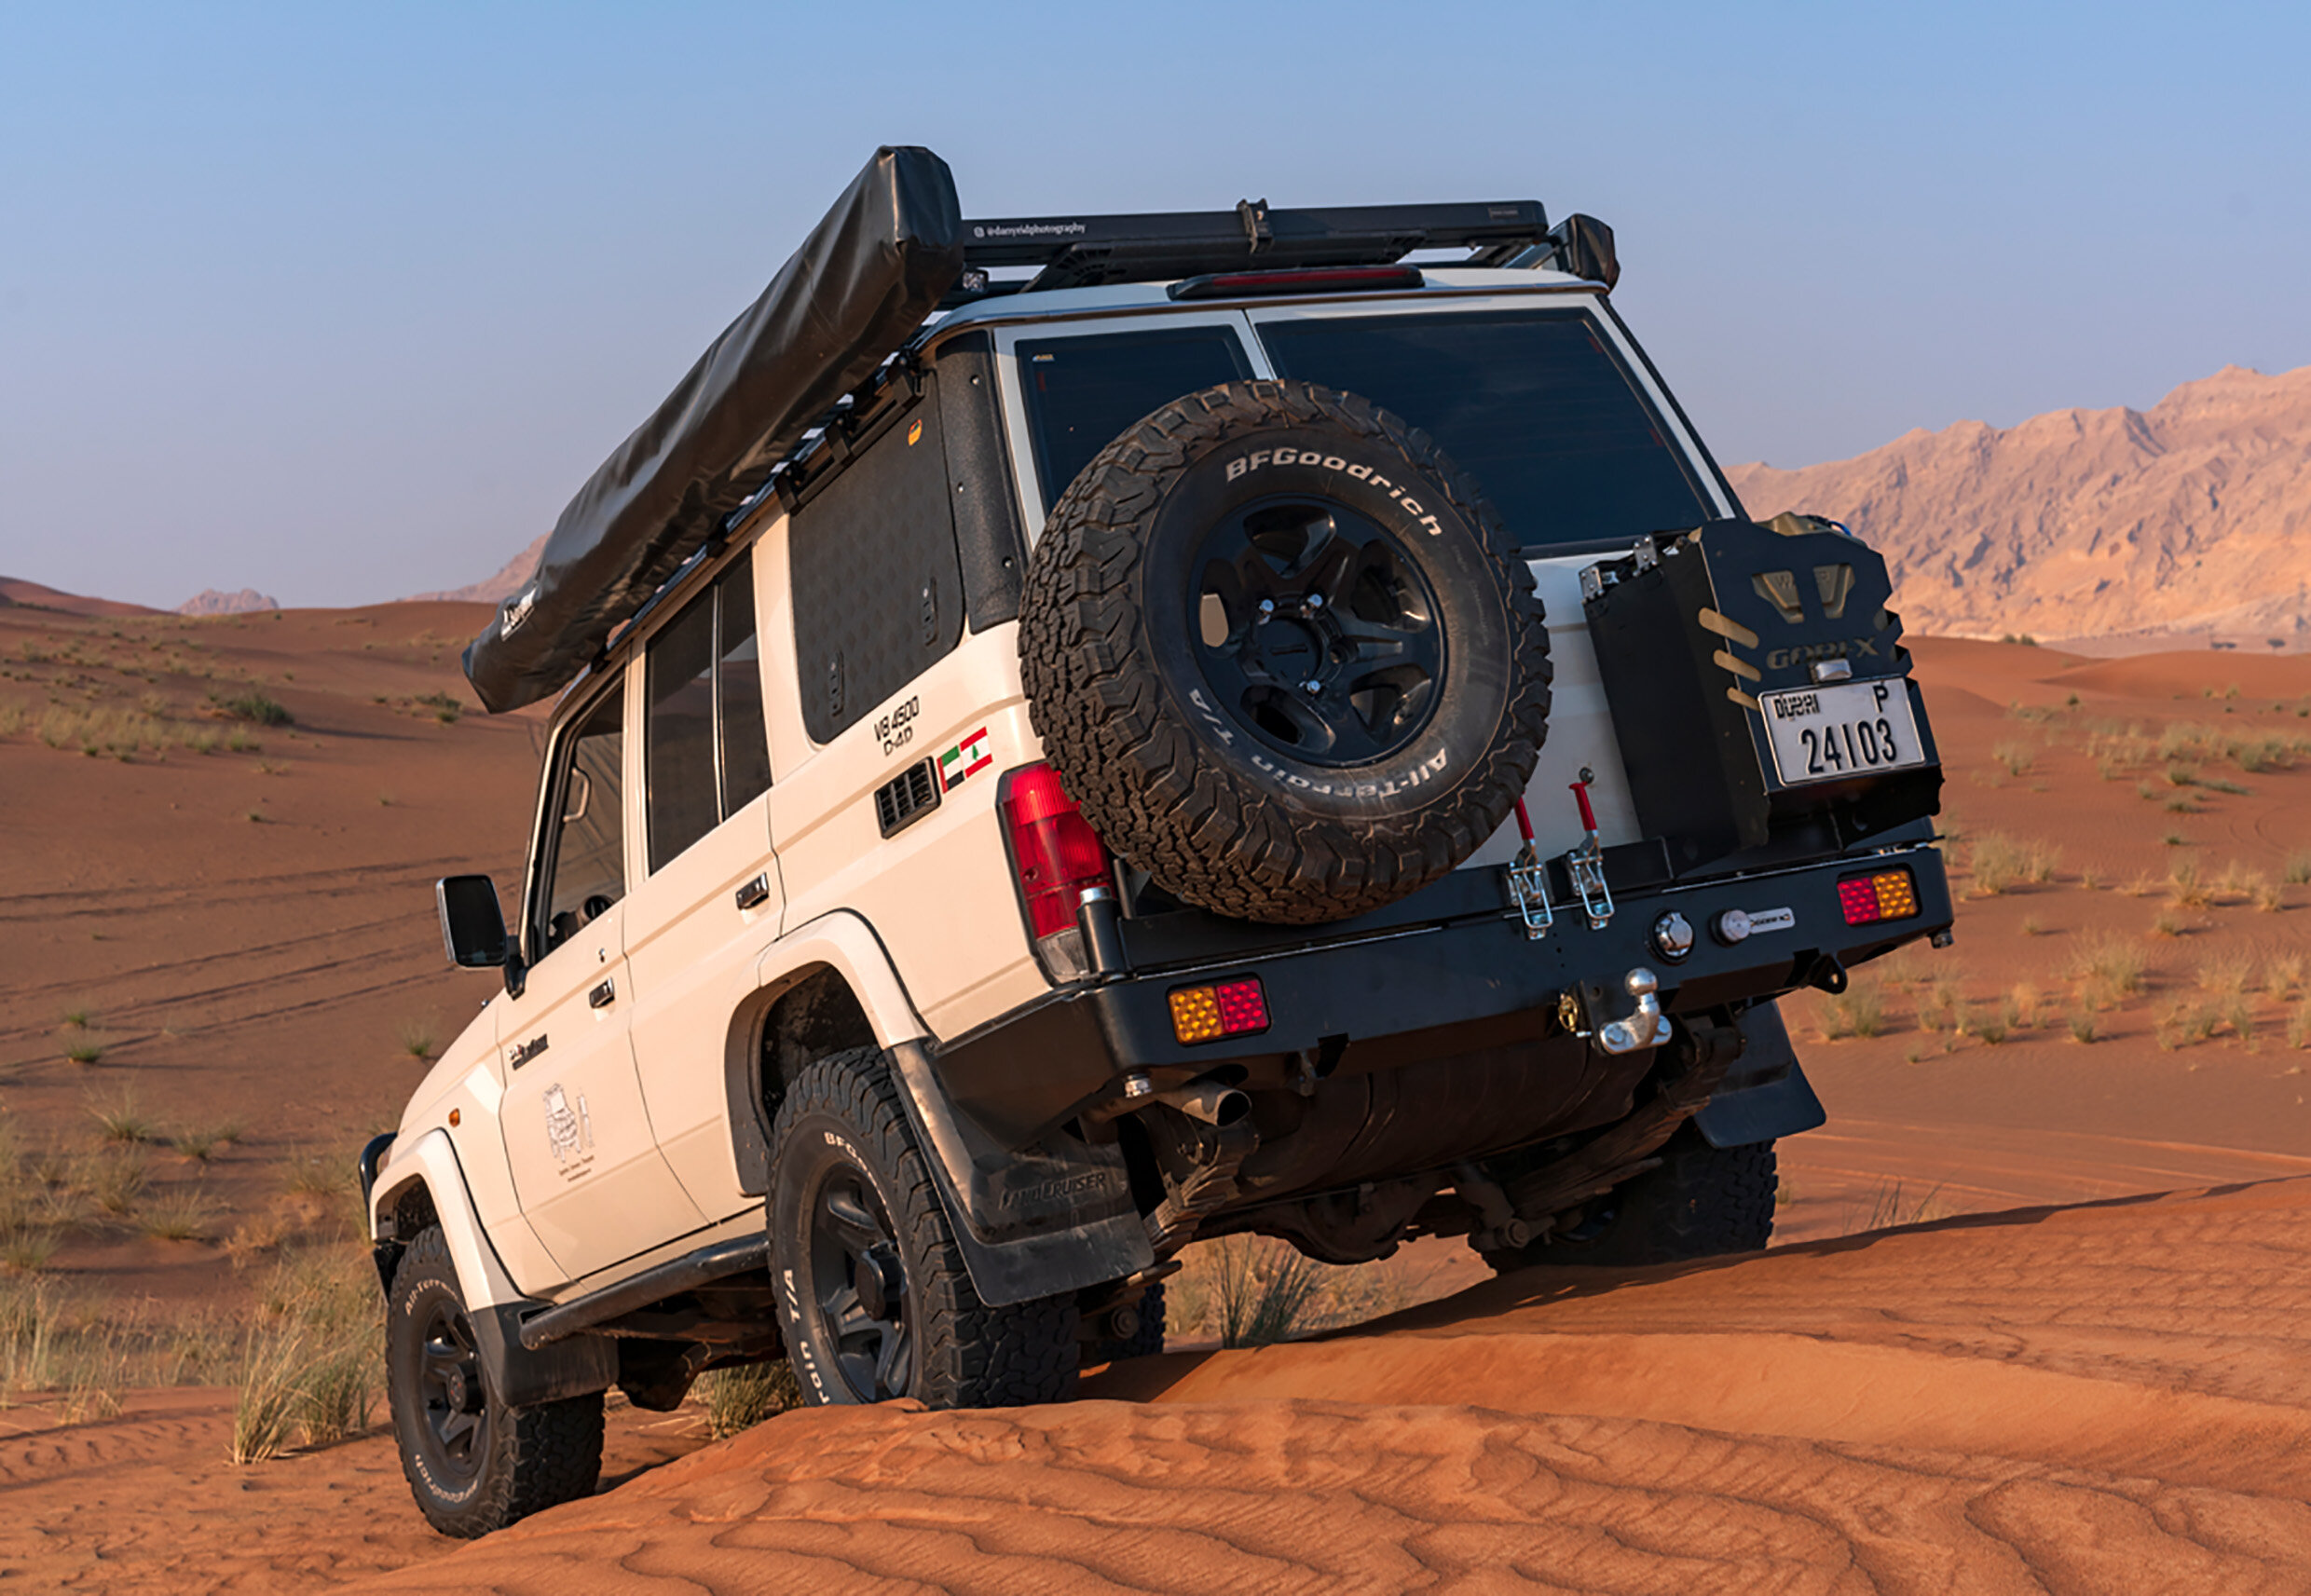
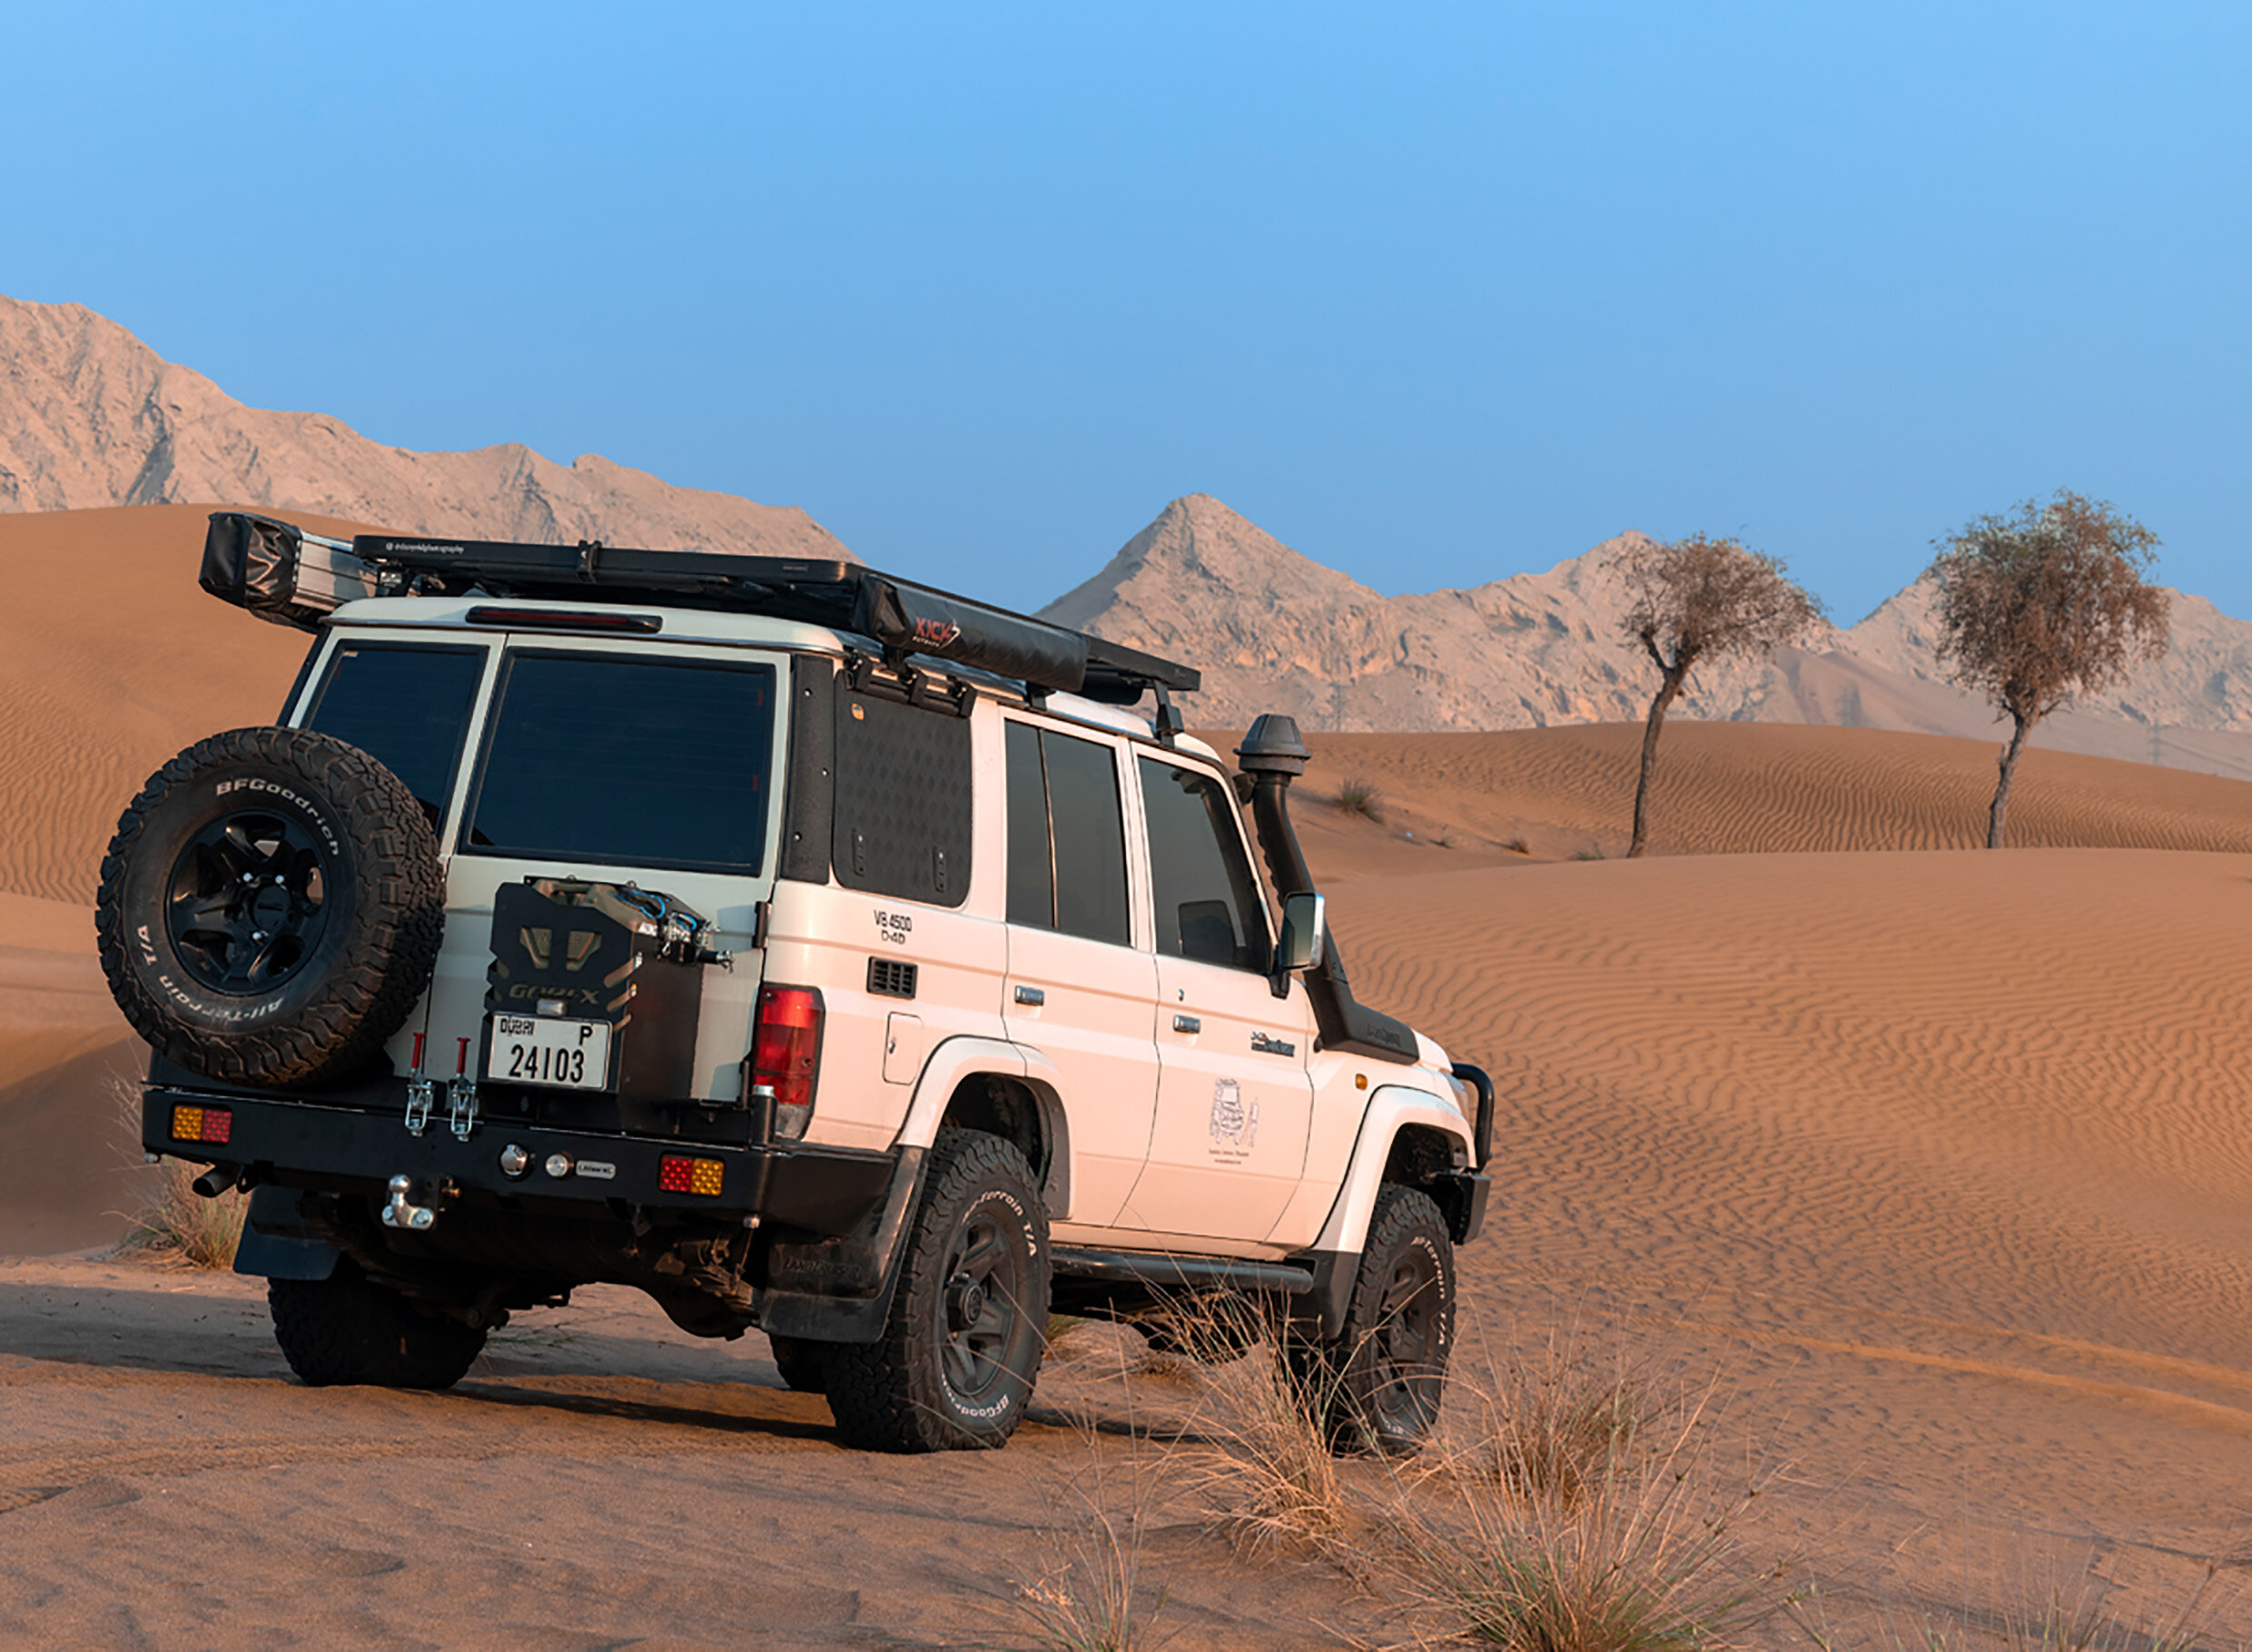
For Obelix, I chose BFGoodrich All-Terrain T/A KO2 tyres in size 285/75 R16. Their reputation among overlanders made them an appealing choice for a vehicle that would see daily driving, gravel roads and remote photography trips.
The wider tyres also called for a change of wheels. Obelix came with Toyota’s traditional narrow wheels, so I replaced them with Toyota alloy wheels suited to the new tyre size. The upgrade gave Obelix a broader stance and a more contemporary appearance while retaining its unmistakable Land Cruiser character.

Tires and Wheels

BF Goodridge KO2 Tires
Safety and Vehicle Protection
Preparing Obelix for remote travel meant thinking beyond comfort and capability. Protection, recovery equipment and secure storage were important parts of the build, particularly for journeys across rocky terrain and soft desert sand.
Front and Underbody Protection
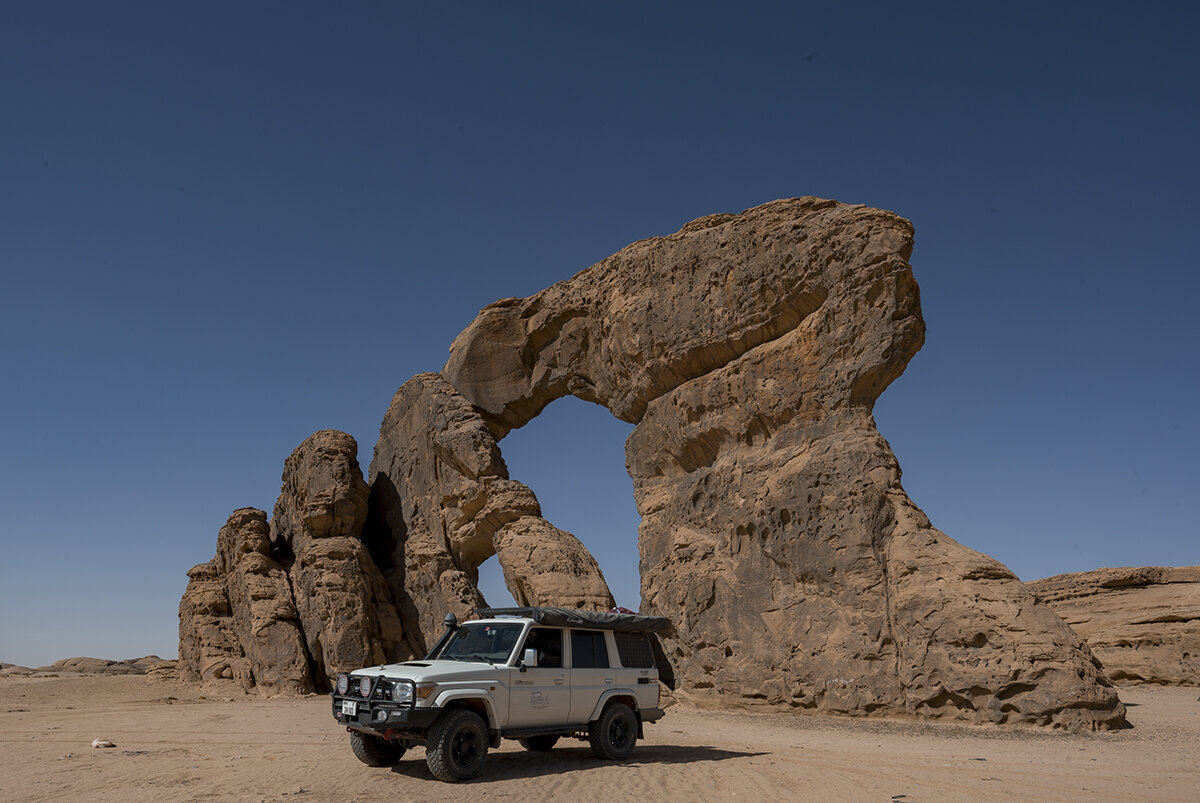
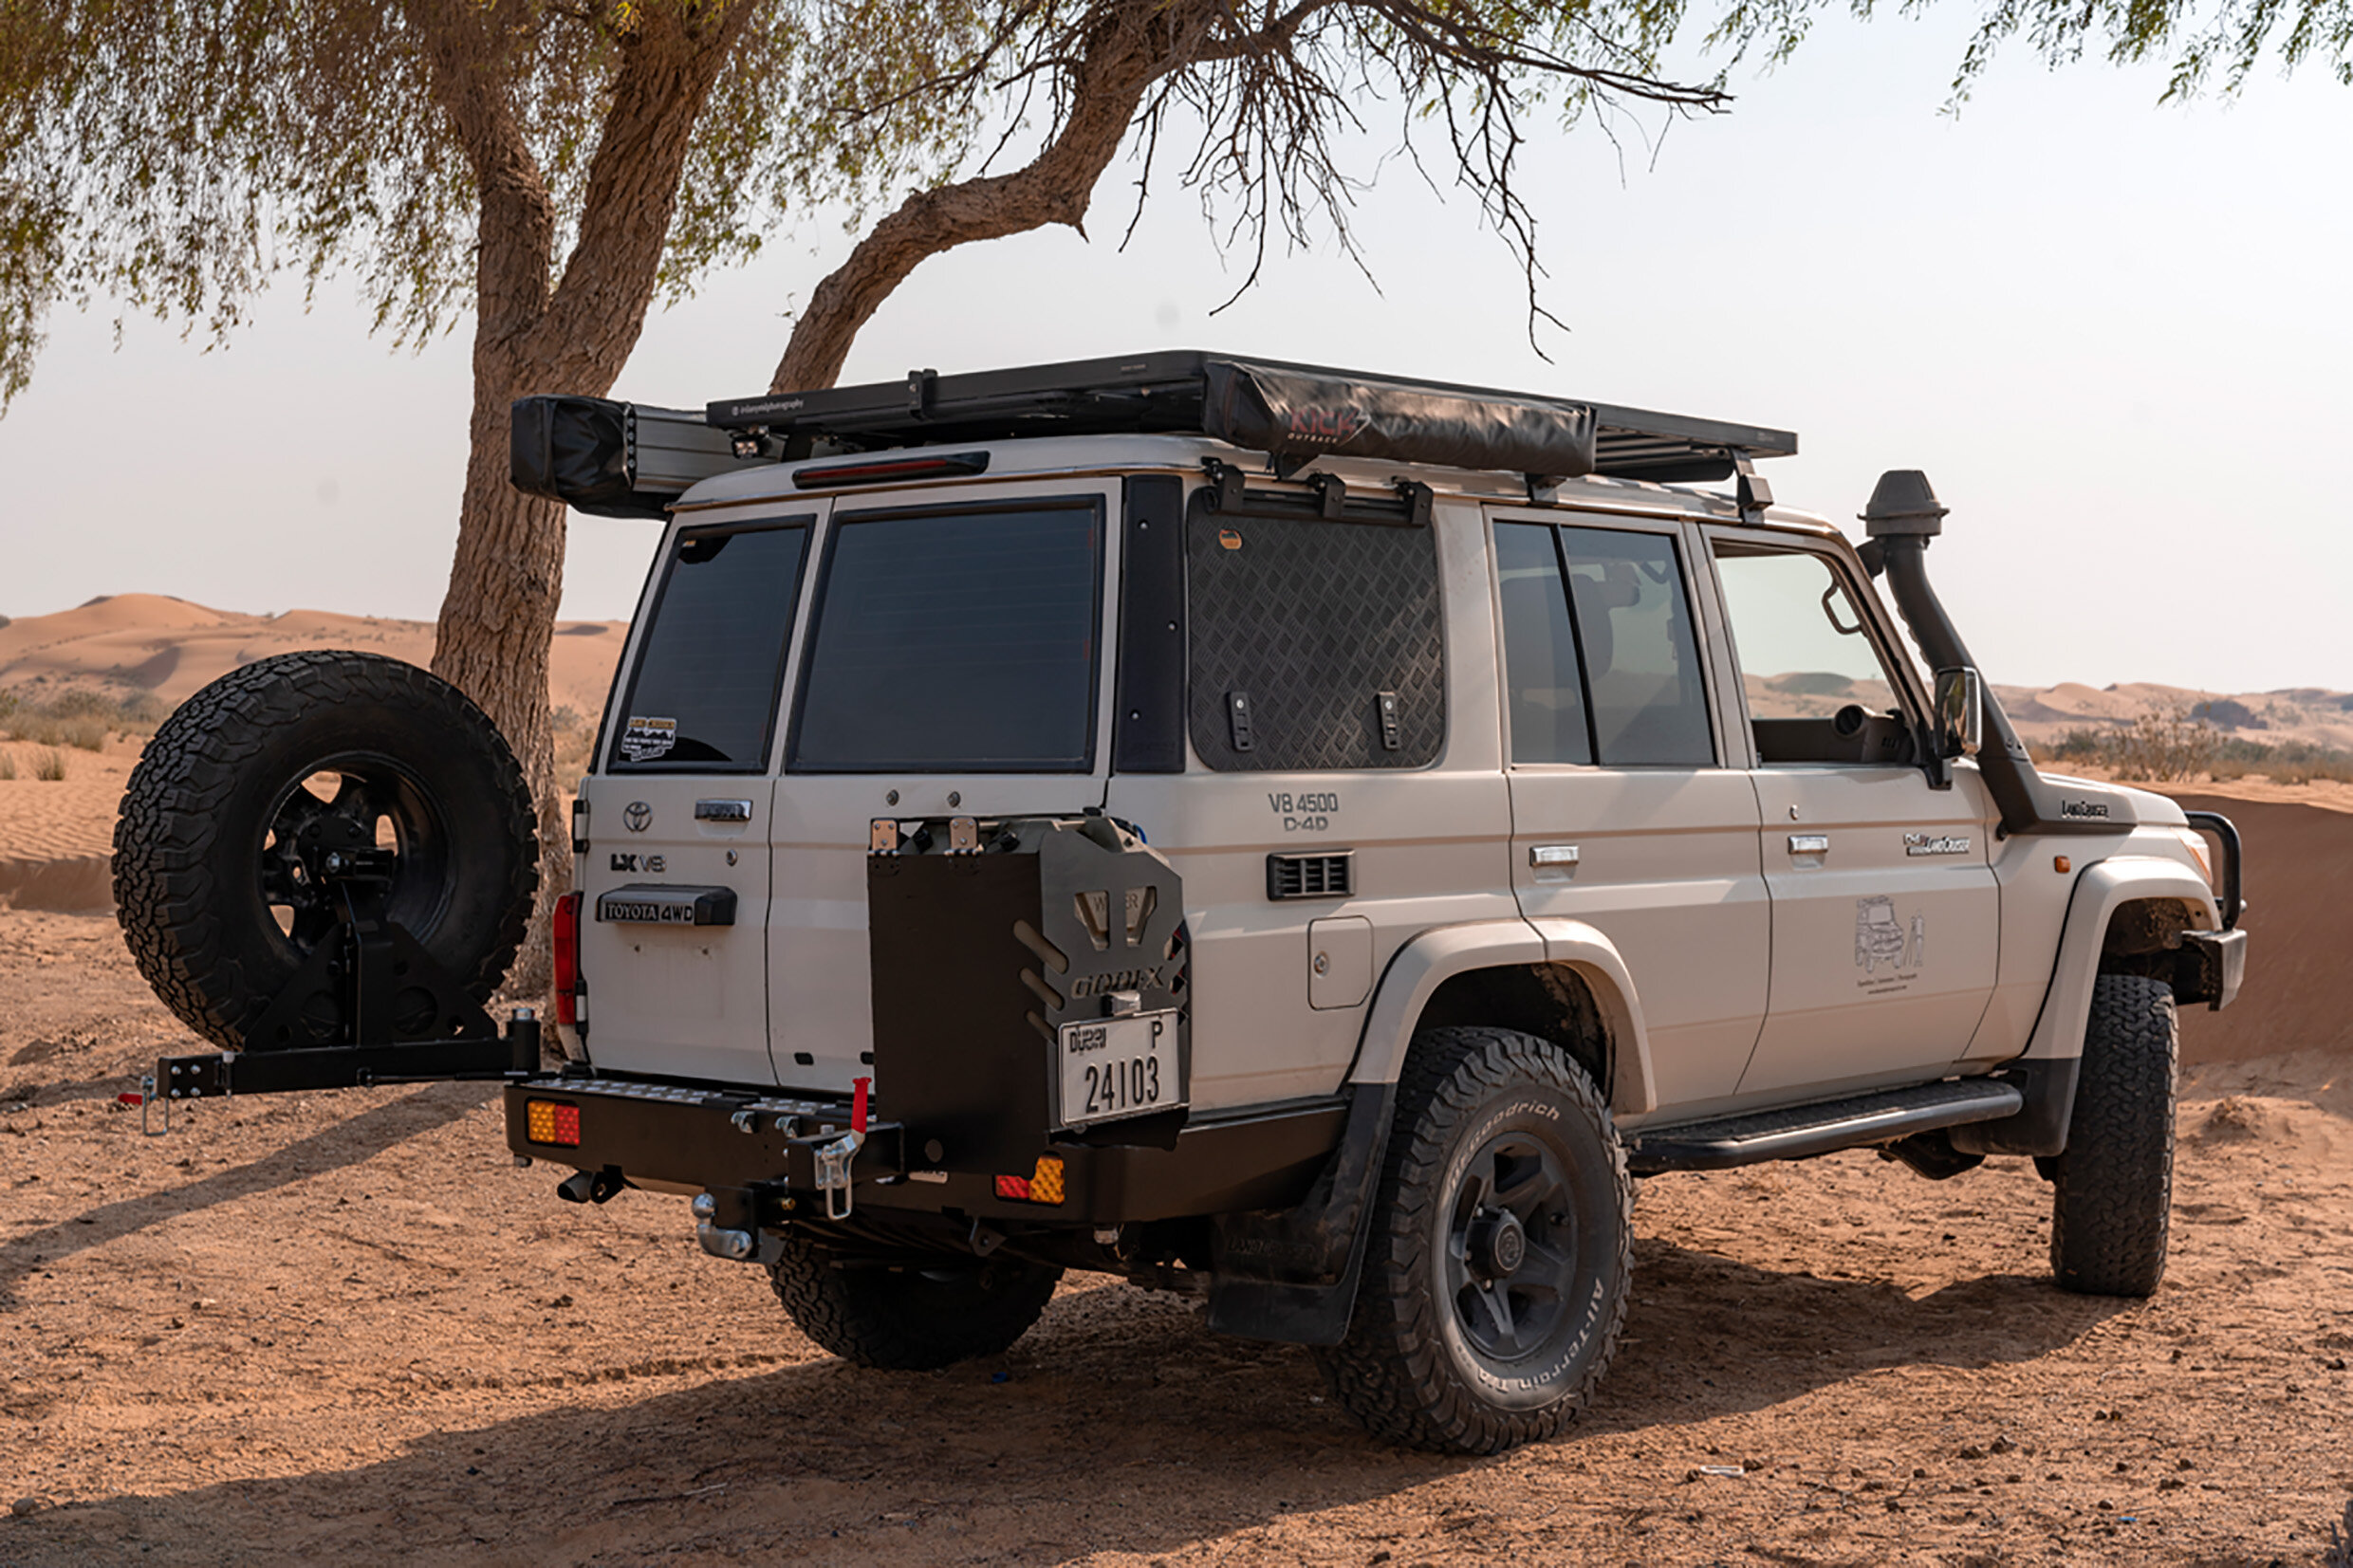
We fitted an ARB Deluxe bull bar for additional frontal protection and compatibility with a winch. Beneath the vehicle, an ARB skid plate added protection for vulnerable components against contact with rocks and uneven ground.
At the front, we installed Ironman recovery points to provide dedicated attachment points for recovery equipment.
Side Steps and Rear Bumper
TJM side steps made getting into the lifted vehicle easier and added some protection along its sides. They also gave Obelix a more purposeful appearance, although my wife probably appreciated the easier access more than the styling, especially in heels.
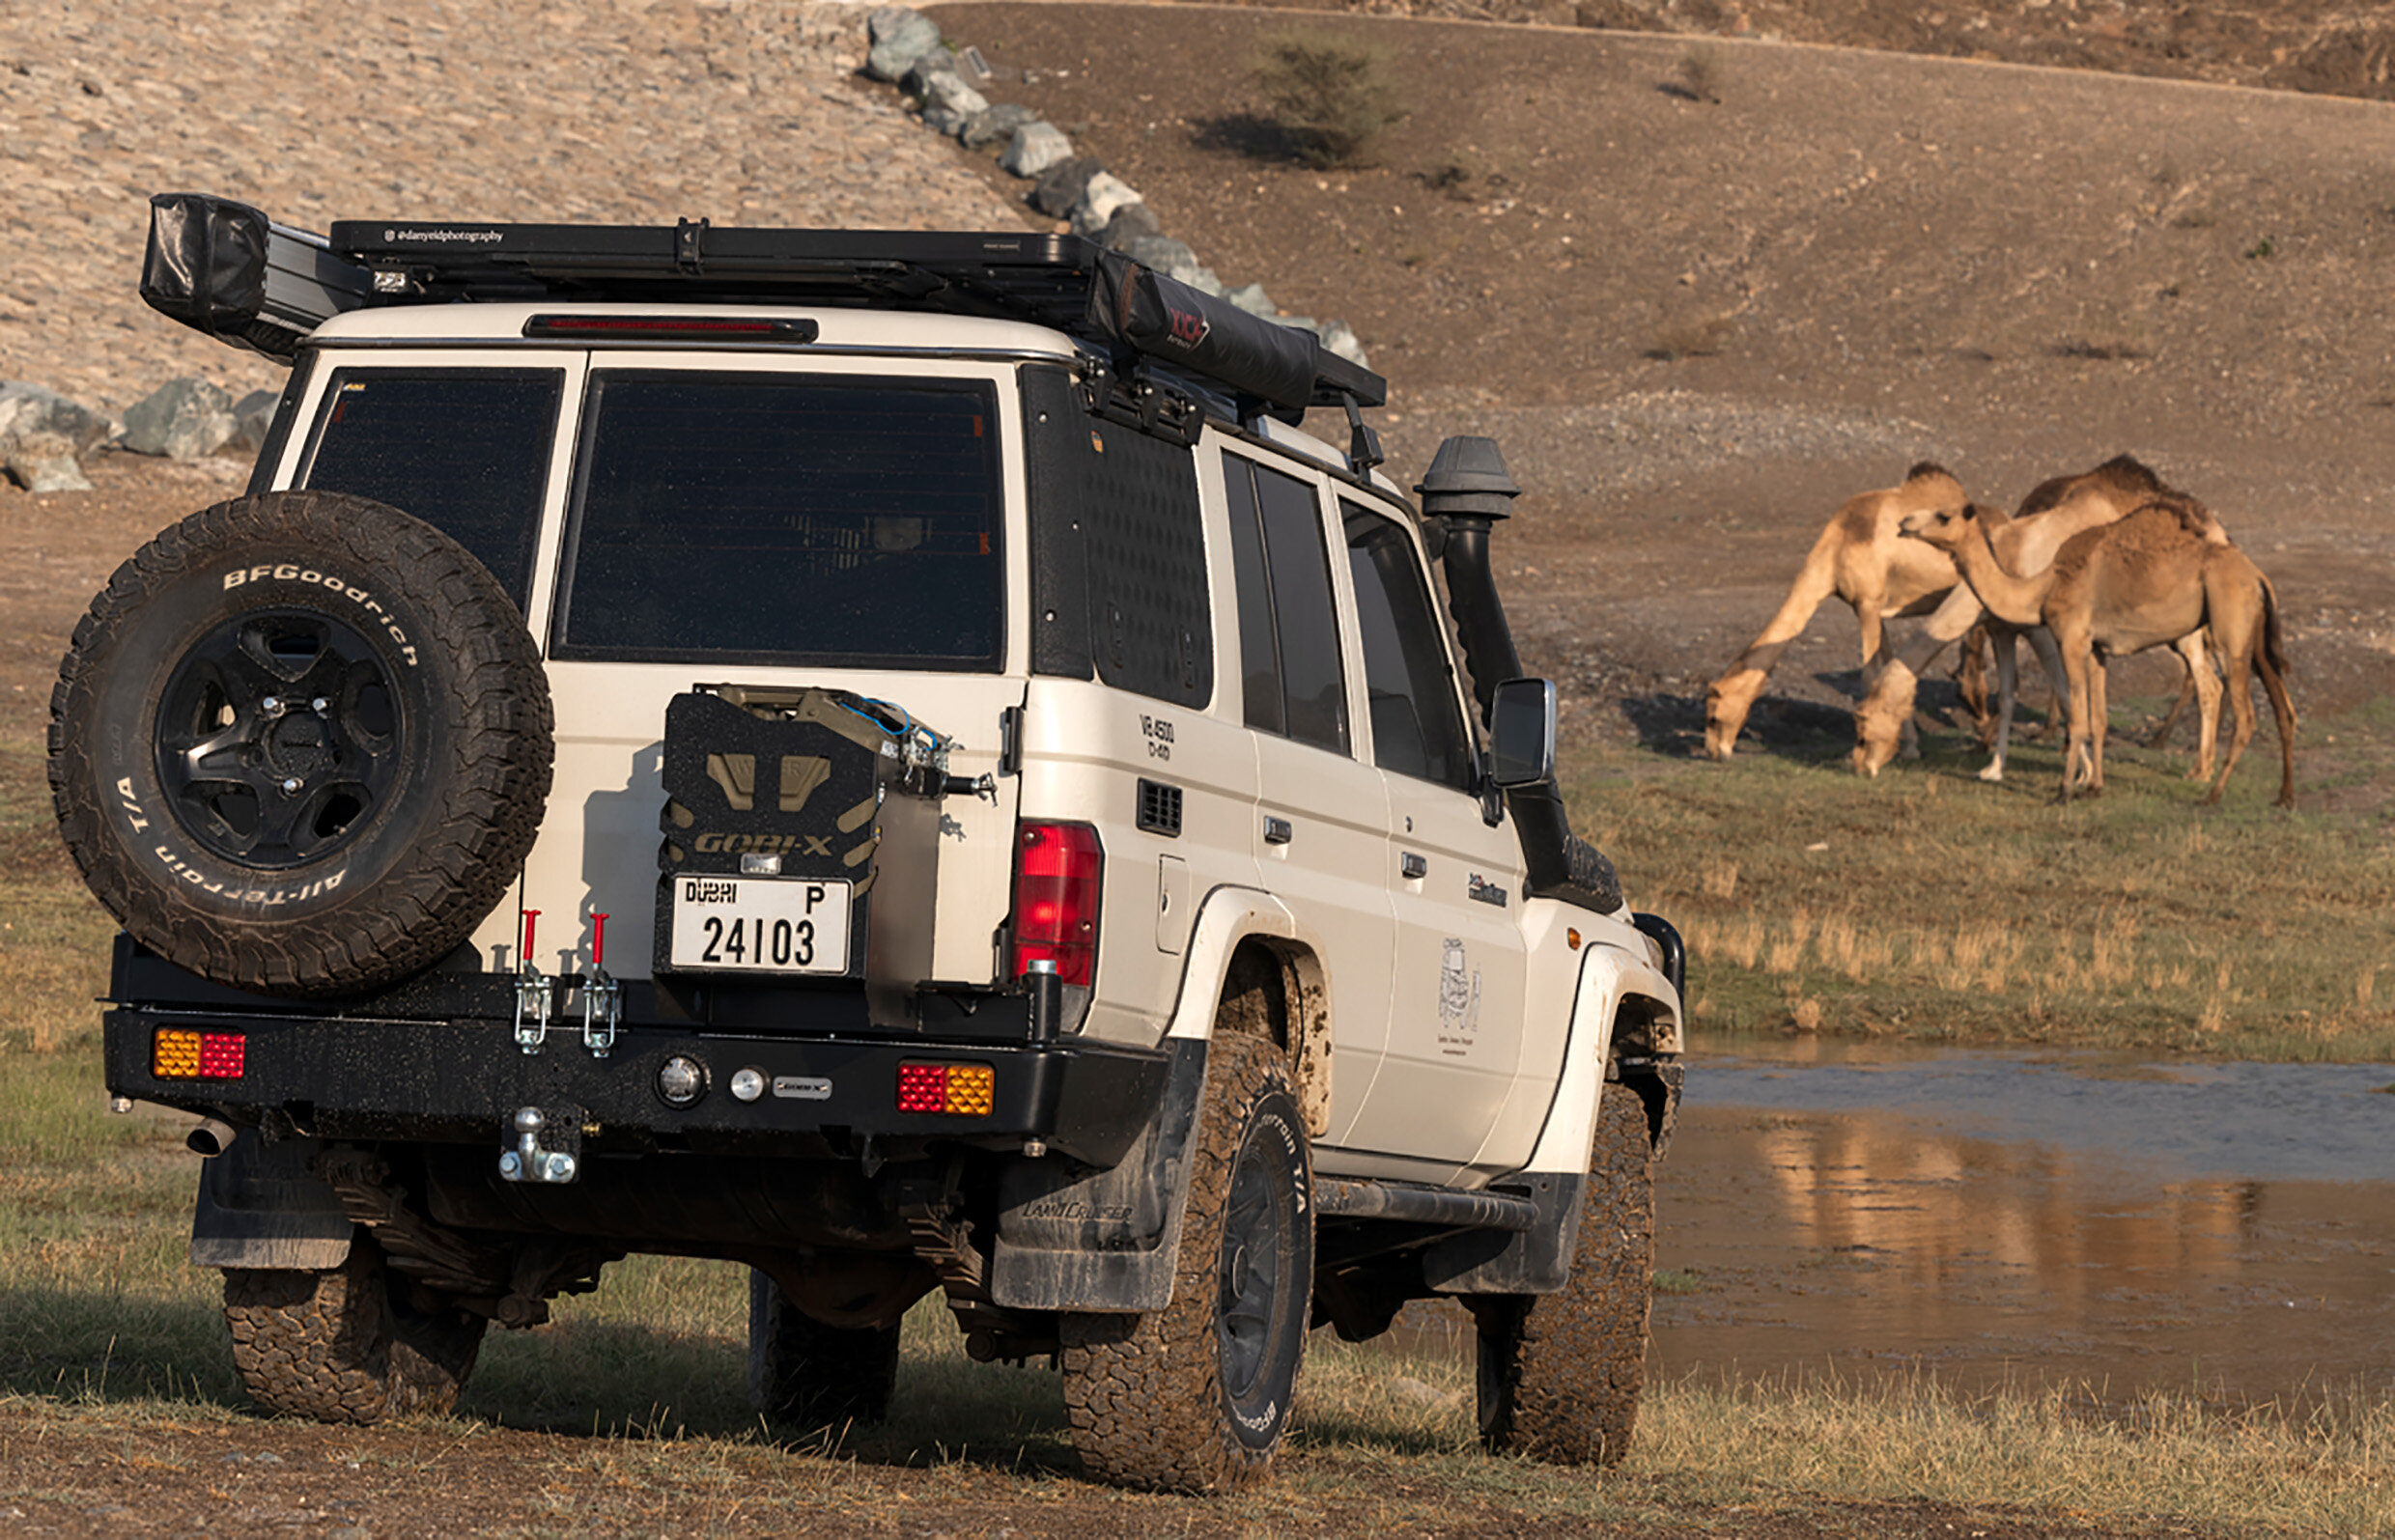
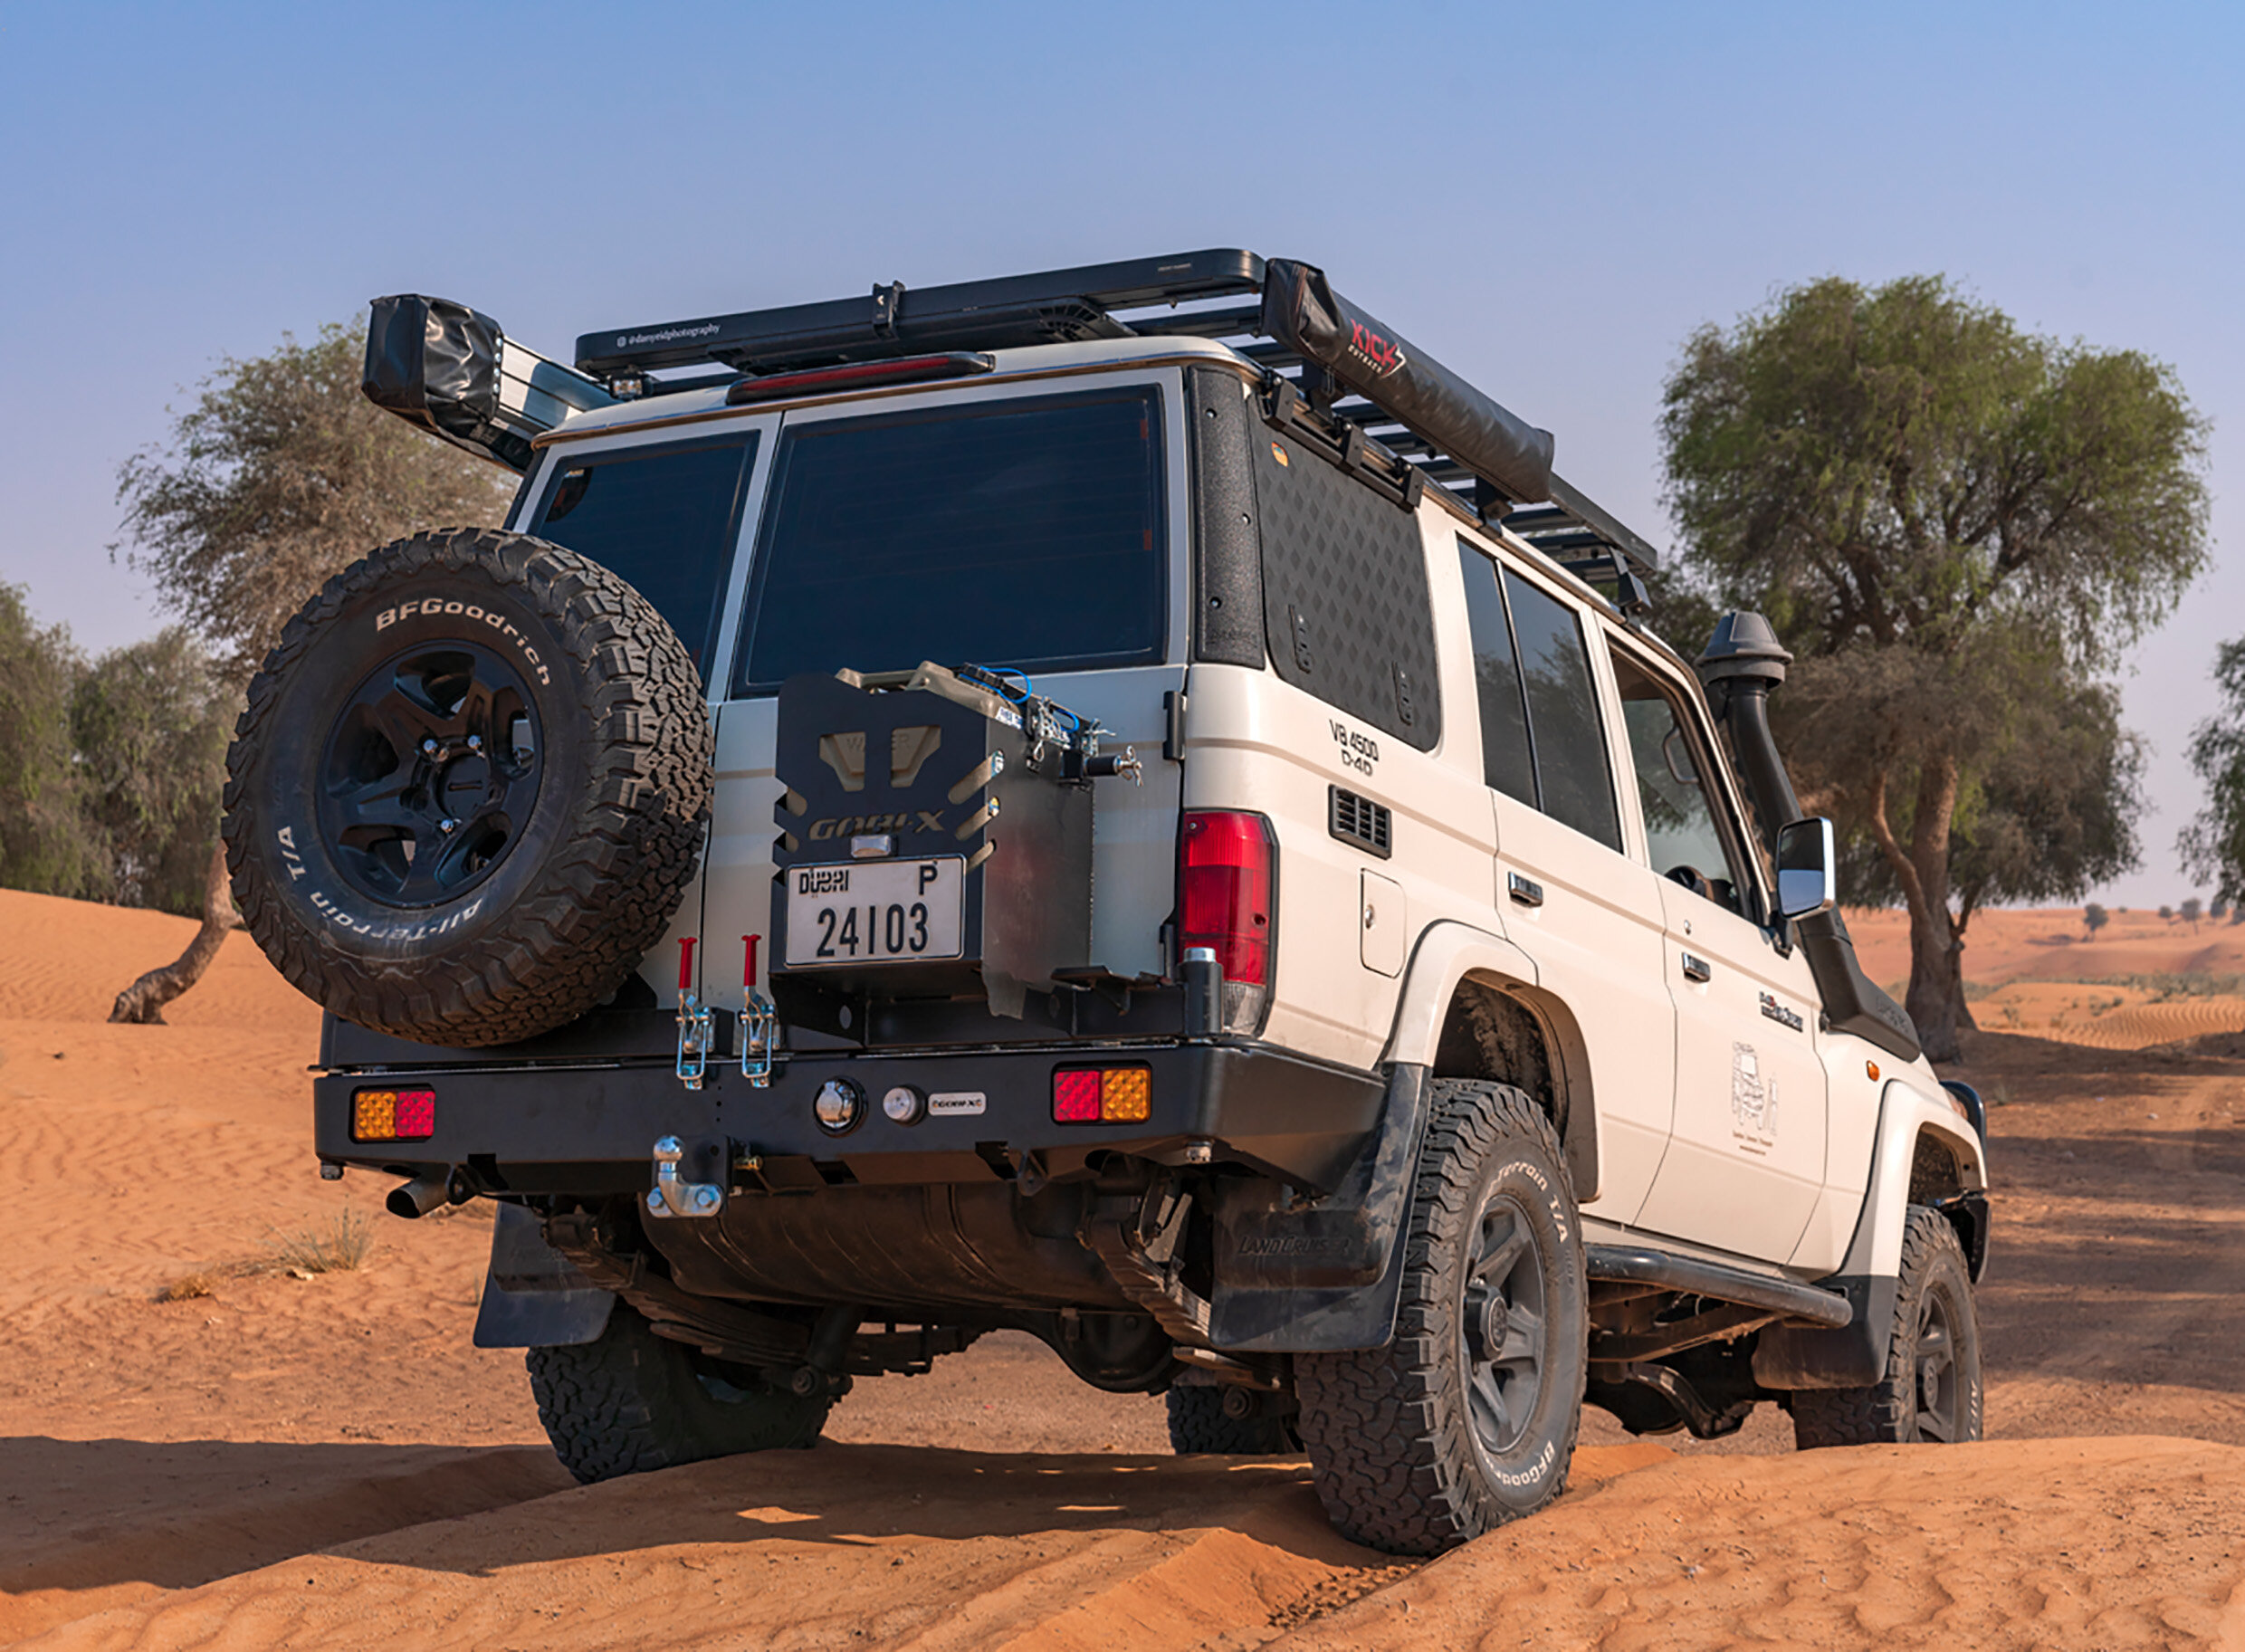
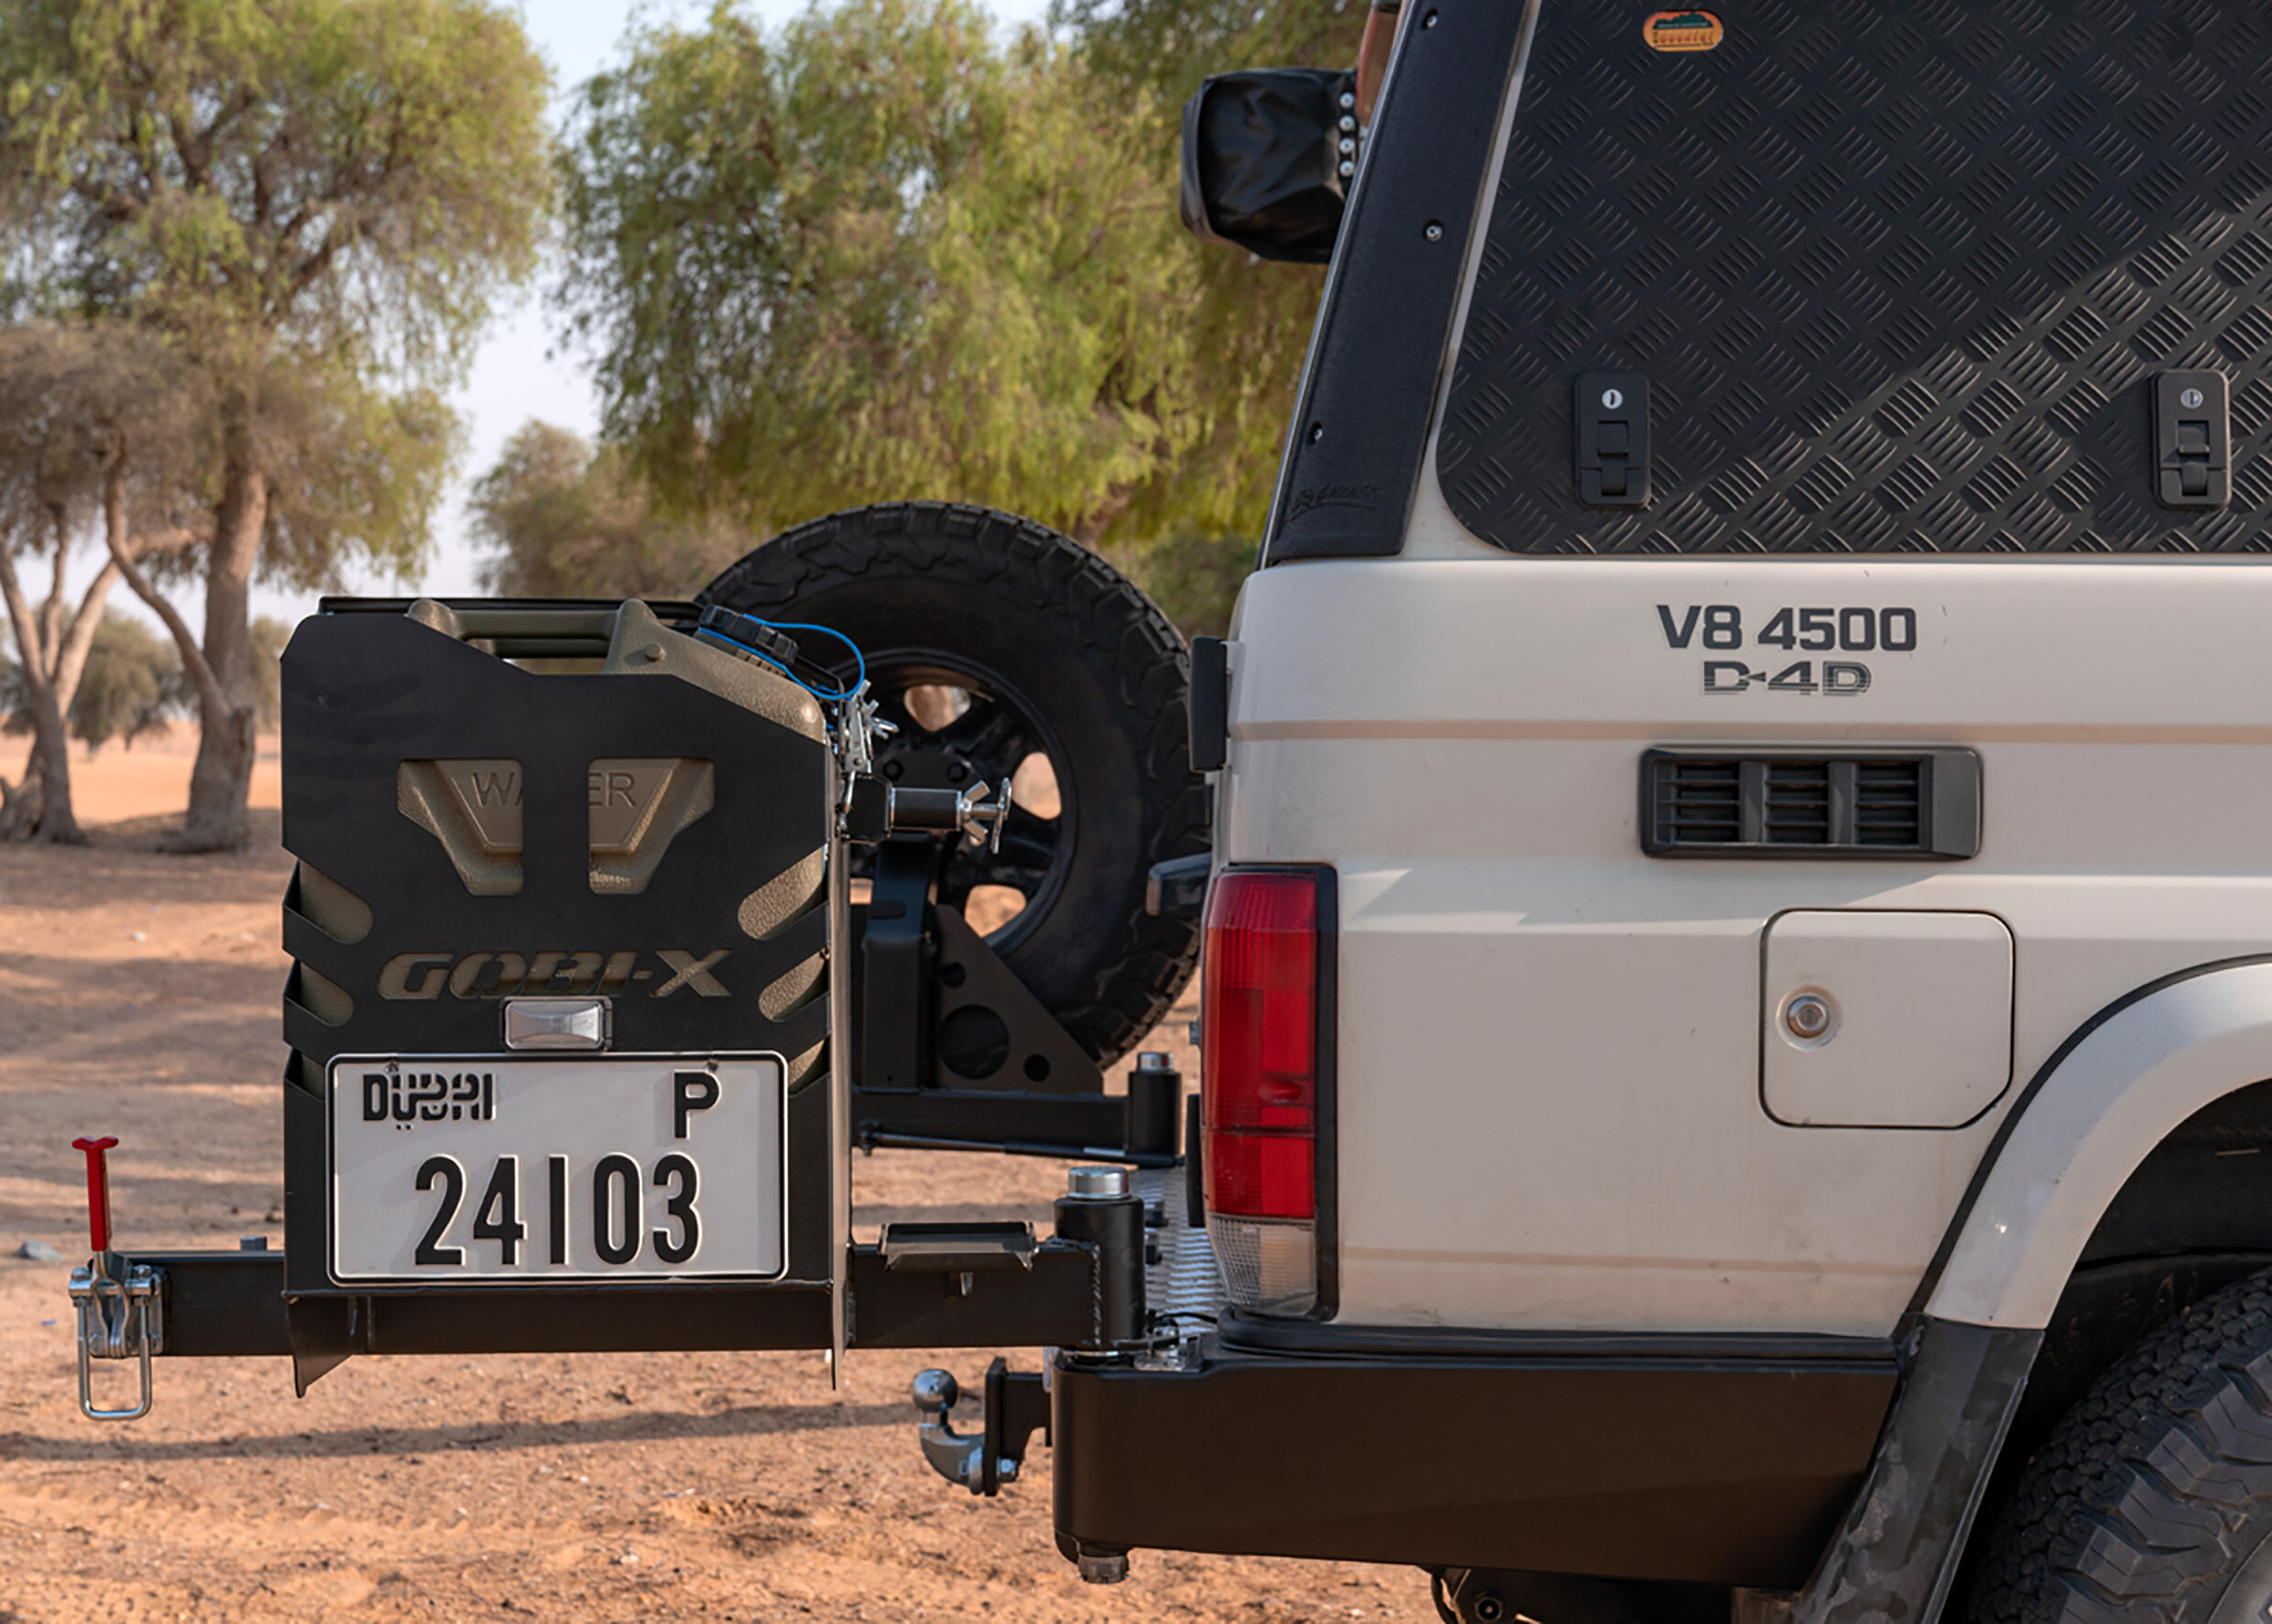
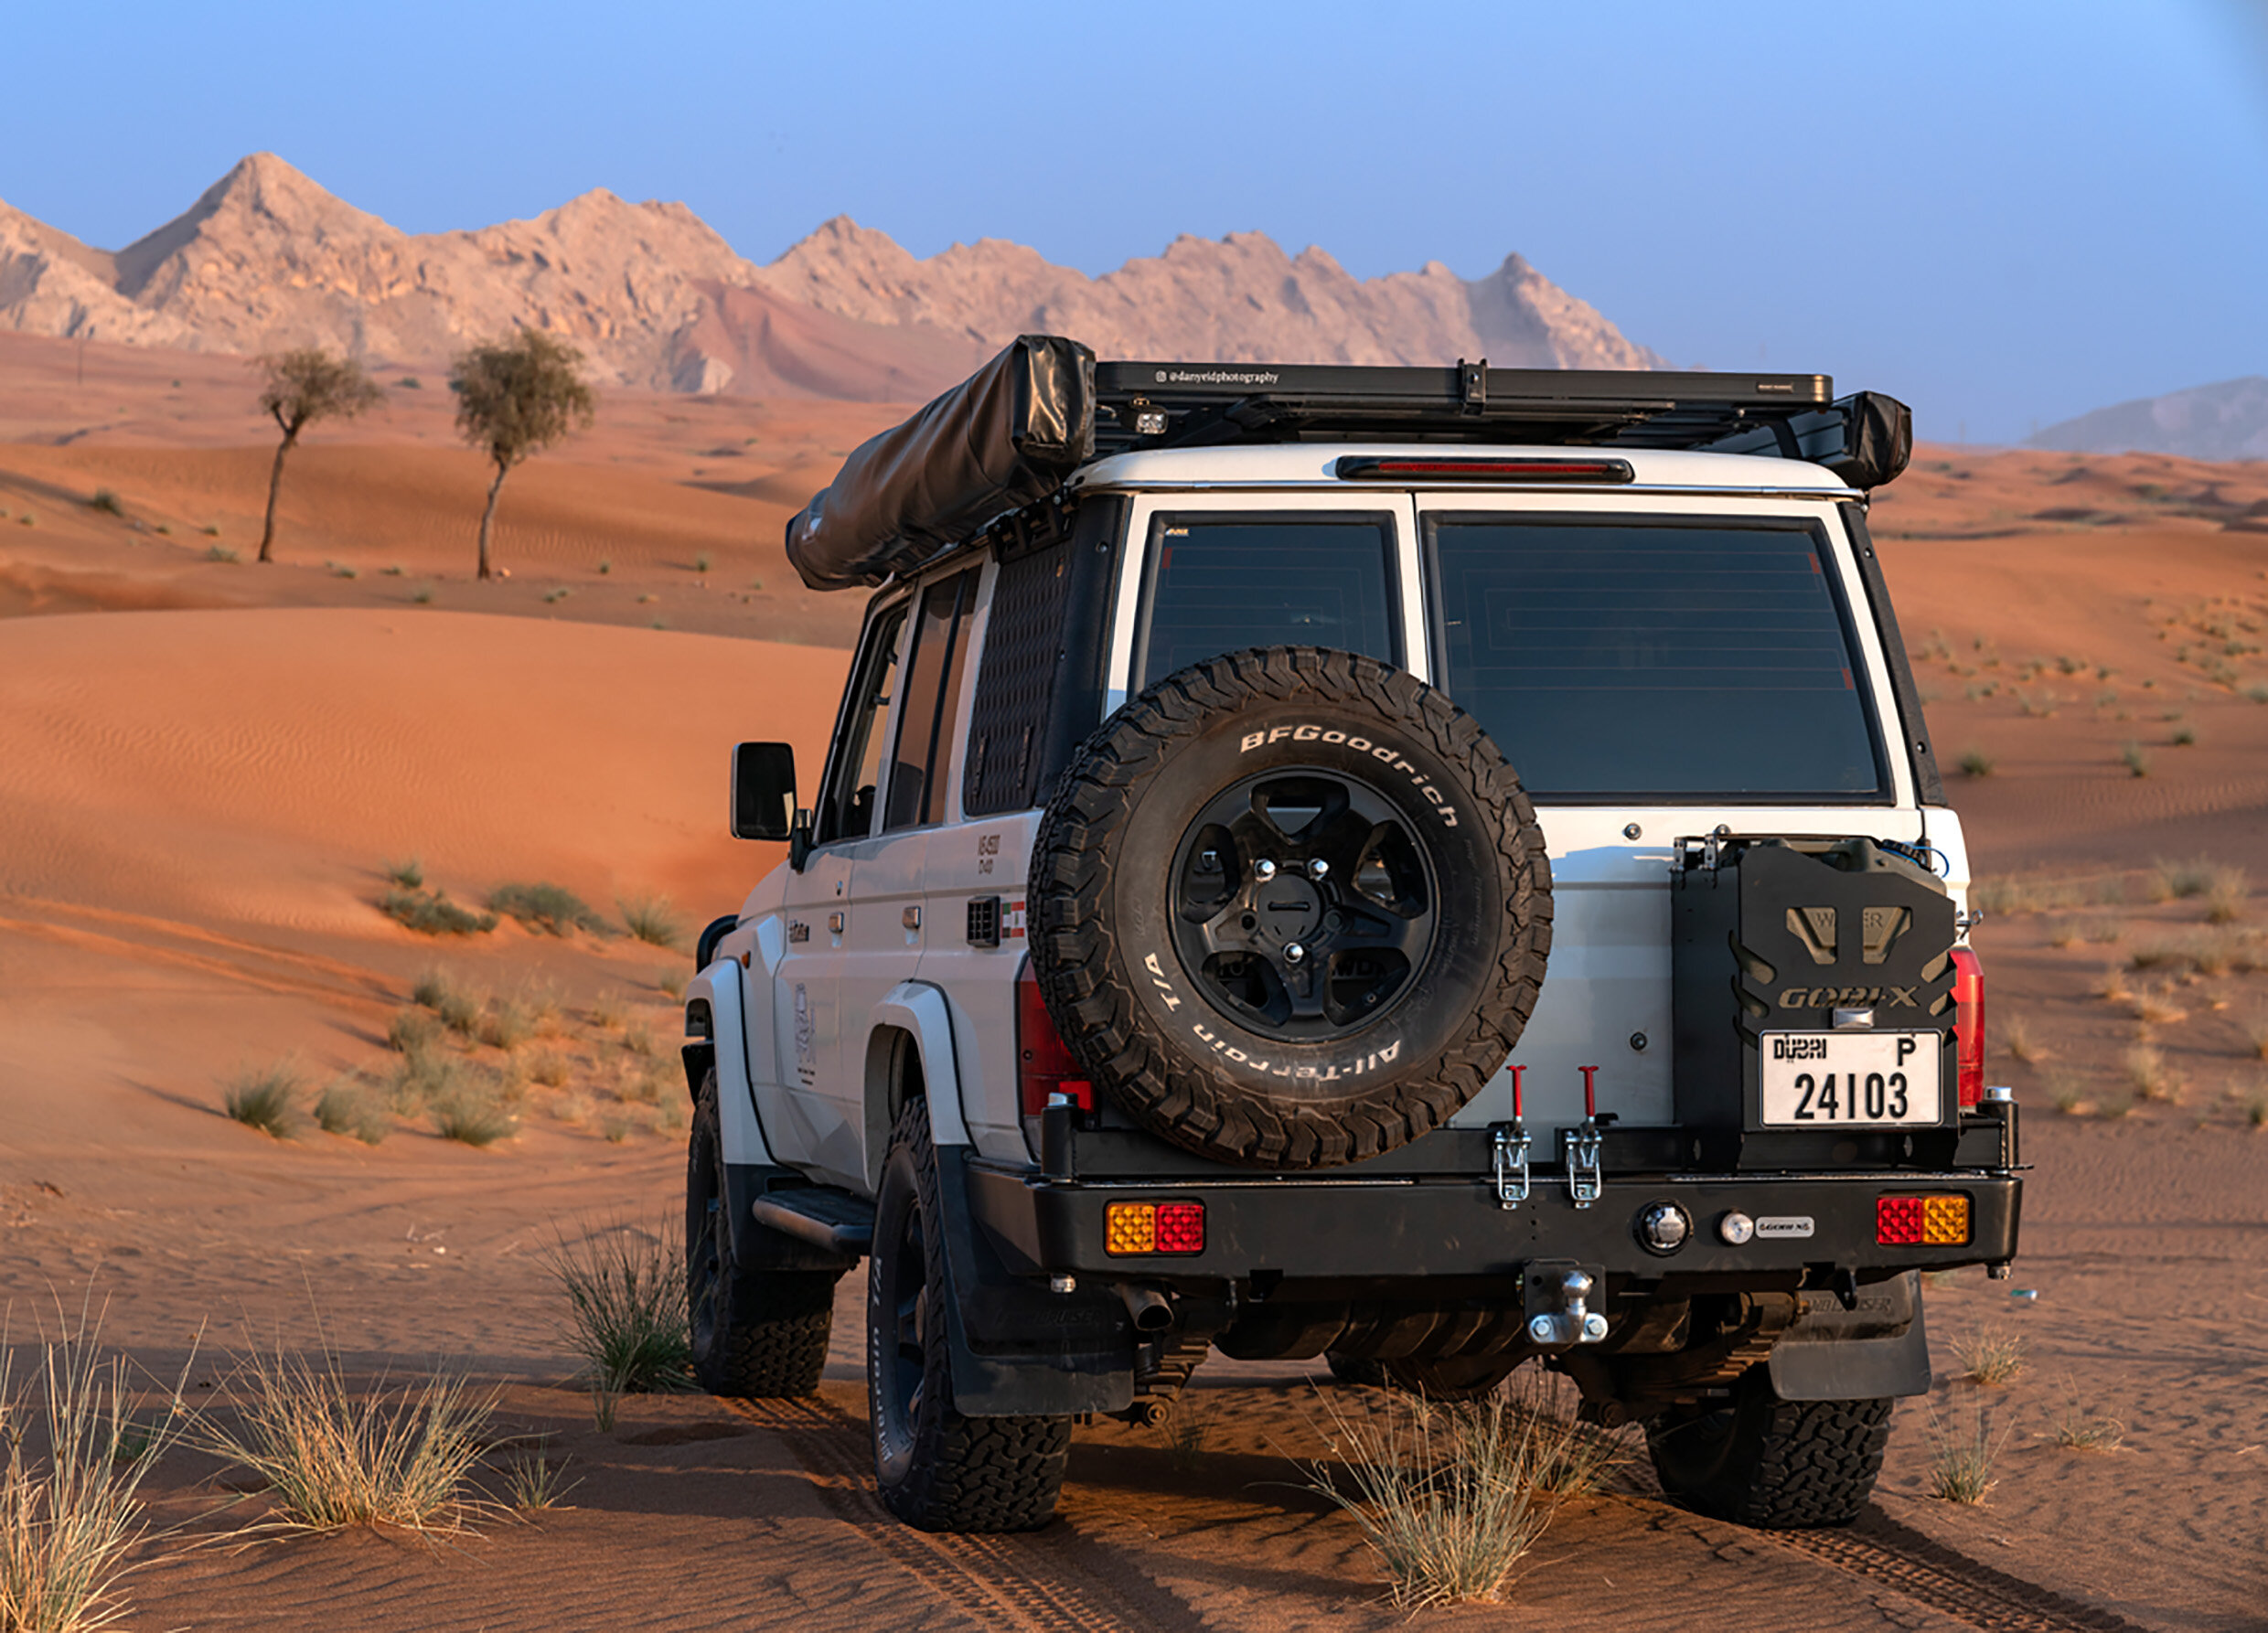
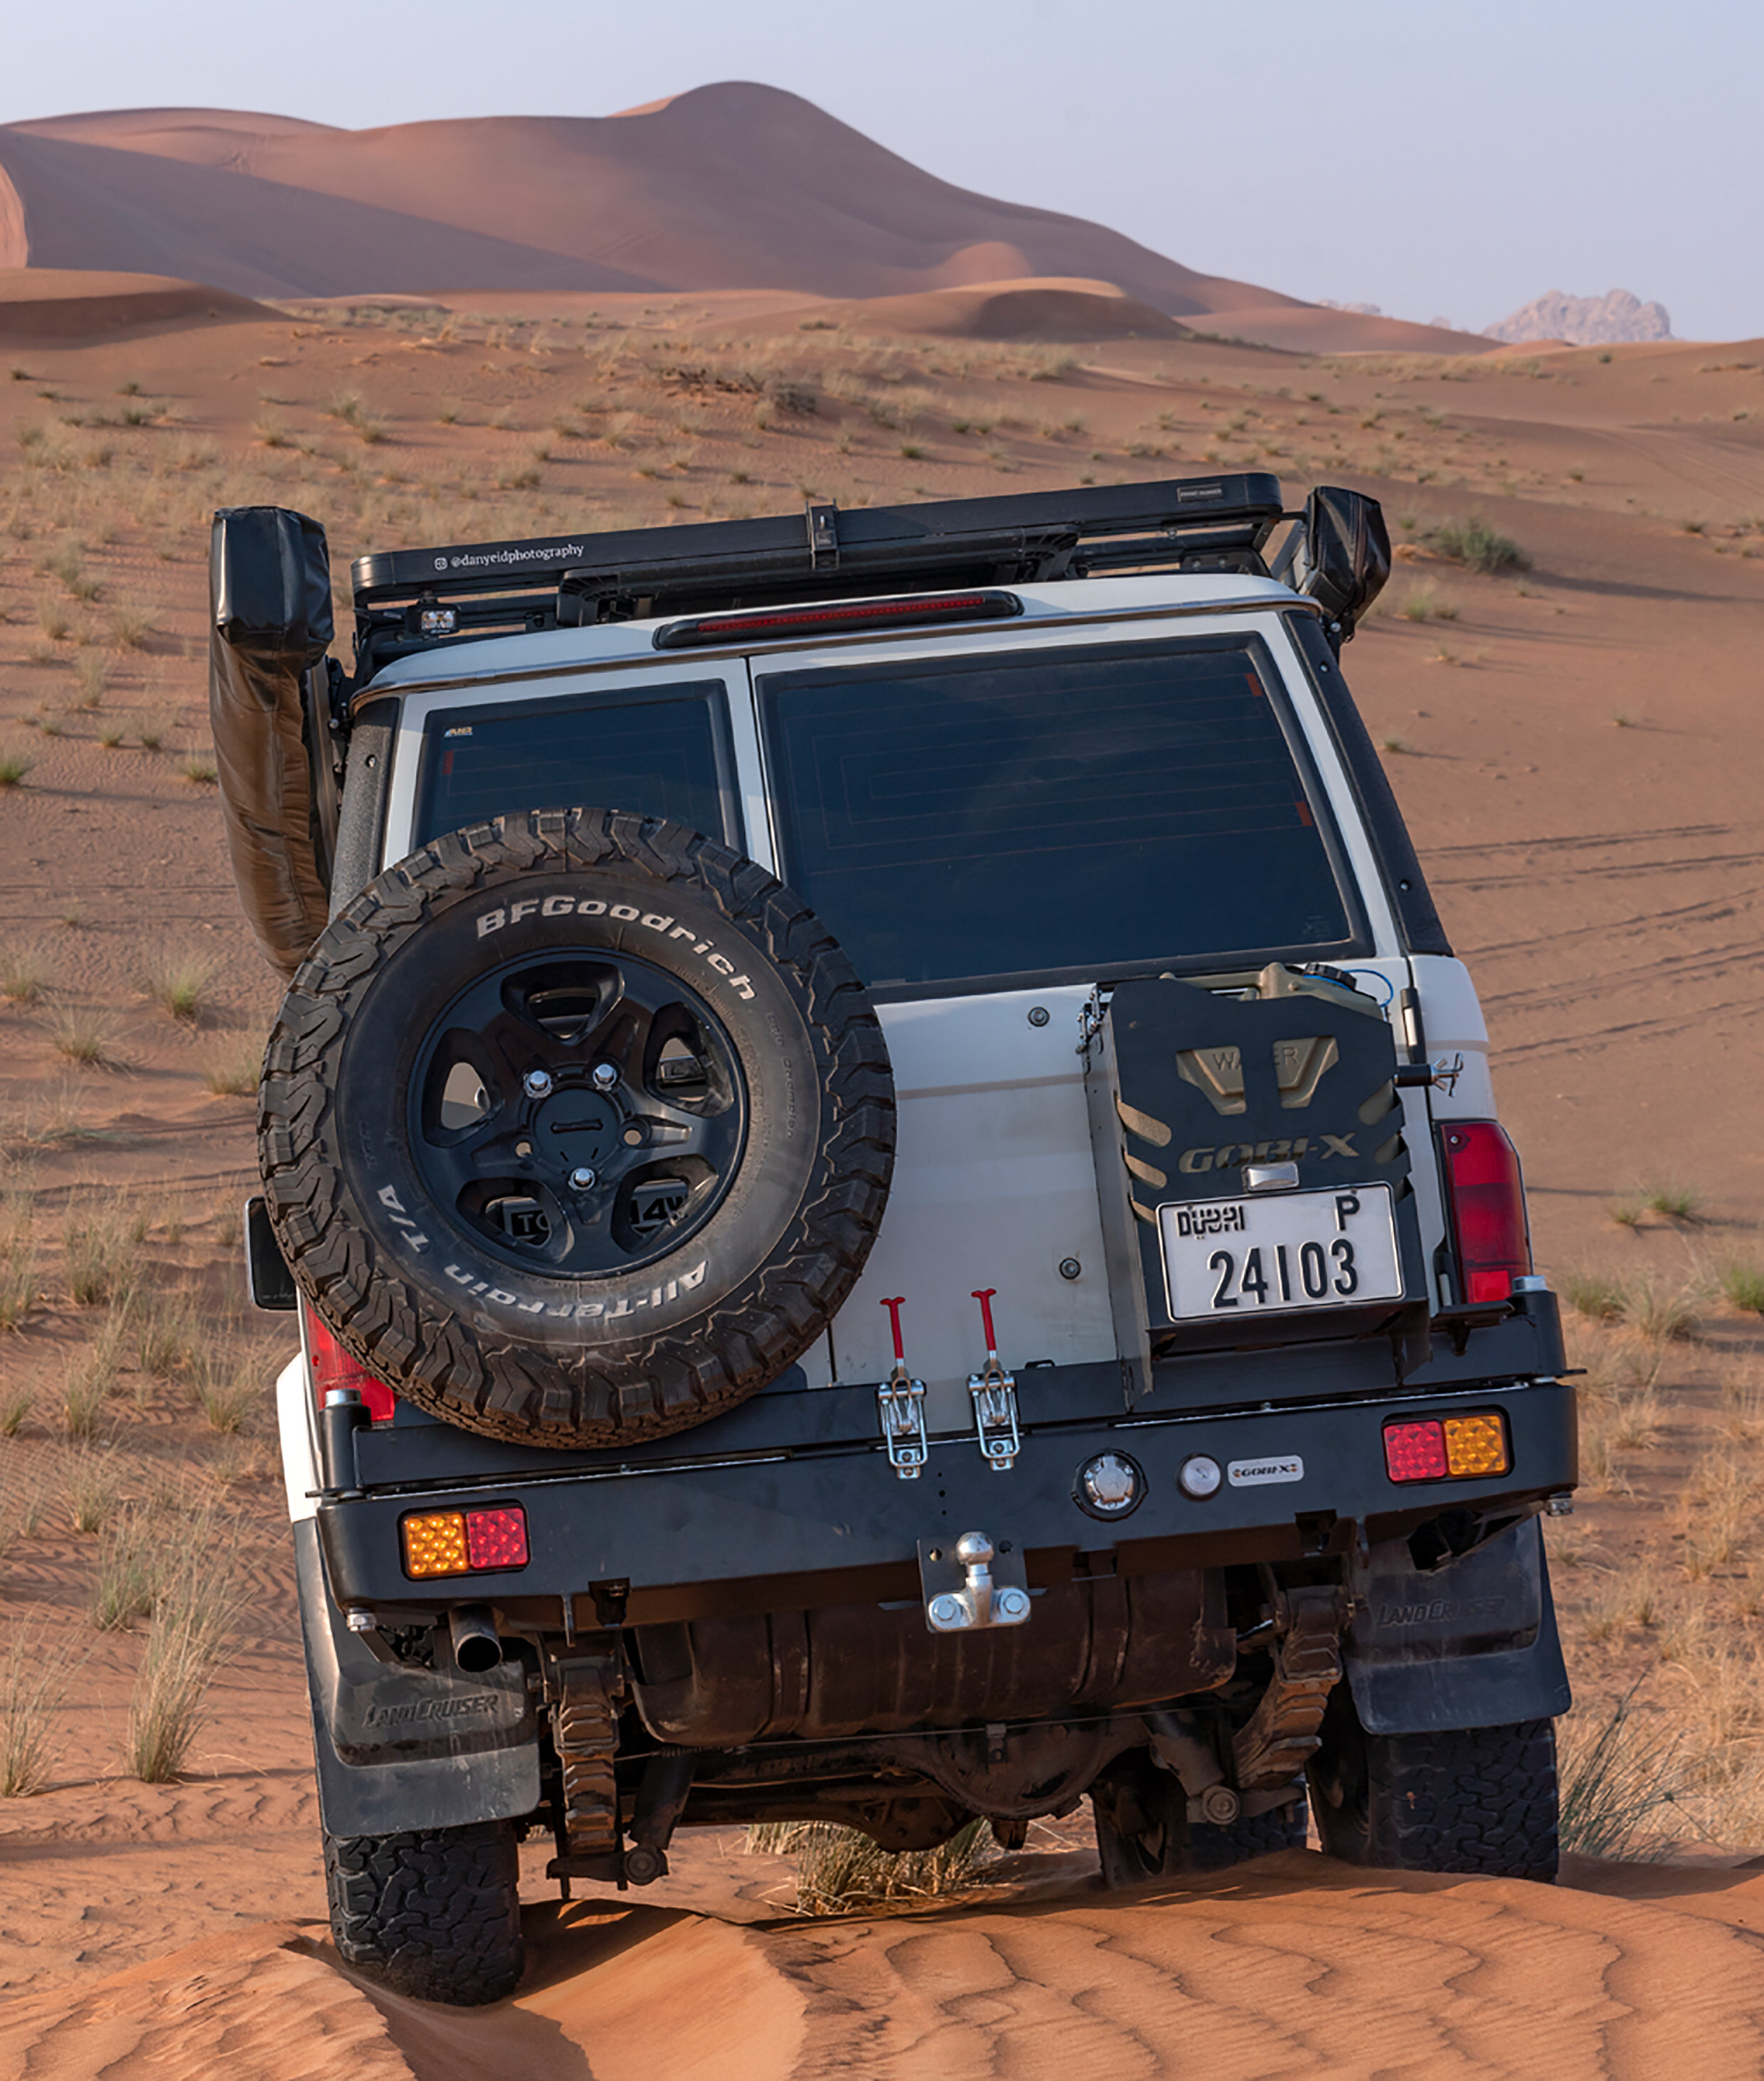
At the rear, we fitted a Gobi X bumper as part of the vehicle’s protection upgrades.
Cargo Management
ANR Performance fabricated a custom cargo barrier between the rear storage area and the passenger compartment. It provided an additional separation between occupants and equipment, while securing individual items remained essential to reduce movement during rough driving or sudden braking.
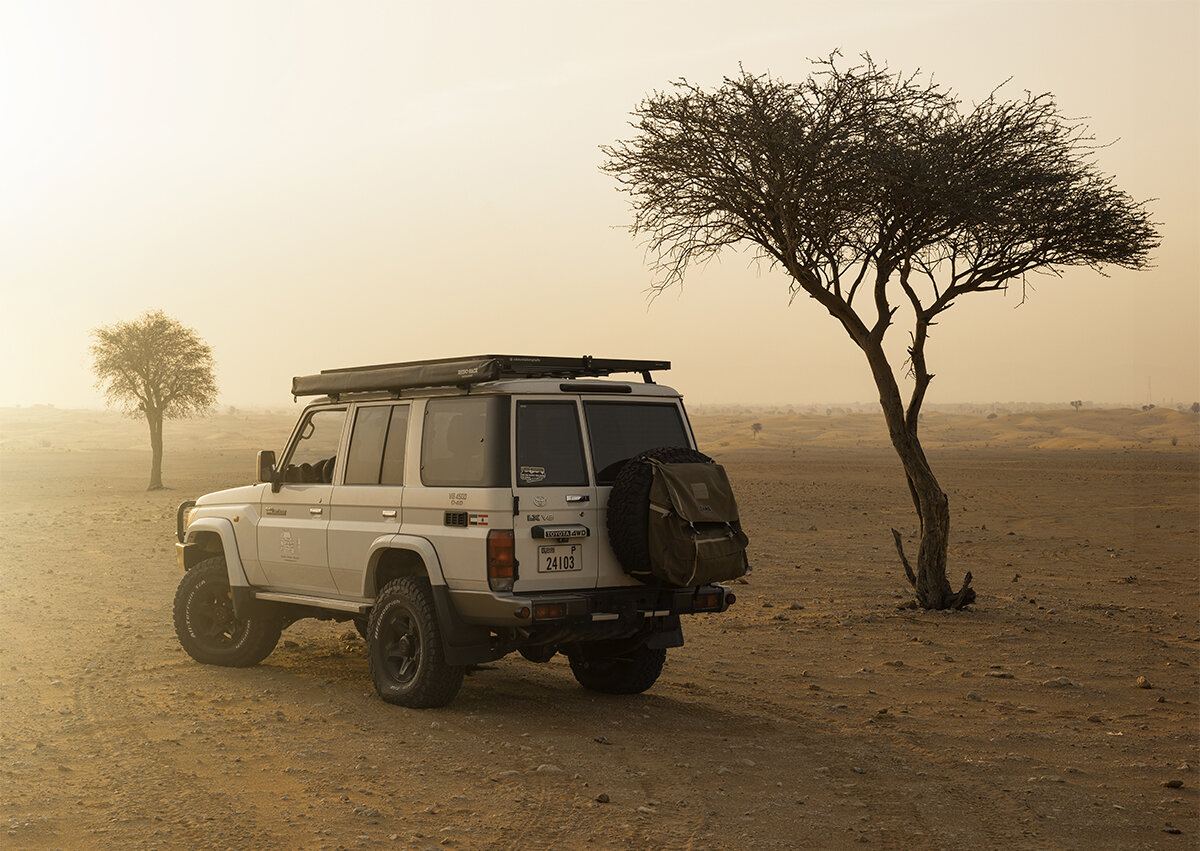
For additional external storage, I chose a Front Runner roof rack designed for the LC76. This helped free up cabin space for longer journeys, with heavier equipment kept low in the vehicle wherever possible.
Recovery Equipment
With much of my driving taking place on soft sand, MAXTRAX recovery boards became an important part of the setup. We mounted them on the rear spare wheel, keeping them accessible without taking up space inside the vehicle.
Rust Protection
To complete this stage of the build, Obelix received an underbody rust-protection coating, helping prepare it for the demanding conditions ahead.
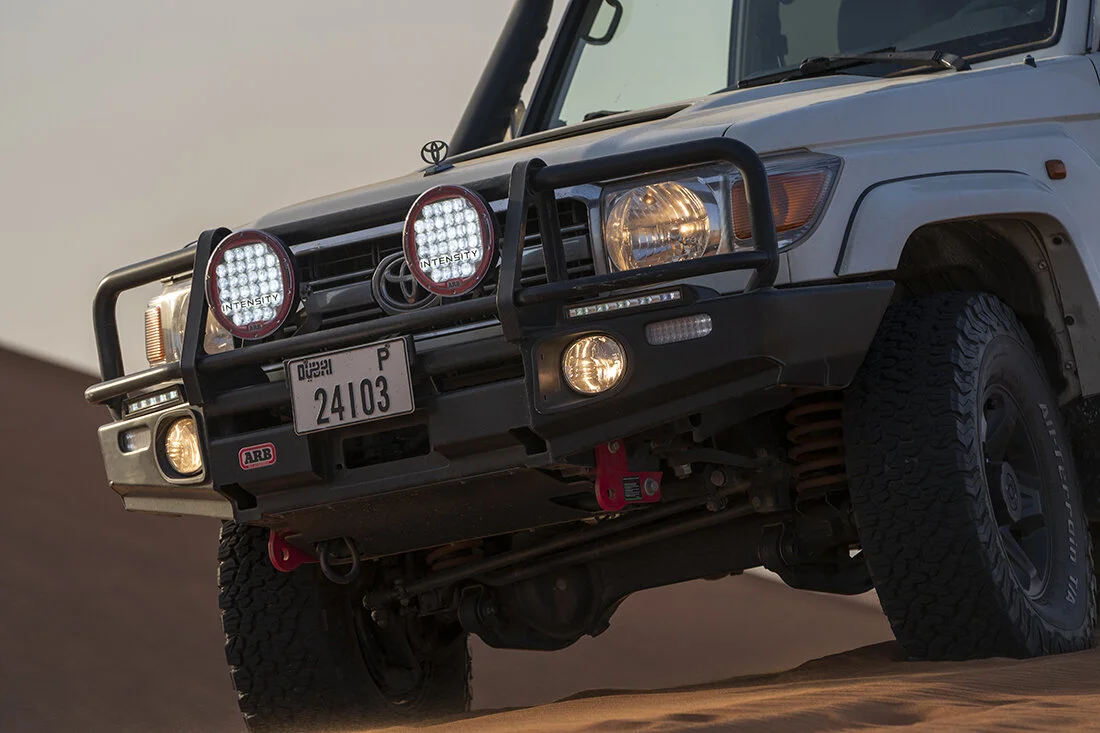
ARB Deluxe bull bar, recovery points by Ironman and a skid plate underbody from ARB

Roof Rack by Front Runne

Awning setup

Gobi X rear bumper

Fabricated cargo barrier
Engine Bay
I kept the engine in its original specification. For the way I intended to use Obelix, I saw no reason to chase additional power. My priority was dependable performance, supported by regular servicing and careful maintenance.
The previous owner had fitted an oil catch can to help reduce the amount of oil vapour entering the intake. Beyond that, I left the engine unchanged. A secondary diesel fuel filter was on my list of future additions, particularly for longer journeys where fuel quality might vary.
I also retained the factory raised air intake. Deep-water crossings were not part of my plans, so a replacement was not an immediate priority. A Safari snorkel remained a possible future upgrade, although any preparation for water crossings would require more than a snorkel alone.

The 4.5 diesel engine for the Toyota LC 76
Storage System
Space becomes valuable on longer overland journeys, especially when photography equipment shares the vehicle with camping supplies, tools and recovery gear. For Obelix, the aim was to give everything a dedicated place and make frequently used items accessible without unpacking the entire cargo area.
Rear Drawers and Shelf
The main storage system consists of two lockable Dobinsons drawers, each rated to support up to 150 kg. These helped organise the rear cargo area and kept equipment neatly contained.
Above the drawers, we added a shelf for camping chairs, a table and other essentials. Using the available height made the rear compartment more practical while keeping the layout straightforward.
Gullwing Access
One of the most useful modifications was replacing the rear side windows with gullwing panels. These allowed access to the cargo area from either side of the vehicle, making it easier to reach equipment without opening the rear doors.
We fitted custom aluminium storage boxes behind the panels, each with a specific purpose. The left-hand box housed recovery equipment and tools, keeping them within easy reach when needed.
Dedicated Electrical Compartment
The right-hand box required a more tailored design to accommodate the auxiliary electrical system. It housed the lithium battery, REDARC BCDC charger, Victron battery monitor, fuses, Anderson connectors and USB outlets.
Bringing these components together in a dedicated compartment kept the installation organised and accessible, while preserving the remaining cargo space for photography and camping equipment.

The Rear Cargo Setup

Gullwing panels by Big Country

Charging station for my photography gear
Air Compressor
Adjusting tyre pressures is part of travelling across different terrain. I fitted an ARB 12V twin air compressor beneath the driver’s seat so I could reinflate the tyres after off-road driving. Keeping it permanently installed made the process more convenient and preserved space elsewhere in the vehicle.
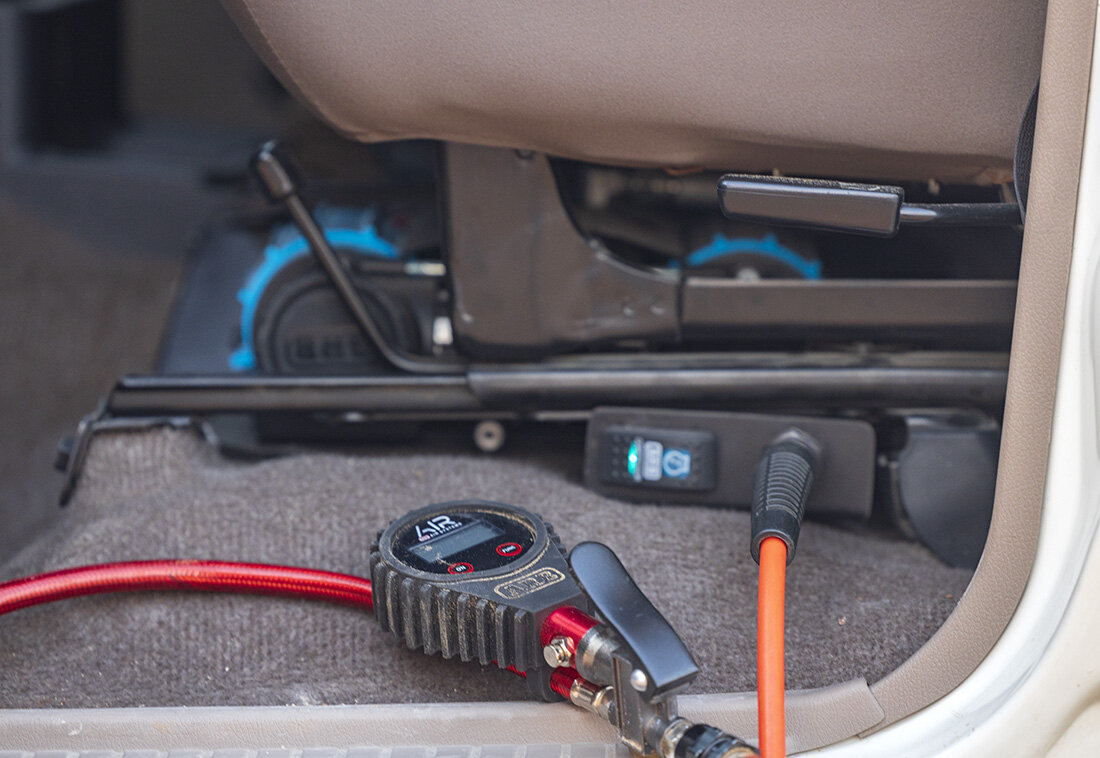
Dual Air Compressor by ARB

ARB Digital Tire Inflator
Fridge System
Keeping food fresh and drinks cold makes a considerable difference on long journeys, particularly in the heat of the UAE and GCC. For Obelix, I chose a two-fridge setup, separating everyday refreshments from the food reserved for camp.
A compact Dometic 12V console fridge sits beside the driver’s seat, keeping water and other drinks close at hand without needing to access the rear cargo area.
At the back, a 42-litre SnoMaster fridge stores fresh ingredients for meals on the road, including meat, vegetables and dairy products. We mounted it on a drop-down fridge slide, allowing it to extend out and lower to a more convenient height. This makes loading, organising and reaching its contents much easier, particularly with the vehicle’s raised suspension.

42l Snomaster Fridge with drop down slider
Electrical System
A dependable power supply was one of the most important parts of the build. Photography workshops and journeys into remote areas meant I needed to charge camera equipment, run both fridges and light the camp without relying on mains electricity.
A Separate Power Supply
The ANR team installed an auxiliary electrical system to separate these demands from the starter battery. This allowed me to use equipment at camp while preserving the main battery for starting the engine.
We chose a 75 Ah lithium battery to supply the fridges, charging outlets and camp lighting. It formed the centre of the setup, housed in the dedicated electrical compartment alongside the charging and monitoring equipment.
Charging on the Move and at Camp
A REDARC BCDC charger manages charging from the vehicle’s alternator, with provision for solar charging when parked. This gives me two ways to replenish the auxiliary battery, depending on the journey and available sunlight.
The result was greater independence on the road and more flexibility when choosing where to camp. How long I could remain off-grid would depend on power consumption, driving time and solar conditions, but the system reduced my reliance on powered campsites and hotel charging stops.

Fabricated electrical board

Dual battery system setup, BCDC by Redarc Electronics
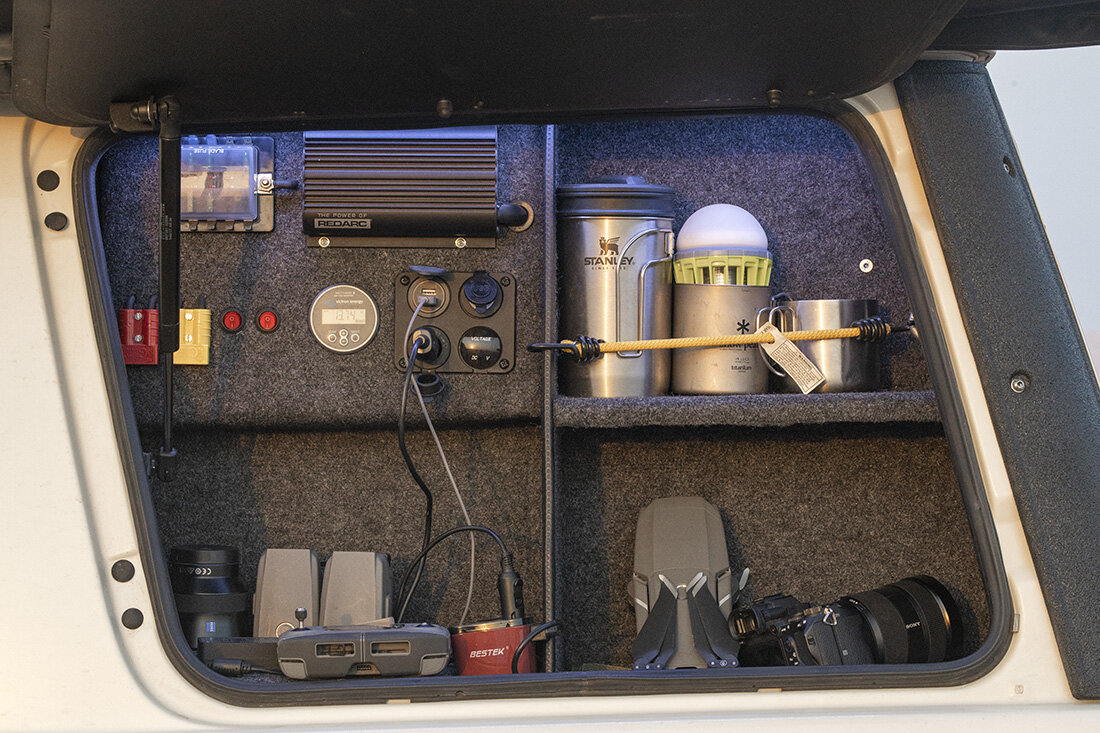
Charging station for my photography gear
Shade and Water
Water, privacy and shade can make a remote campsite considerably more comfortable. For Obelix, I wanted practical solutions that were easy to access and quick to set up after a long day of driving and photography.
Water Storage
We fitted an internal 50-litre water tank for washing, keeping it separate from the drinking water supply. Two food-grade jerrycans at the rear of the vehicle provided dedicated storage for drinking water.
Shower and Changing Room
For privacy at camp, I added a foldable shower and changing enclosure sourced from Australia. It provided a dedicated space to wash and change, a simple addition that made longer stays in remote locations more comfortable.
Shade at Camp
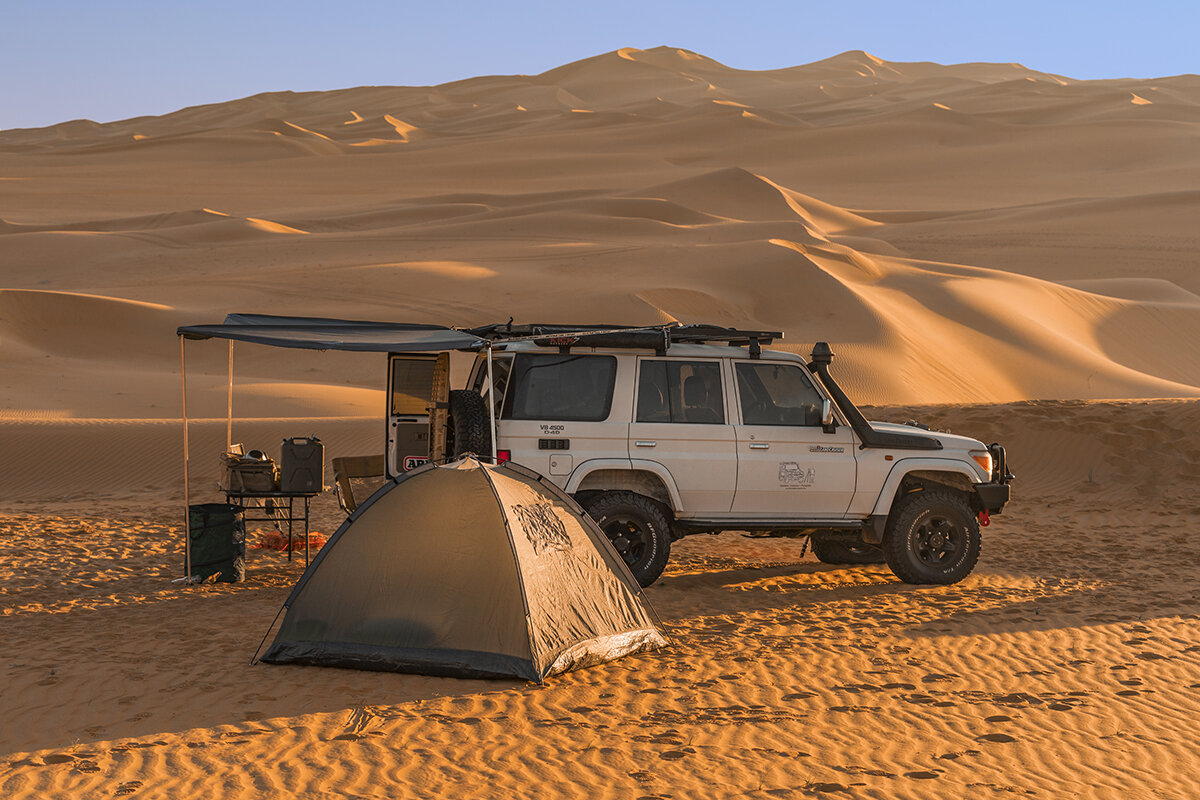
Travelling through the Gulf’s desert landscapes made shade a priority. I chose a Howling Moon 270-degree awning, which opens around the side and rear of the vehicle to create a generous sheltered area.
Its quick setup made it one of my favourite additions to the build. Whether stopping for lunch, organising equipment or settling into camp, it provided a welcome place out of the direct sun.

270 Degree Swing Awn for Extra shade
Driving and Camp Lighting
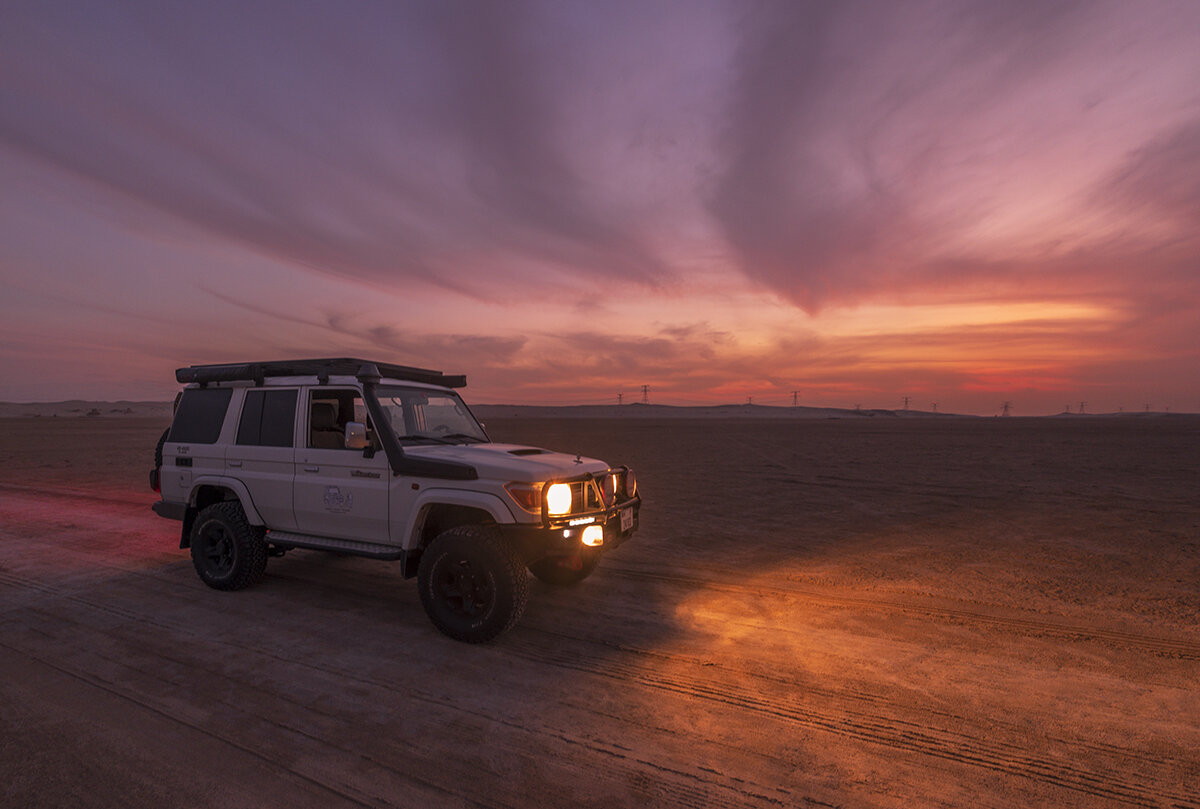
I prefer to drive during daylight and reach my destination with enough time to set up camp and concentrate on photography. Night driving is something I generally avoid, but I wanted Obelix equipped for occasions when travelling after dark became necessary.
Front Lighting
The ARB bull bar provided mounting points for additional lighting. We fitted two ARB fog lights, alongside auxiliary lights directed towards the sides of the track.
For additional illumination on unlit off-road routes, we installed a pair of ARB Intensity V2 LED driving lights. These complemented the vehicle’s headlights when conditions called for greater visibility.
Lighting Around Camp
We also fitted LED lights around the vehicle for preparing meals, organising equipment and moving around camp after sunset.
At the rear, reversing lights and a camera helped me check the area behind Obelix when manoeuvring in darkness. Together, these additions made the vehicle more practical both on the track and once parked for the night.

Driving lights by ARB
Camping Gear
The equipment I take into the field extends well beyond my camera bag. When travelling and leading photography workshops, dependable camping gear makes daily routines easier and time outdoors more comfortable, both for me and for the people joining the trip.
I chose equipment with durability, weight and portability in mind. Tables, chairs, tents and cooking essentials all needed to pack efficiently, withstand regular use and be straightforward to set up.
More Time for Photography
For a landscape photographer, time spent assembling camp can mean missing the light. My priority was a setup that required minimal effort, allowing us to arrive, get organised and head out with our cameras.
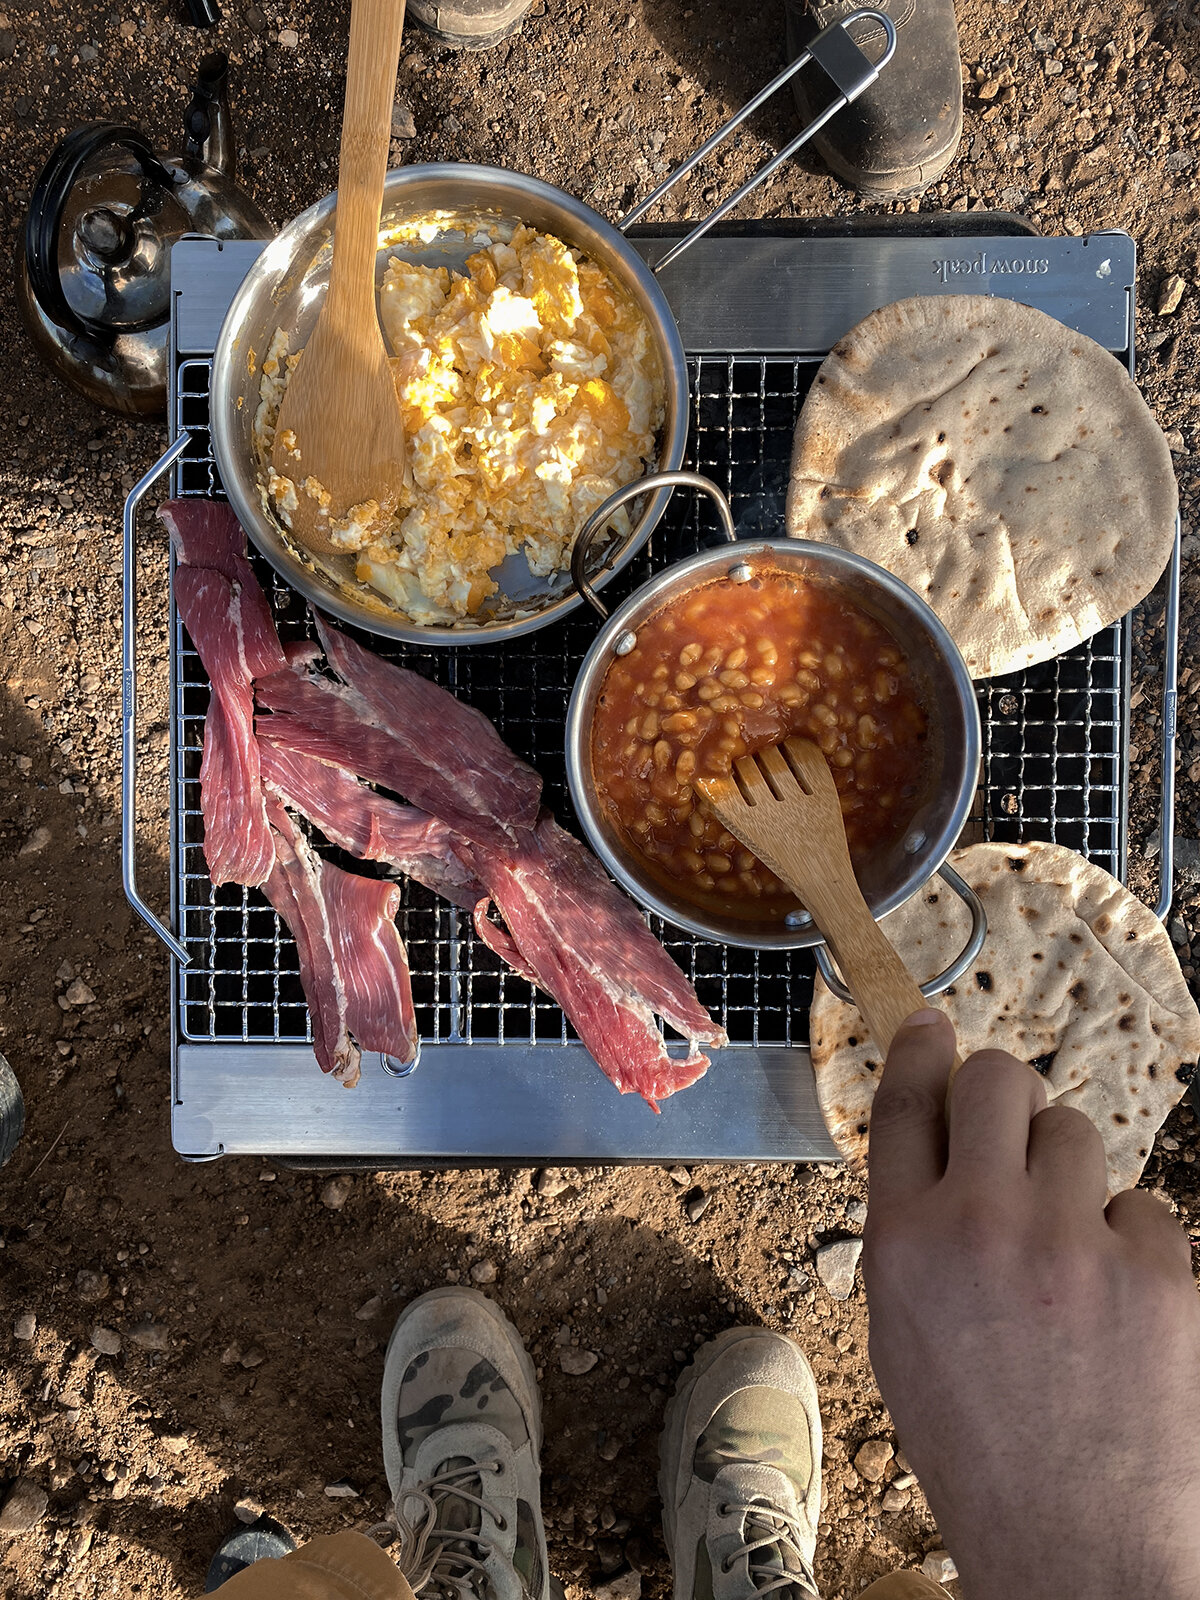
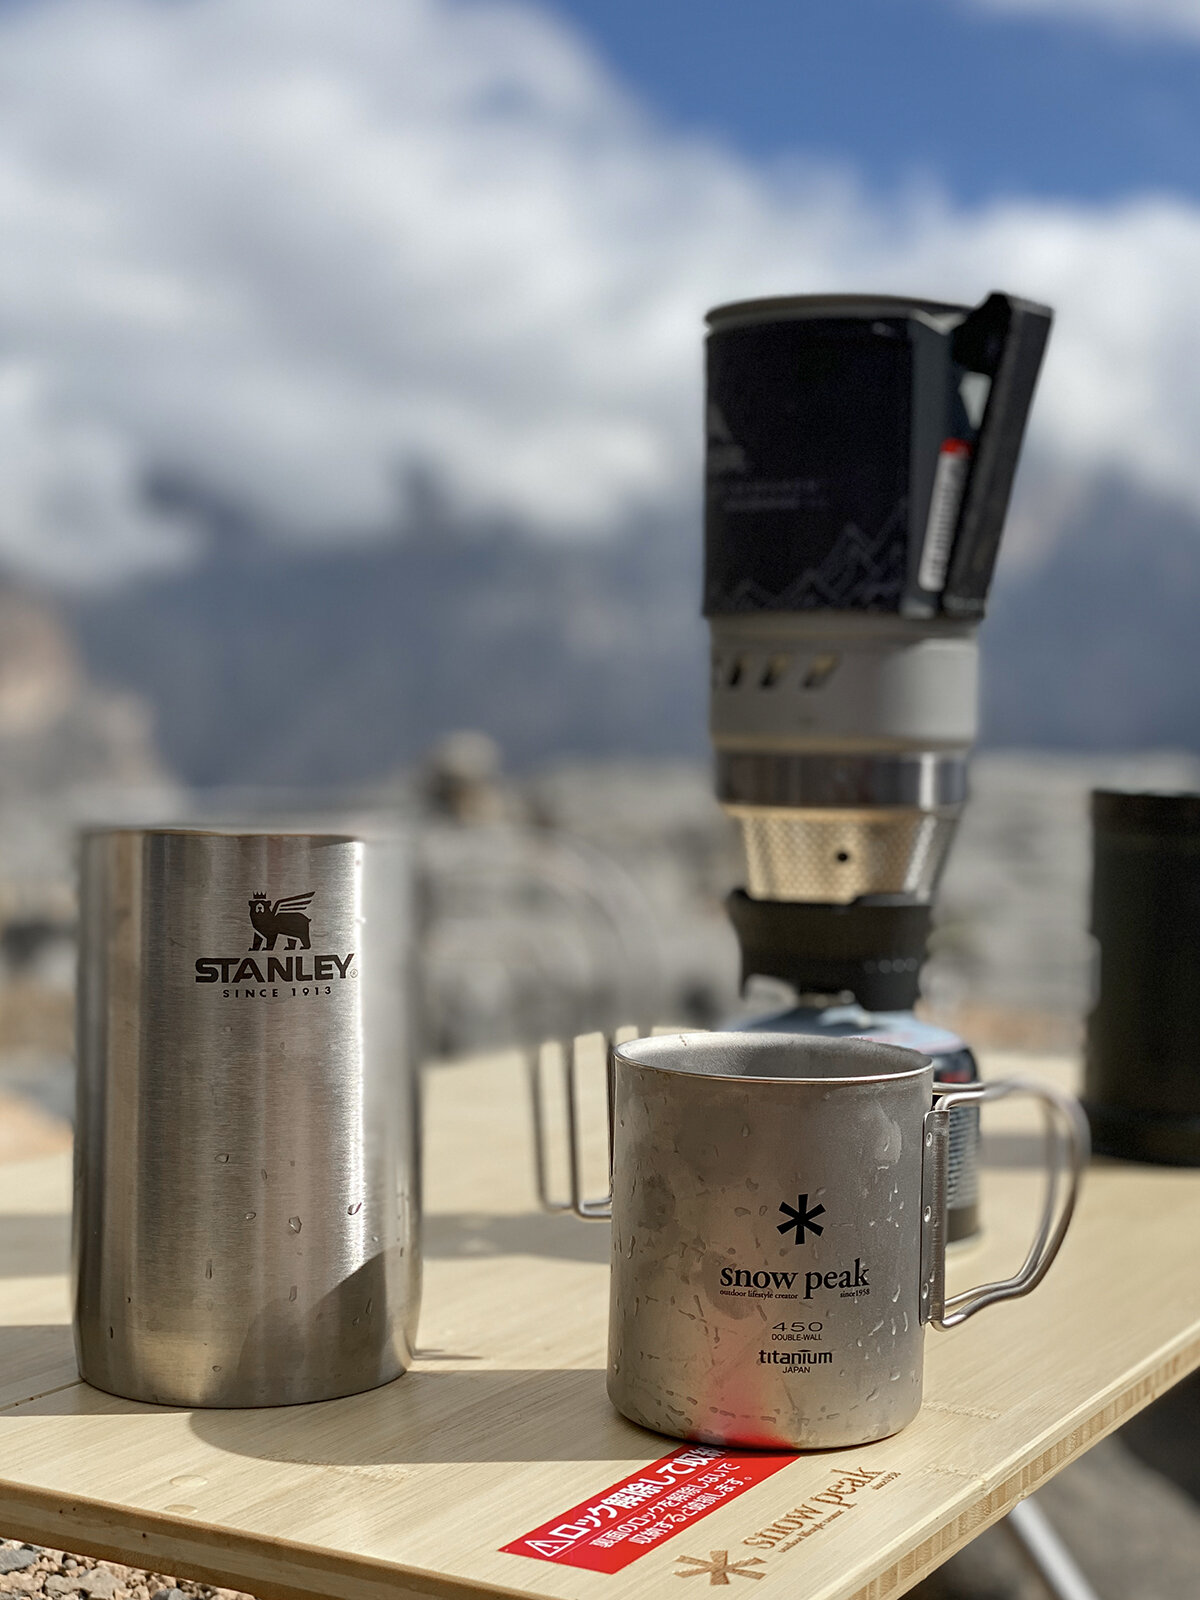
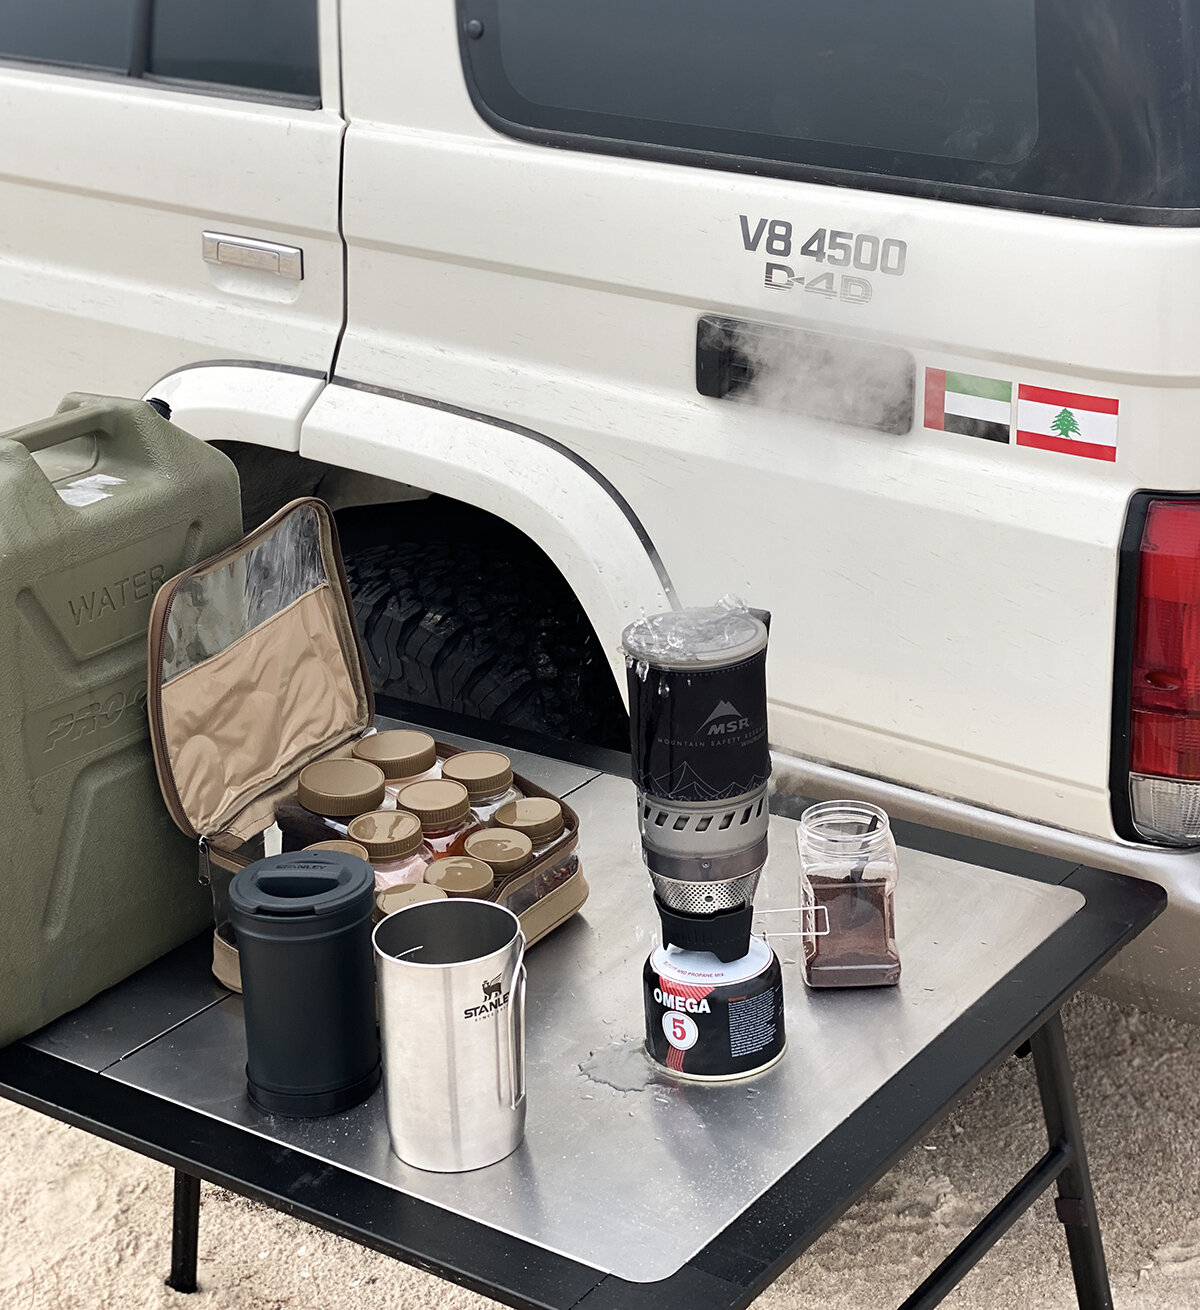
From the barbecue and stove to cookware and tableware, each item had a practical role. I wanted a comfortable camp without carrying unnecessary equipment or making everyday tasks complicated.
Investing in the Experience
Quality equipment came at a cost, but I viewed it as a long-term investment in years of travel and workshops. The aim was to create a welcoming place to prepare a meal, share stories and rest after a day in the field.
Ultimately, I wanted participants to leave with more than photographs. A well-organised camp helps make the whole journey memorable, bringing photography, adventure and time outdoors together.

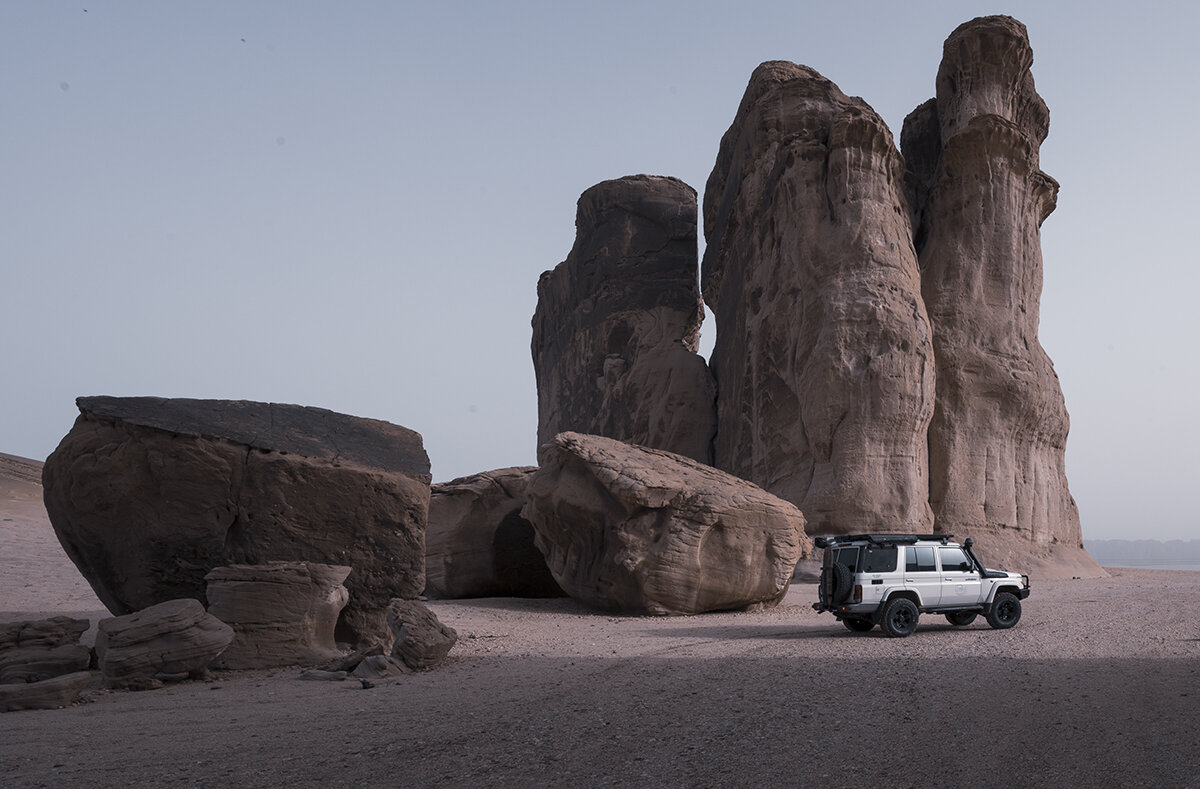
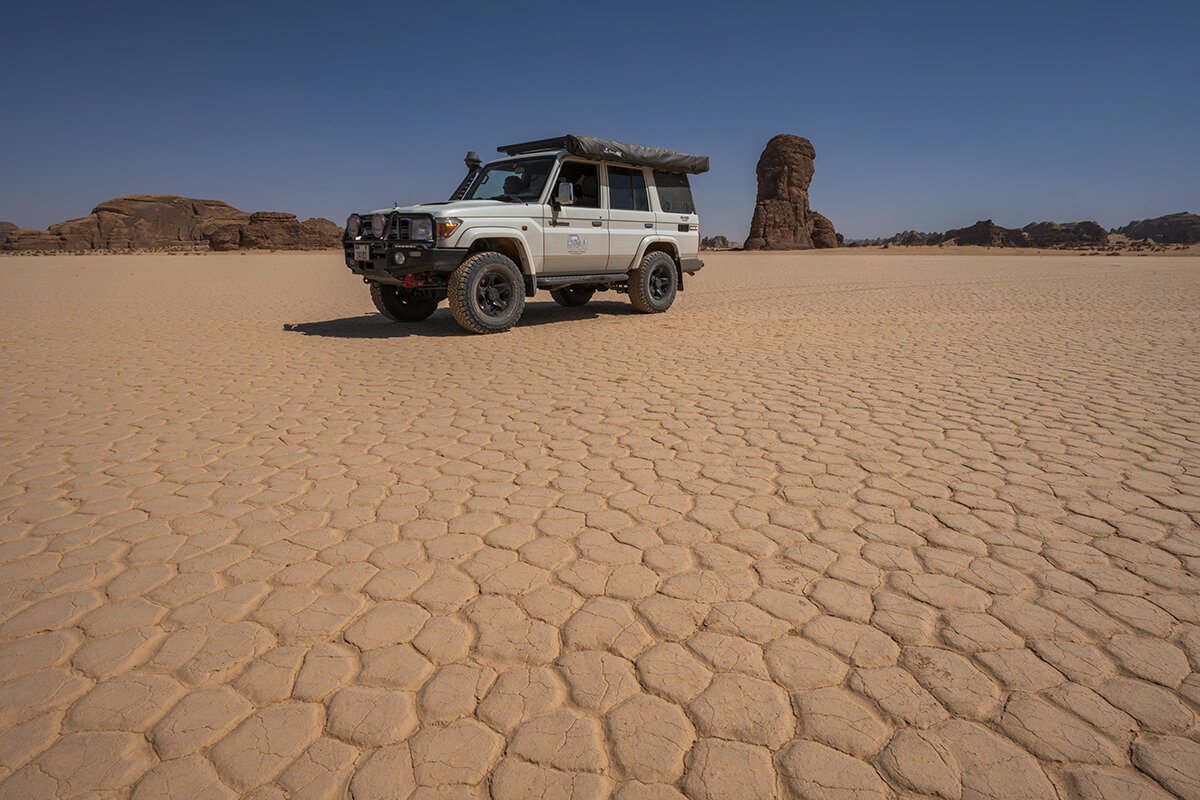
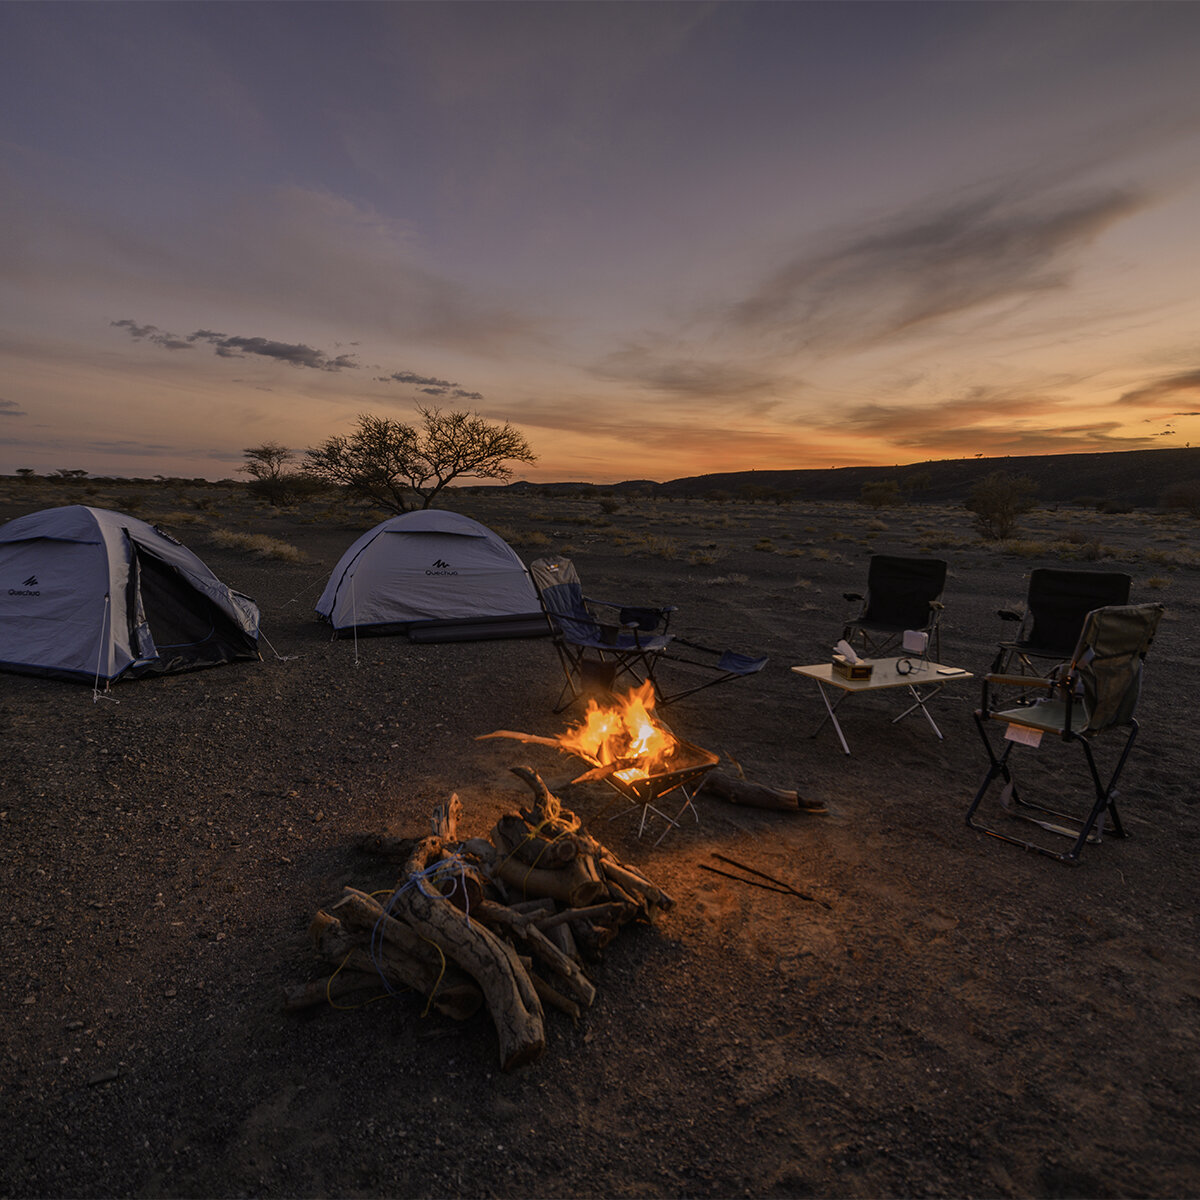
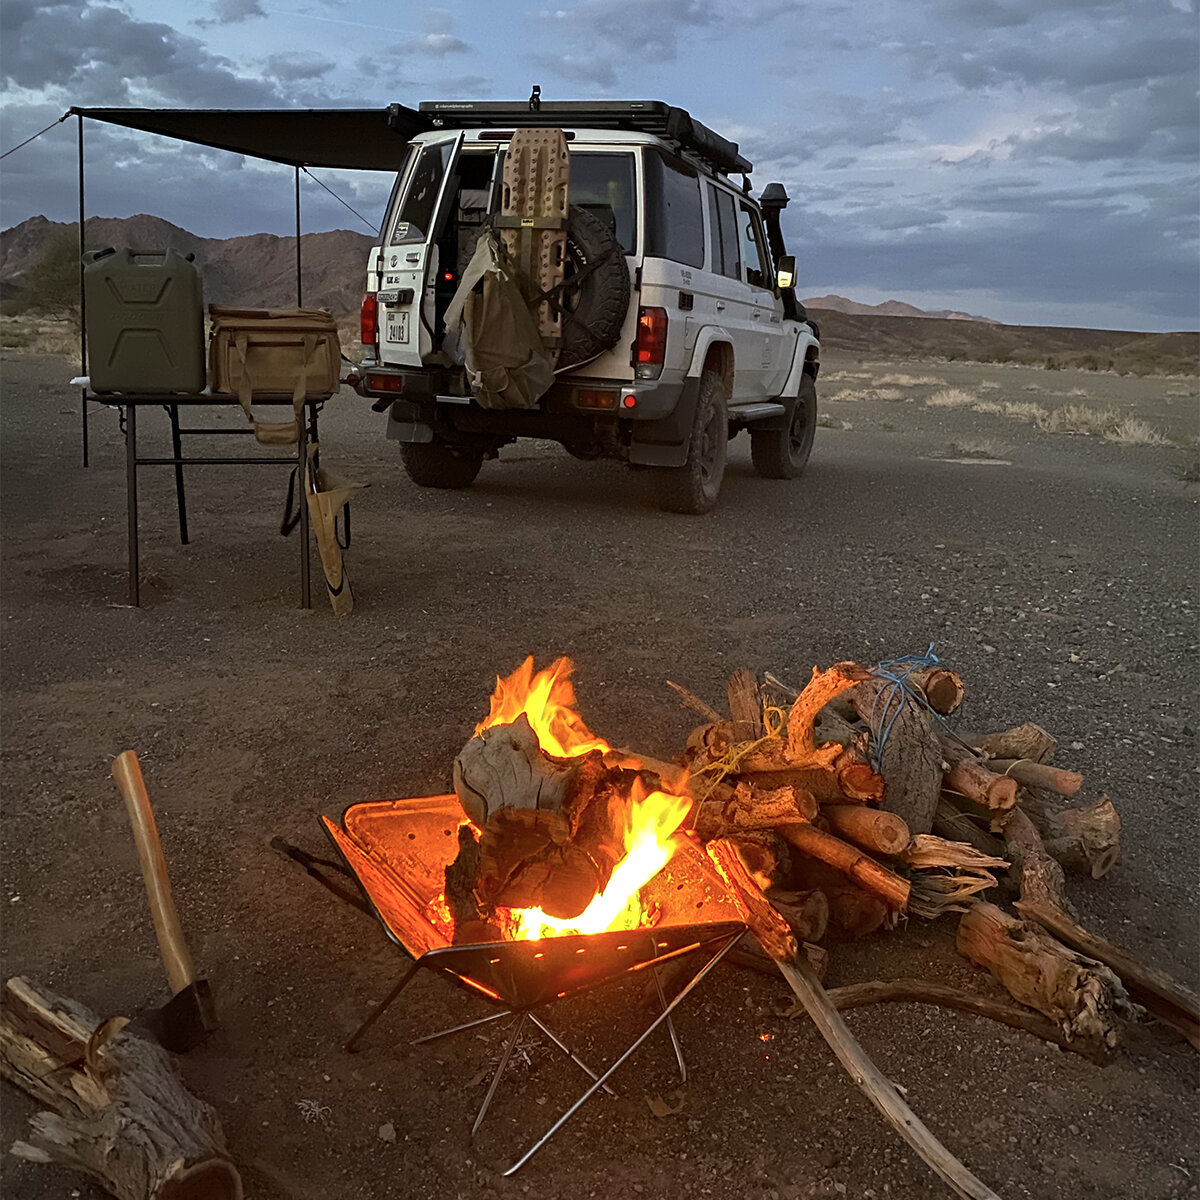
Camping setup in KSA

Campsite in the empty quarter, uae

Obelix during a private workshop in Oman

Branding and the Road Ahead
The final touch was to give Obelix a visual identity that reflected its purpose. I chose a simple logo combining elements of overlanding and photography, bringing together the two interests that inspired the build. A vehicle wrap in a different colour remained an idea for the future.
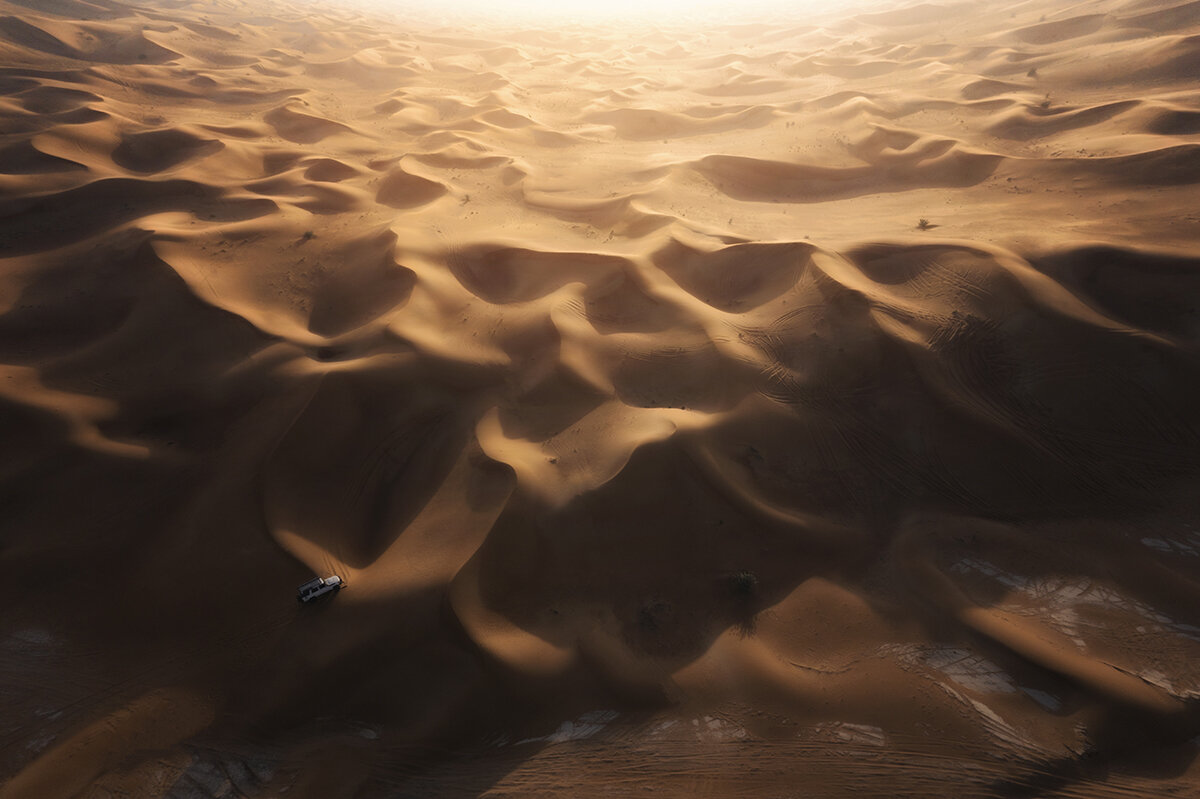
Building Obelix cost more than I had originally planned, but travelling through Oman, the UAE and Saudi Arabia made the investment worthwhile. Each journey gave me opportunities to explore, photograph and enjoy the vehicle we had spent so much time preparing.
What began as a search for a dependable photography vehicle became a project with a character of its own. Obelix had kept its name, found a new purpose and was already collecting stories along the way.
Follow the Journey
For more stories about photography, overland travel and the vehicles that take me into the field, subscribe to my newsletter.